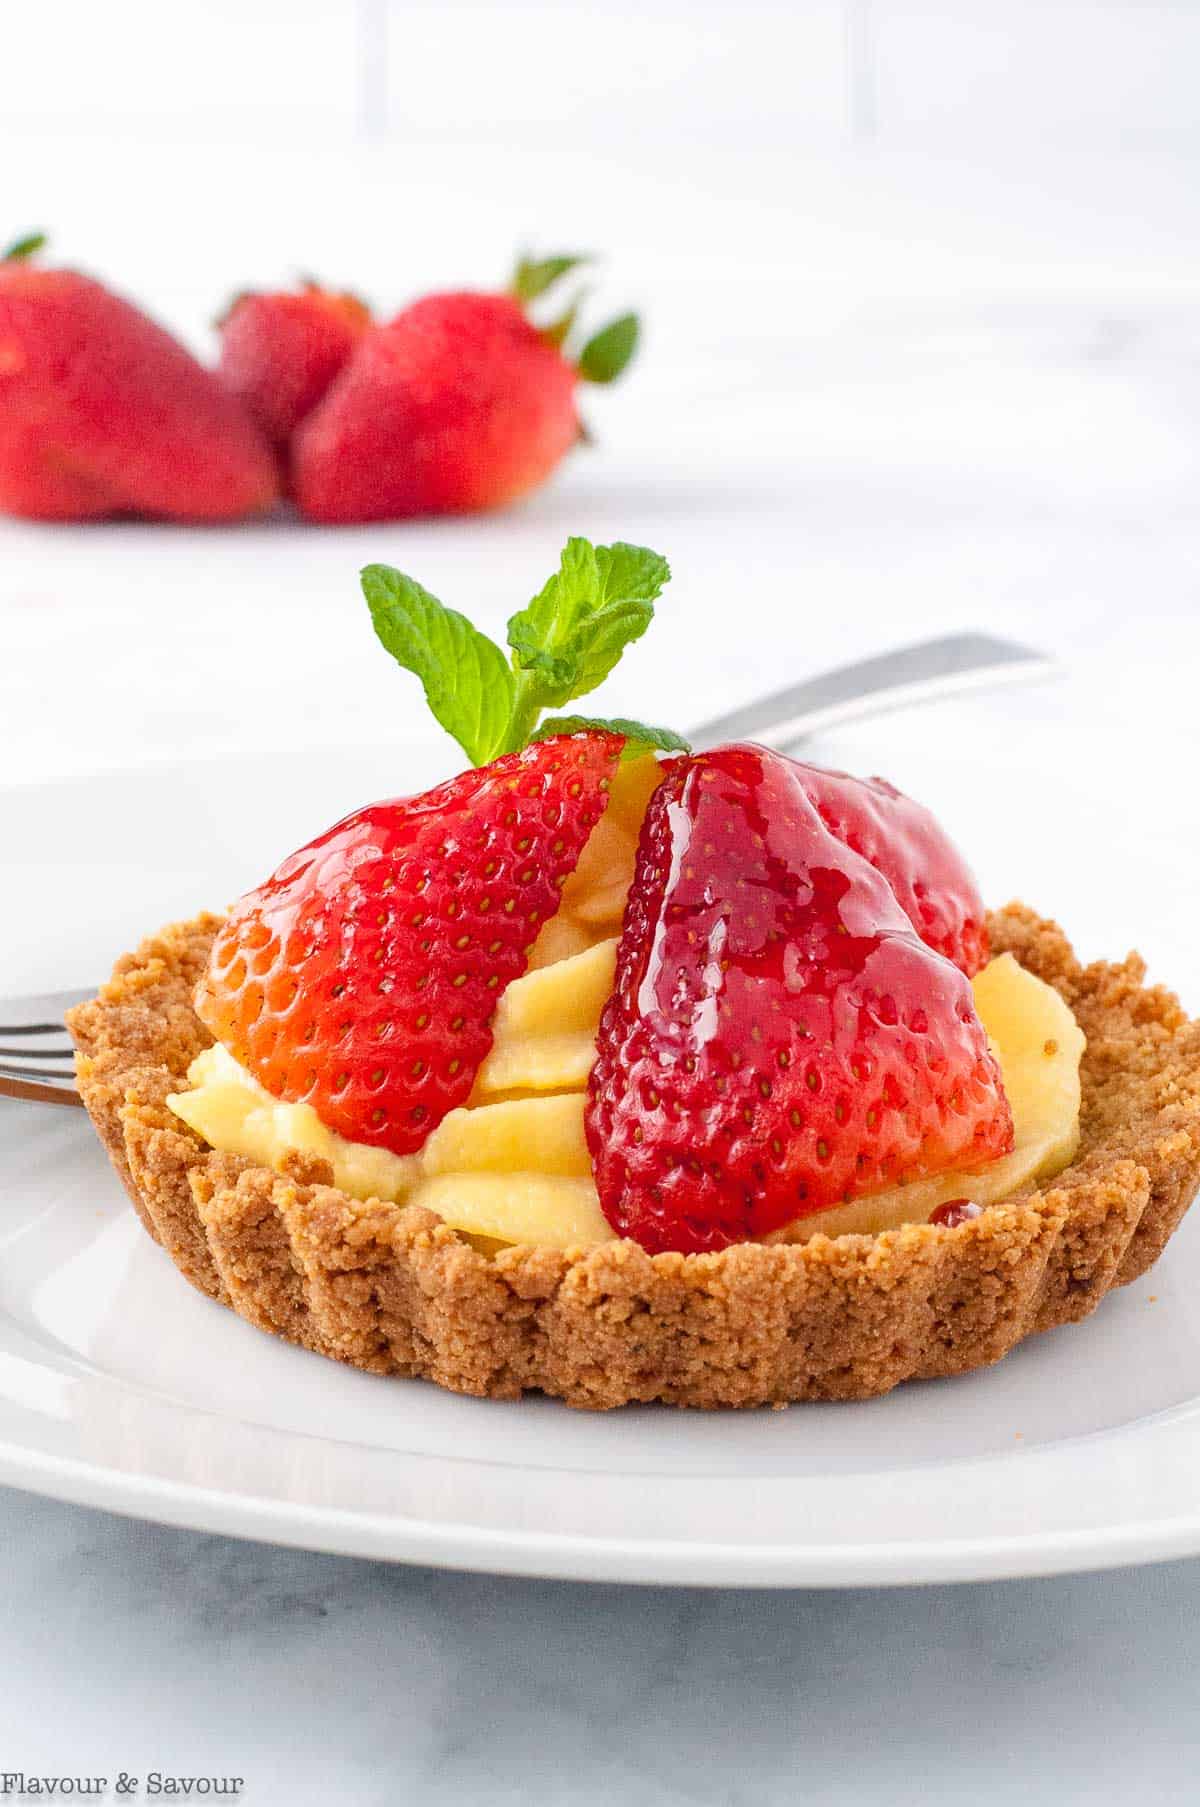
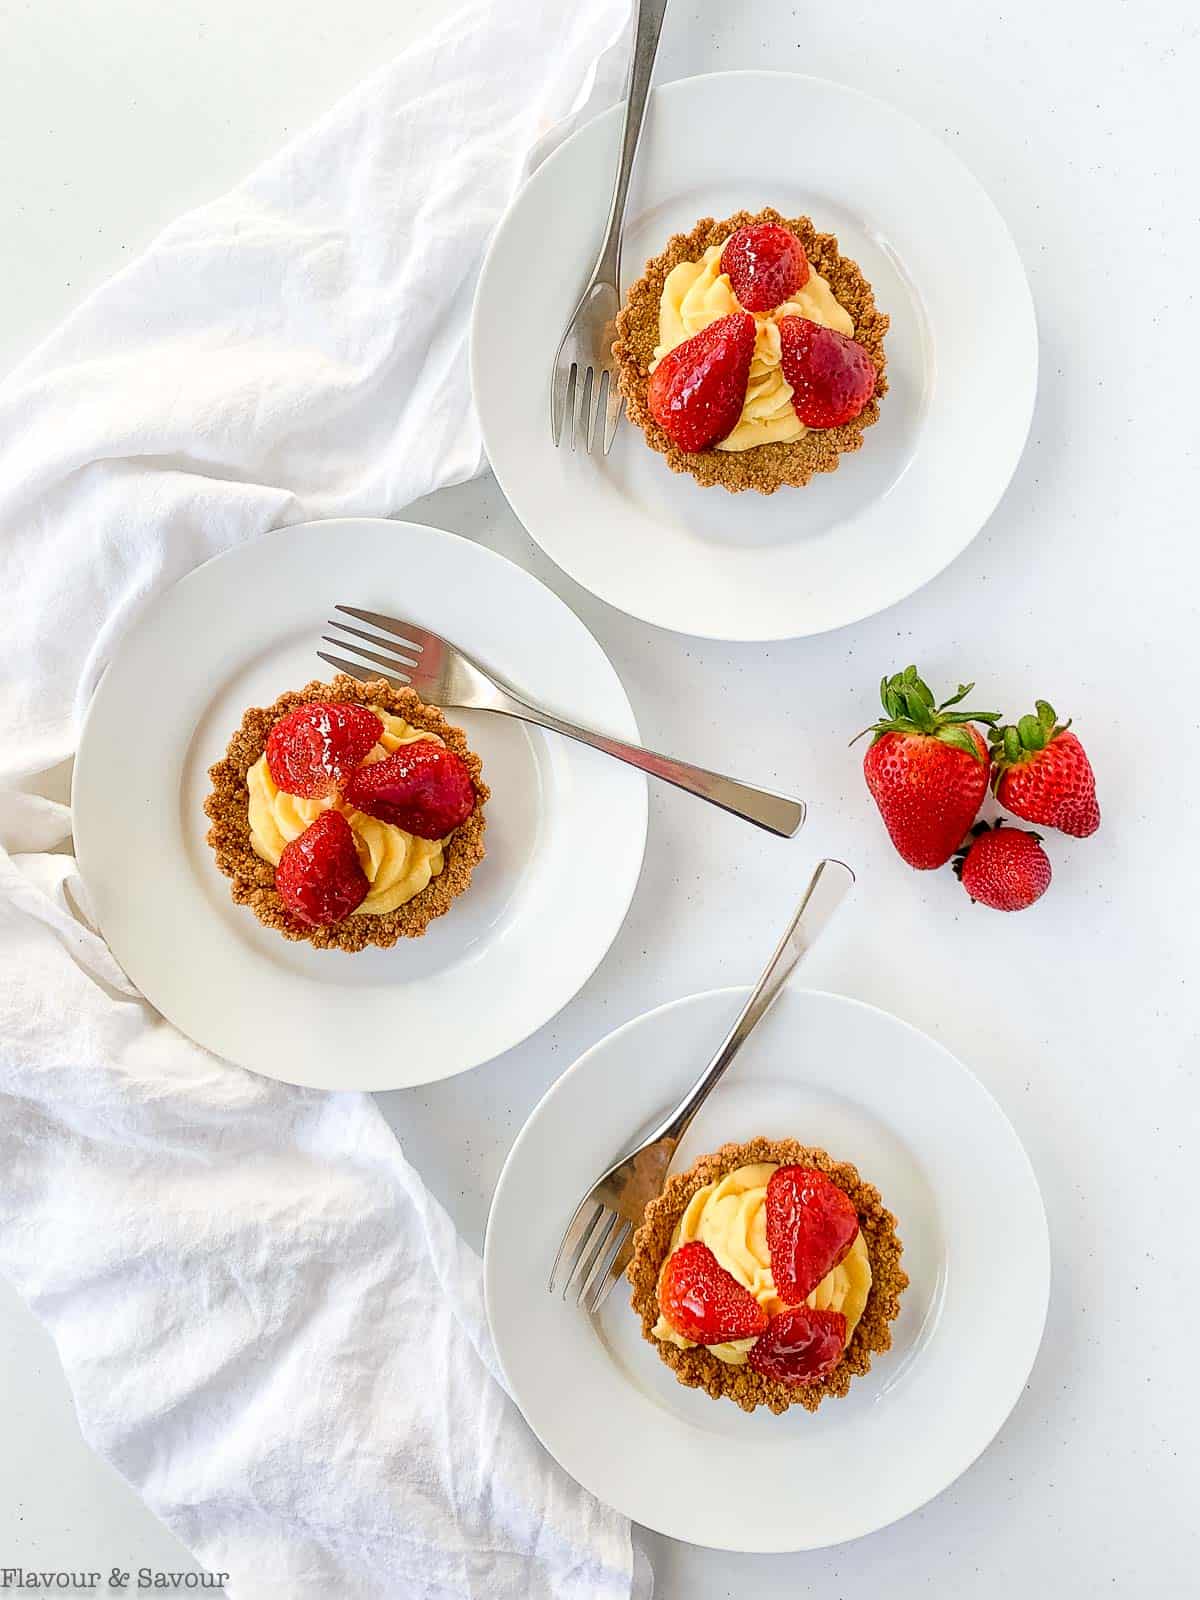
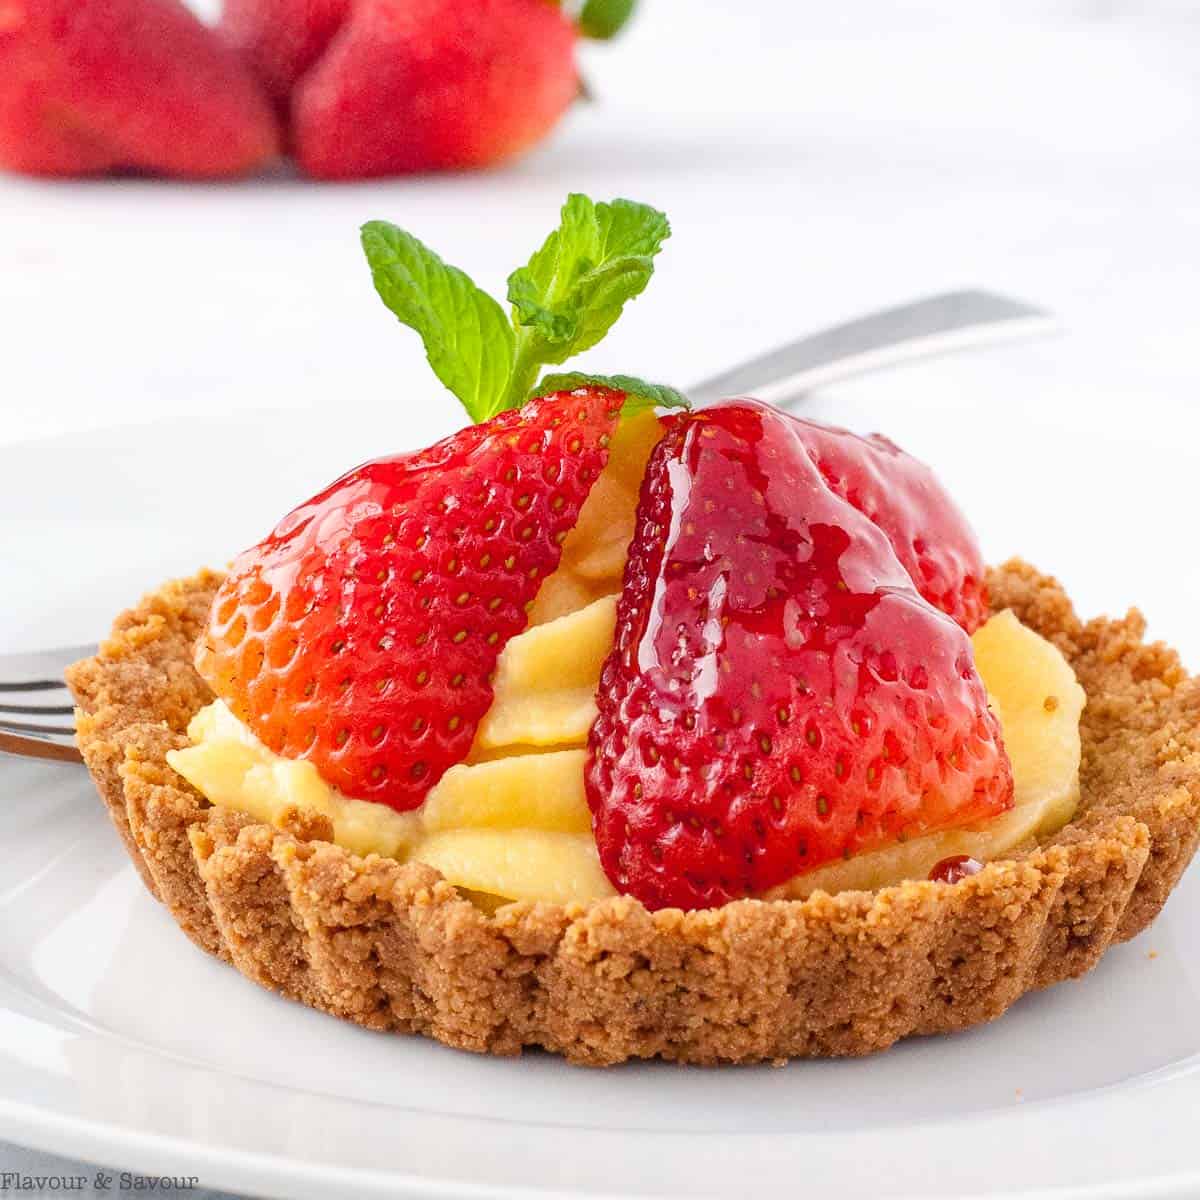
This strawberry tartlet recipe makes individual mini strawberry tarts with an easy press-in gluten-free graham cracker crust. These tarts have a silky vanilla pastry cream filling. The best spring or summer dessert! Easy to make gluten-free!
❤️ Why you'll love this recipe
This strawberry tart has a beautiful blend of textures: a crispy, buttery gluten-free graham cracker crust, a velvety smooth vanilla pastry cream and juicy, sweet strawberries on top!
This strawberry tartlet recipe was inspired by my Fresh Fruit Tart with Vanilla Pastry Cream. As soon as I made it, I knew I wanted to adapt it to make tarts as well.
So if you love that Fresh Fruit Tart recipe of mine, I know you'll love this mini strawberry tart recipe, too. And it's easy to make gluten-free with gluten-free graham cracker crumbs!
Pies and tarts are a great choice for a dessert when you're having friends over because you can make them ahead of time. You can make the components of this strawberry tart recipe days in advance and assemble it a few hours before you plan to serve it. Winner!
🛒 Ingredients and substitutions
You'll find a complete list of ingredients with amounts in the recipe card below. But before we get to the full recipe, here are a few notes about some of the key ingredients.
crust: I like to make this recipe with a gluten-free graham cracker crust, but a regular graham cracker crust will, of course, work equally as well. You could also use the crust recipe I use for my gluten-free Lemon Curd Tart with Berries.
filling: The filling is a vanilla pastry cream, made with milk, egg yolks and sugar, and thickened with cornstarch.
topping: Use fresh strawberries, brushed with either red currant or strawberry jelly as a glaze.
🔪 Instructions
Here's an overview of what you'll do to make this recipe for gluten-free mini strawberry tarts perfectly. You'll find complete instructions in the recipe card at the end of this post.
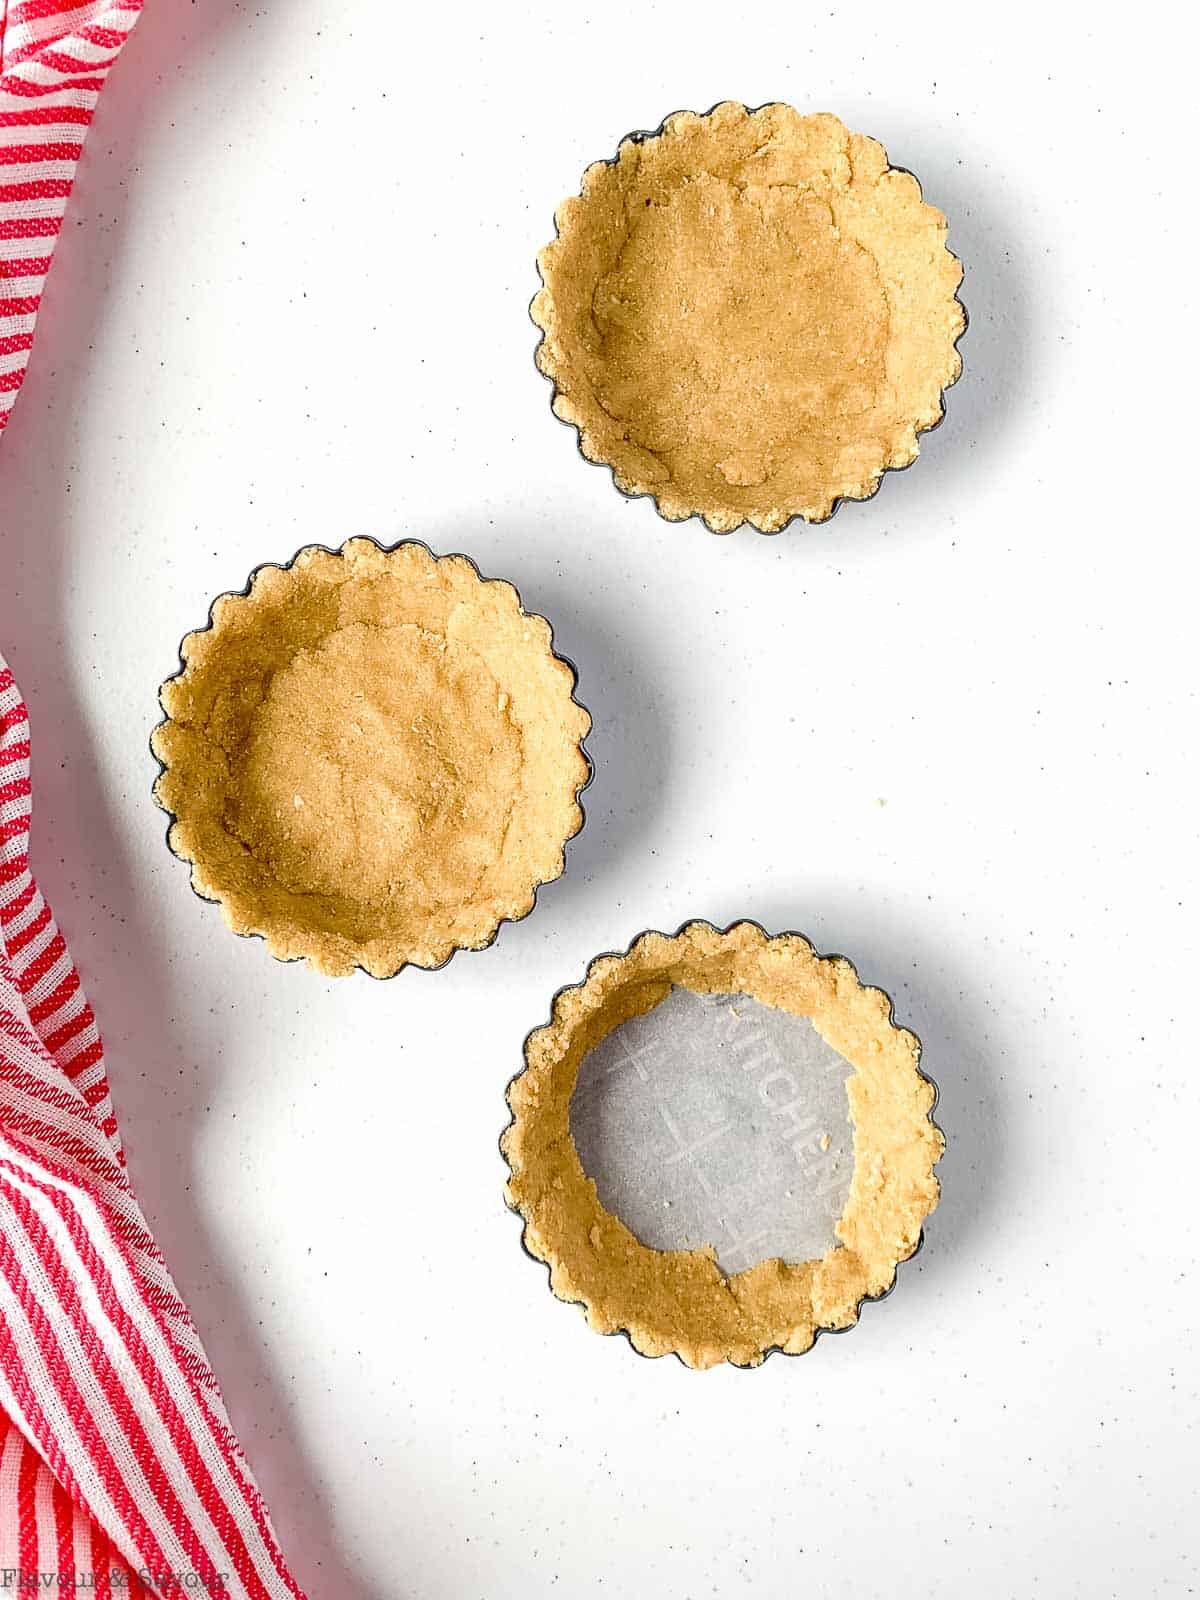
Step 1: You'll start by making the graham cracker crusts, pressing the mixture into the tart pans and baking them for 7 - 8 minutes. The easiest way to fill the tart pans is to press the crumbs into the fluted sides first, then fill the base. Place them on a baking sheet to make removing them from the oven easy.
While they're baking, you can prepare the pastry cream on the stovetop. You'll have to allow an hour or two for it to chill before filling the cooled crust.
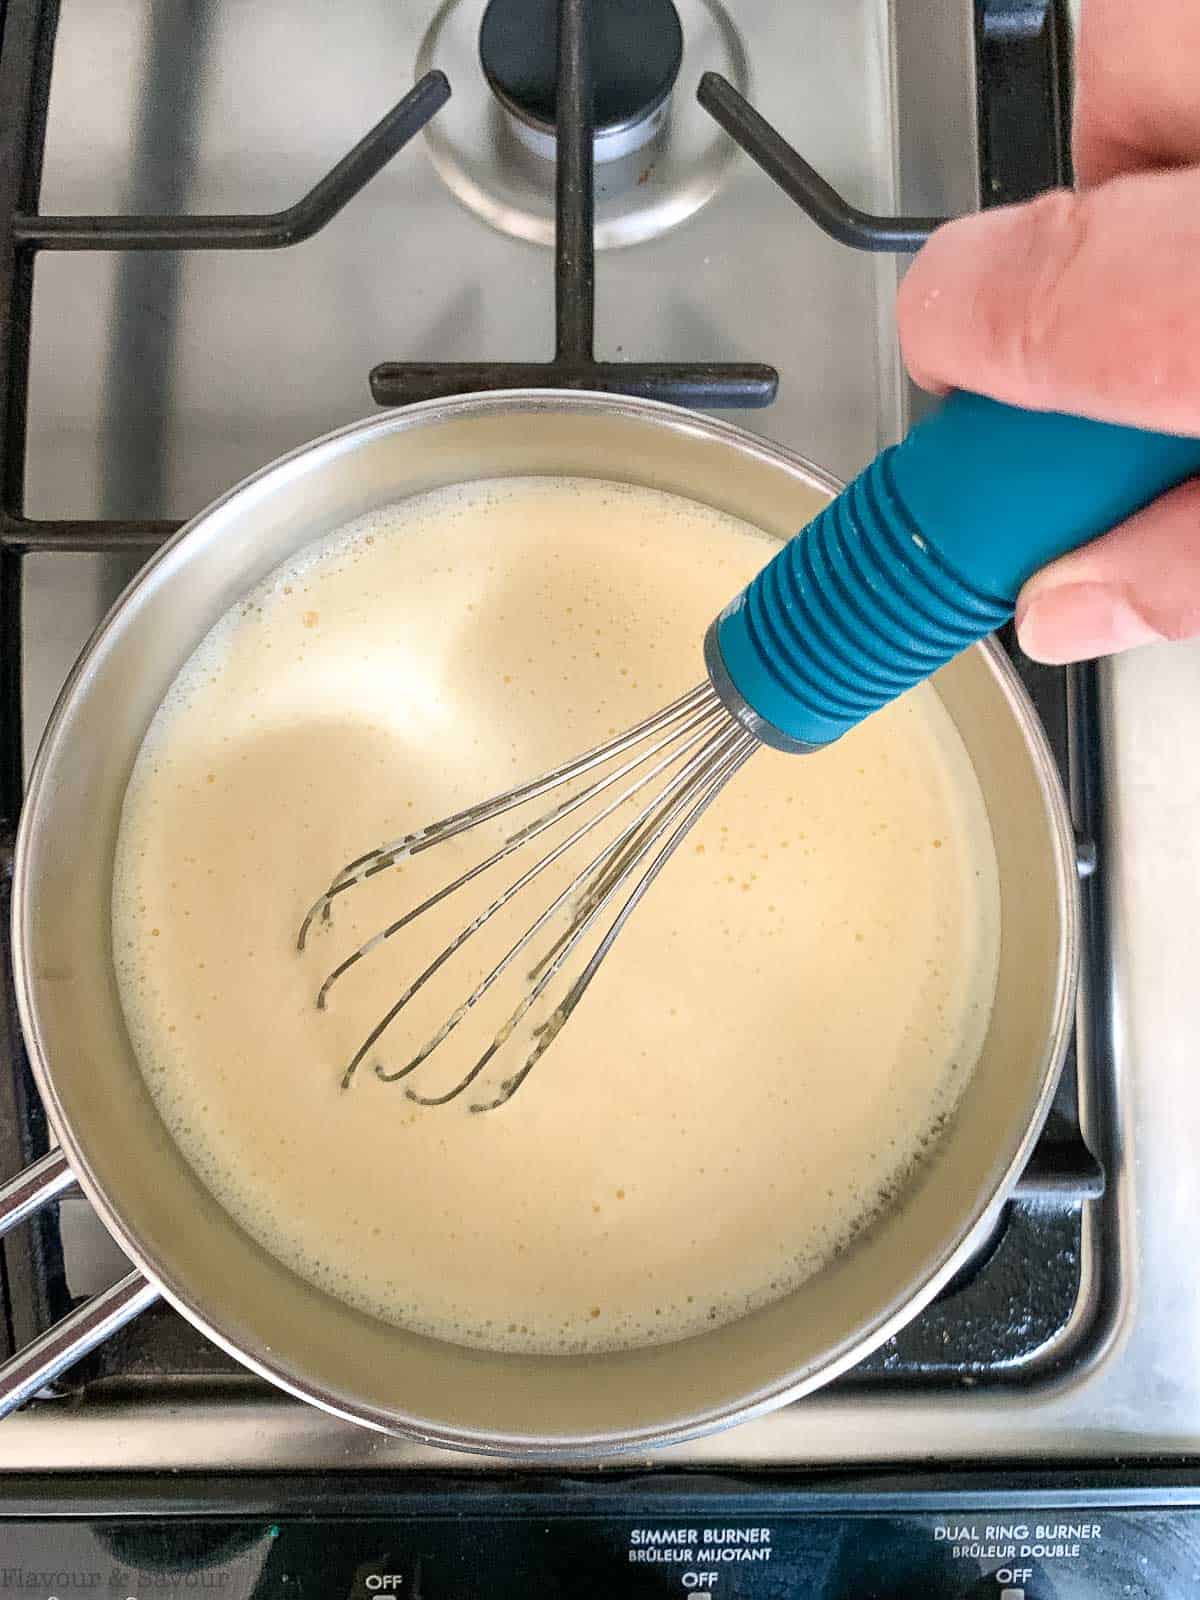
Step 2: Heat the milk and vanilla in a saucepan on the stovetop until it is almost boiling.
Step 3: Meanwhile, in a medium bowl, whisk the egg yolks with the sugar until light yellow and fluffy.
Step 4: Add the cornstarch into the egg yolk mixture a little at a time and whisk until no lumps remain.
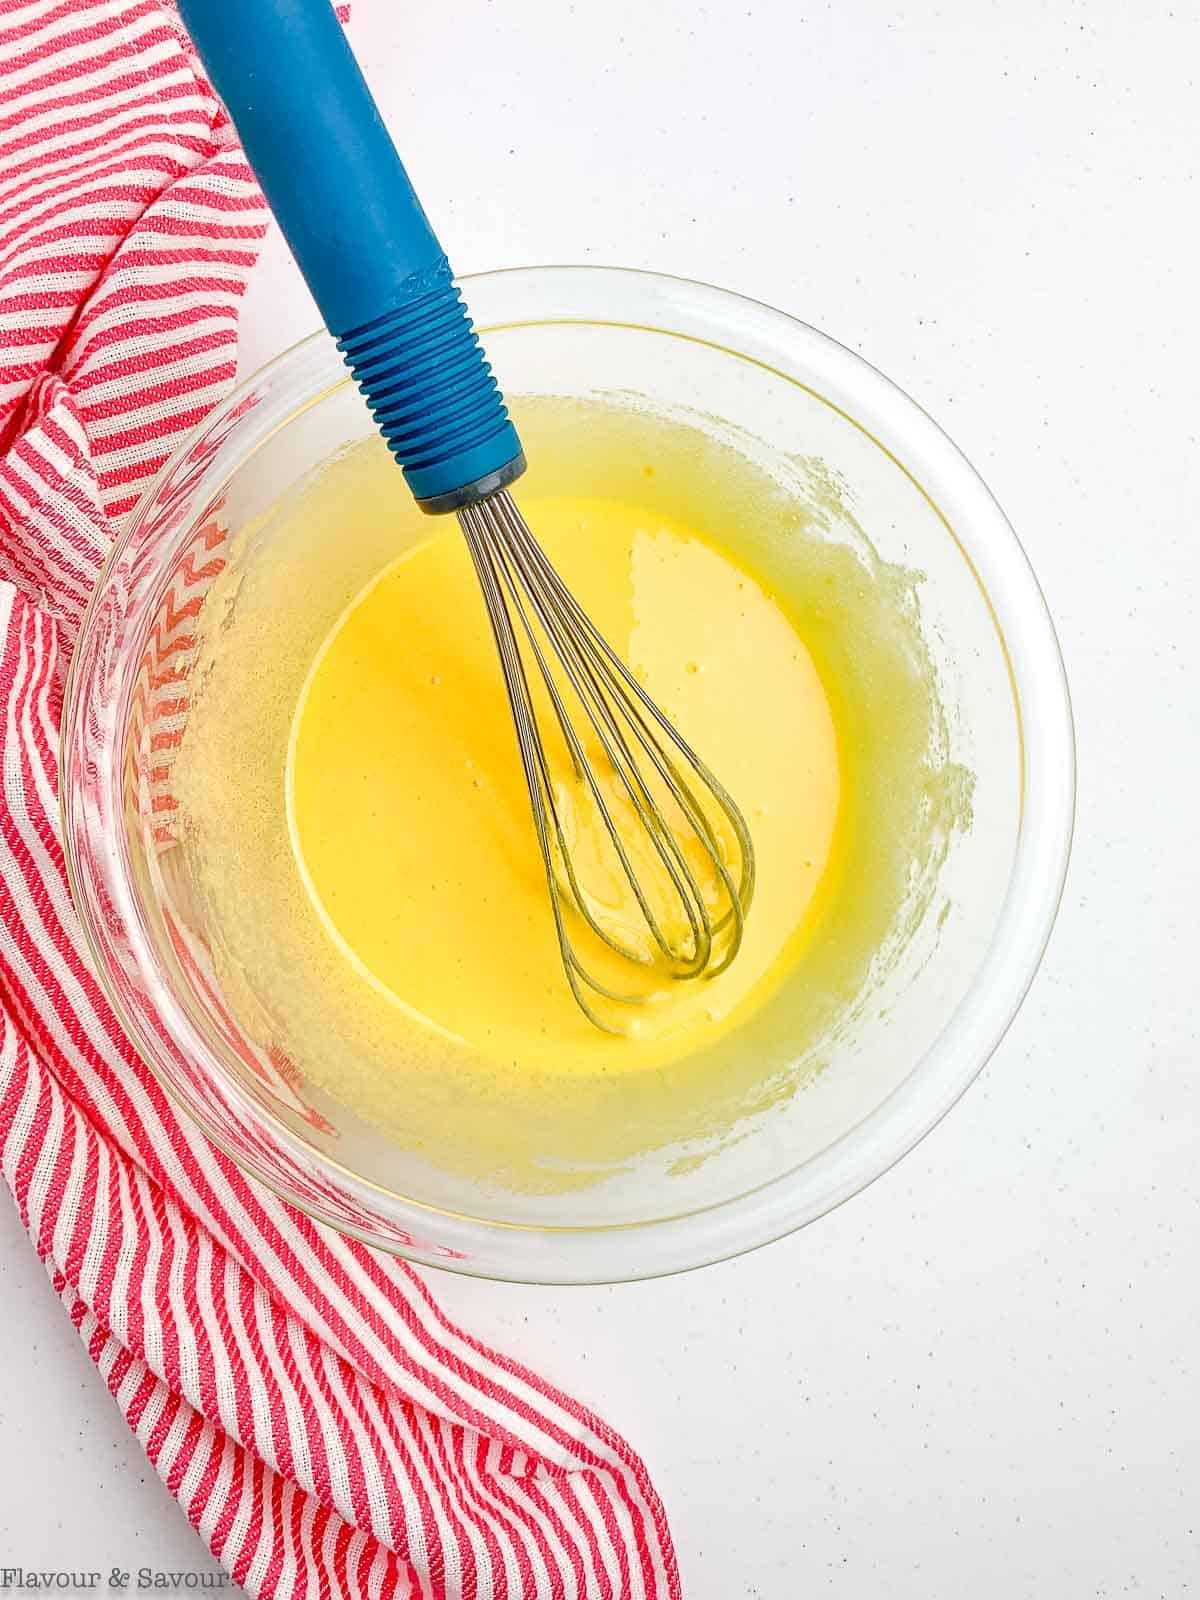
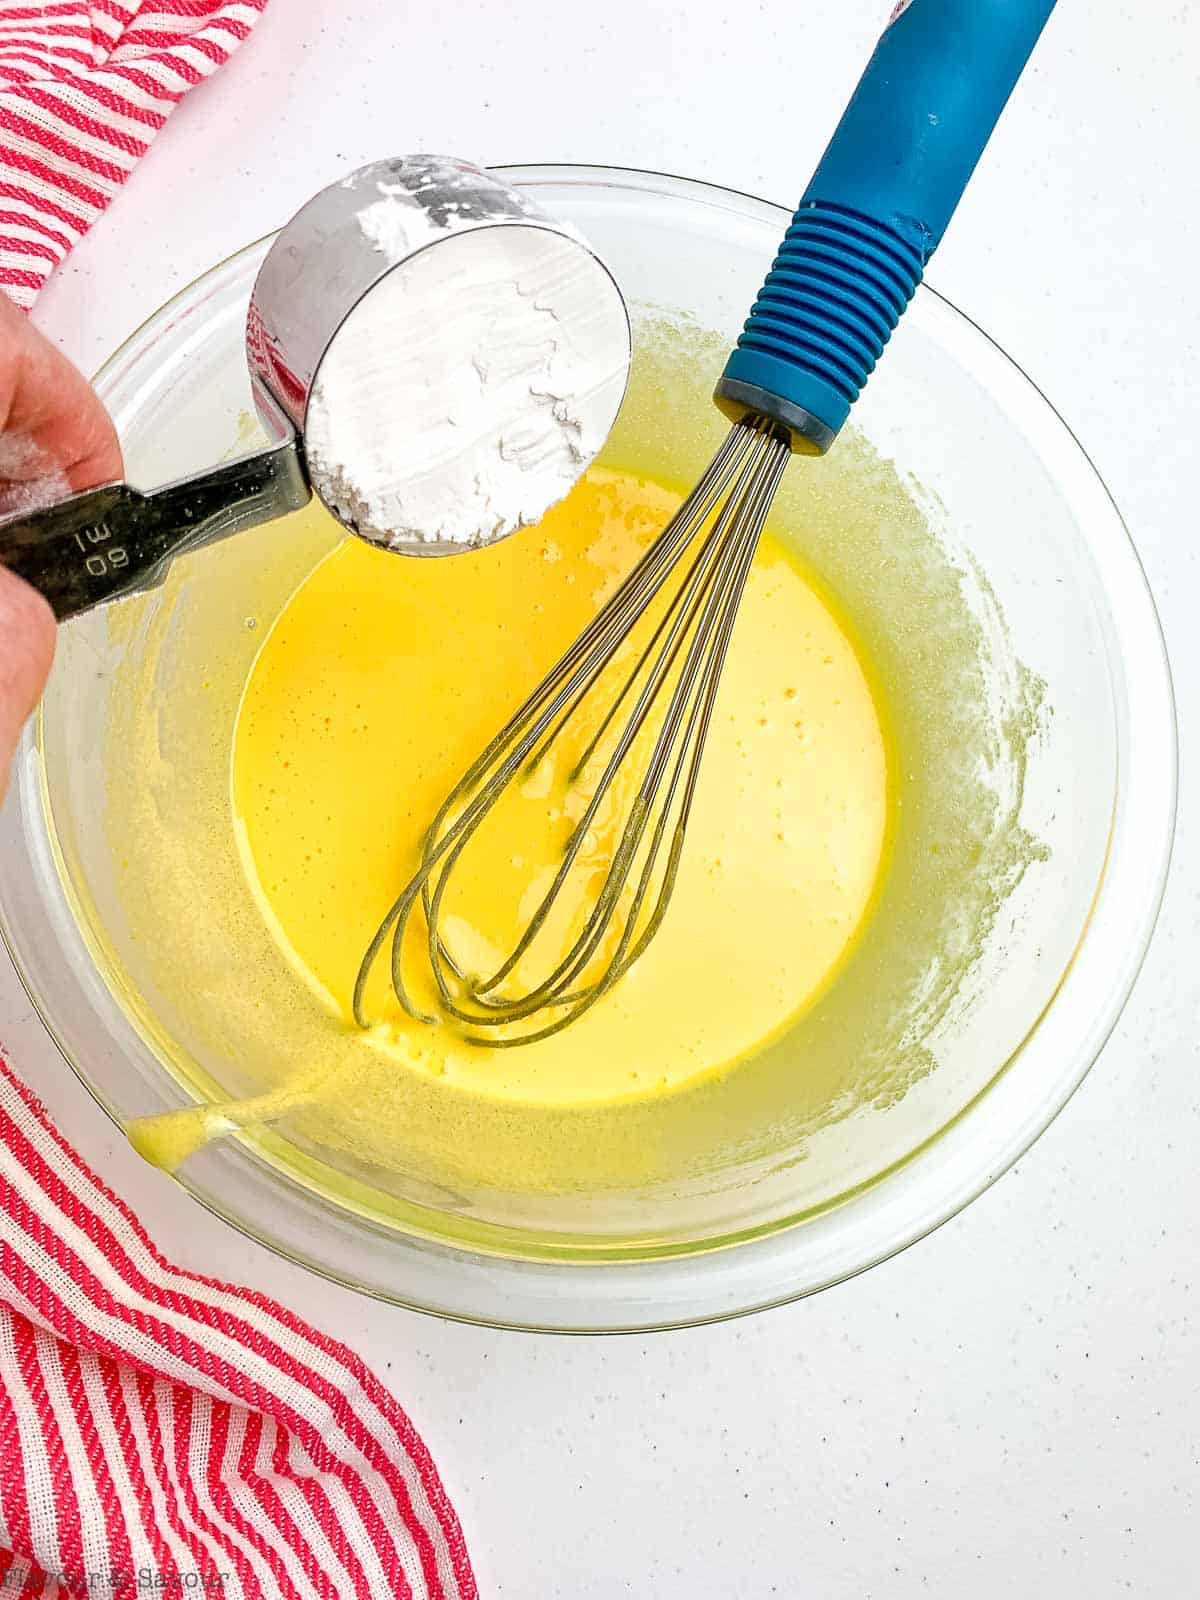
Step 5: Temper the eggs: Pour ¼ cup of the hot milk mixture into the bowl with the egg mixture and whisk quickly until well incorporated. Gradually whisk in the remaining milk mixture. This technique prevents the eggs from clumping together and scrambling when they're added to the hot milk.
Step 6: Pour the mixture through a strainer back into the saucepan. Cook over medium-high heat, whisking constantly until it comes to a boil and is thickened.
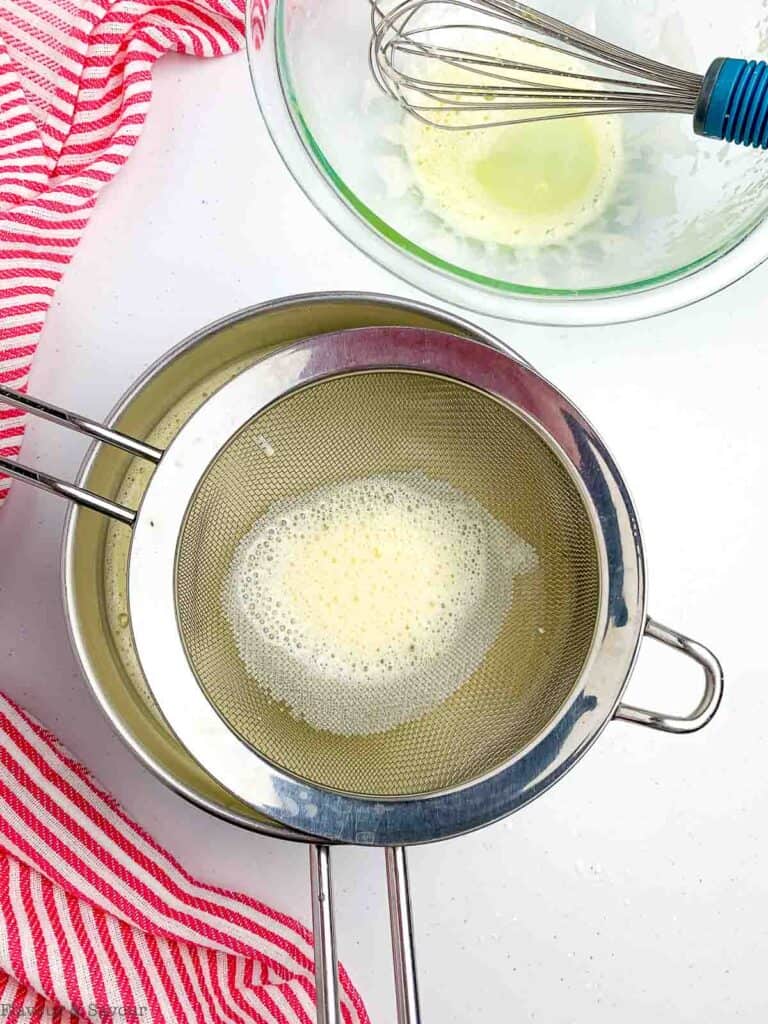
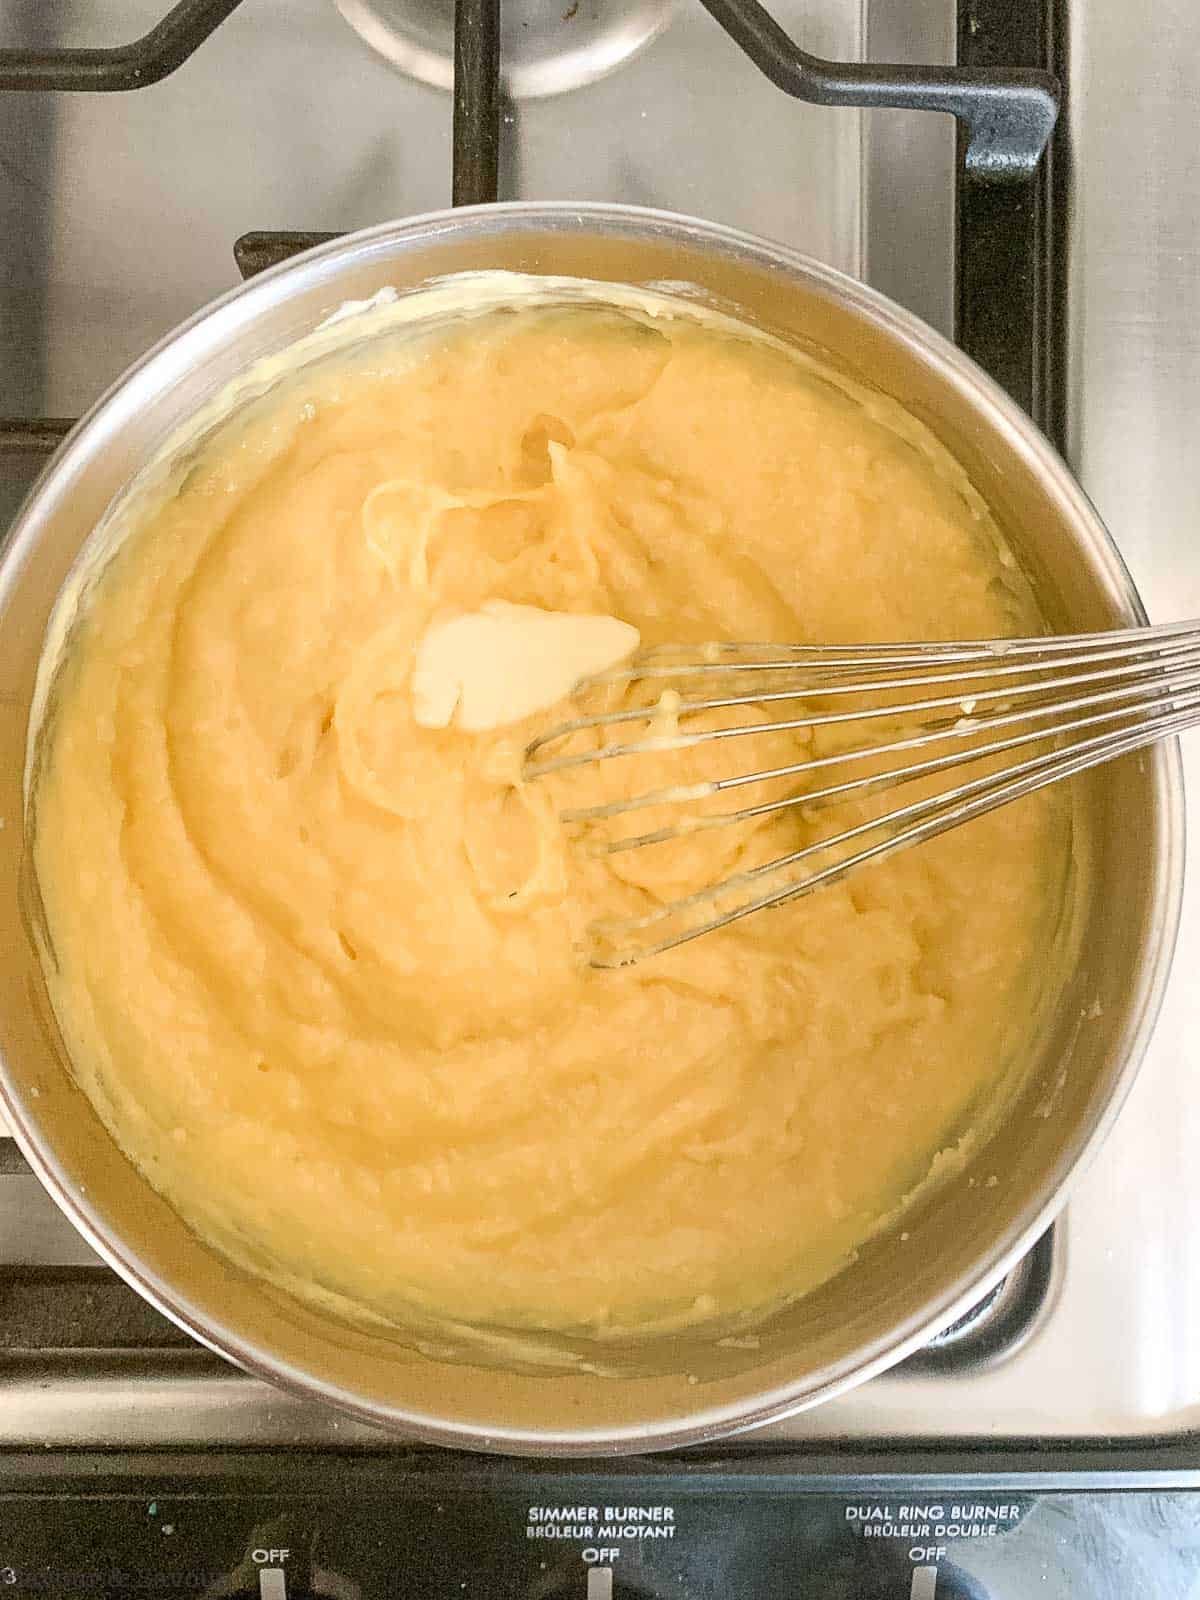
Step 7: Let it cool for 5 minutes, then press a piece of plastic wrap on the surface to prevent a skin from forming.
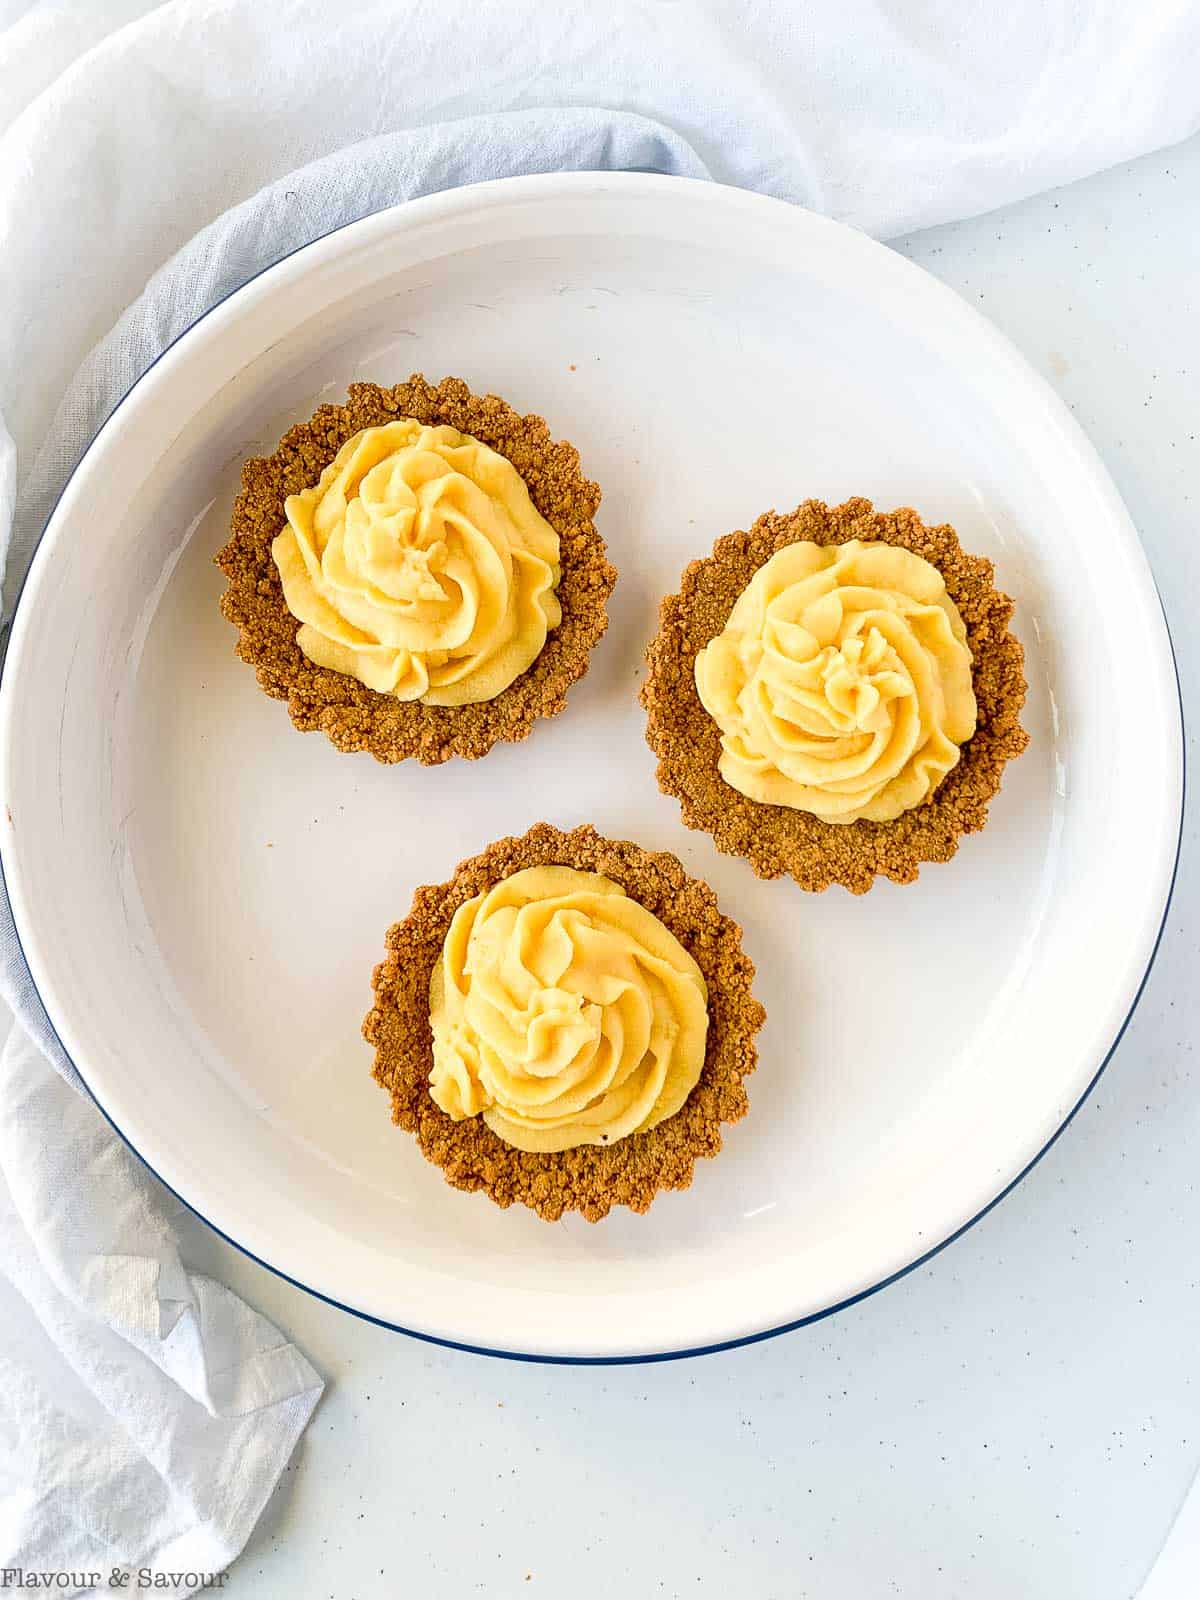
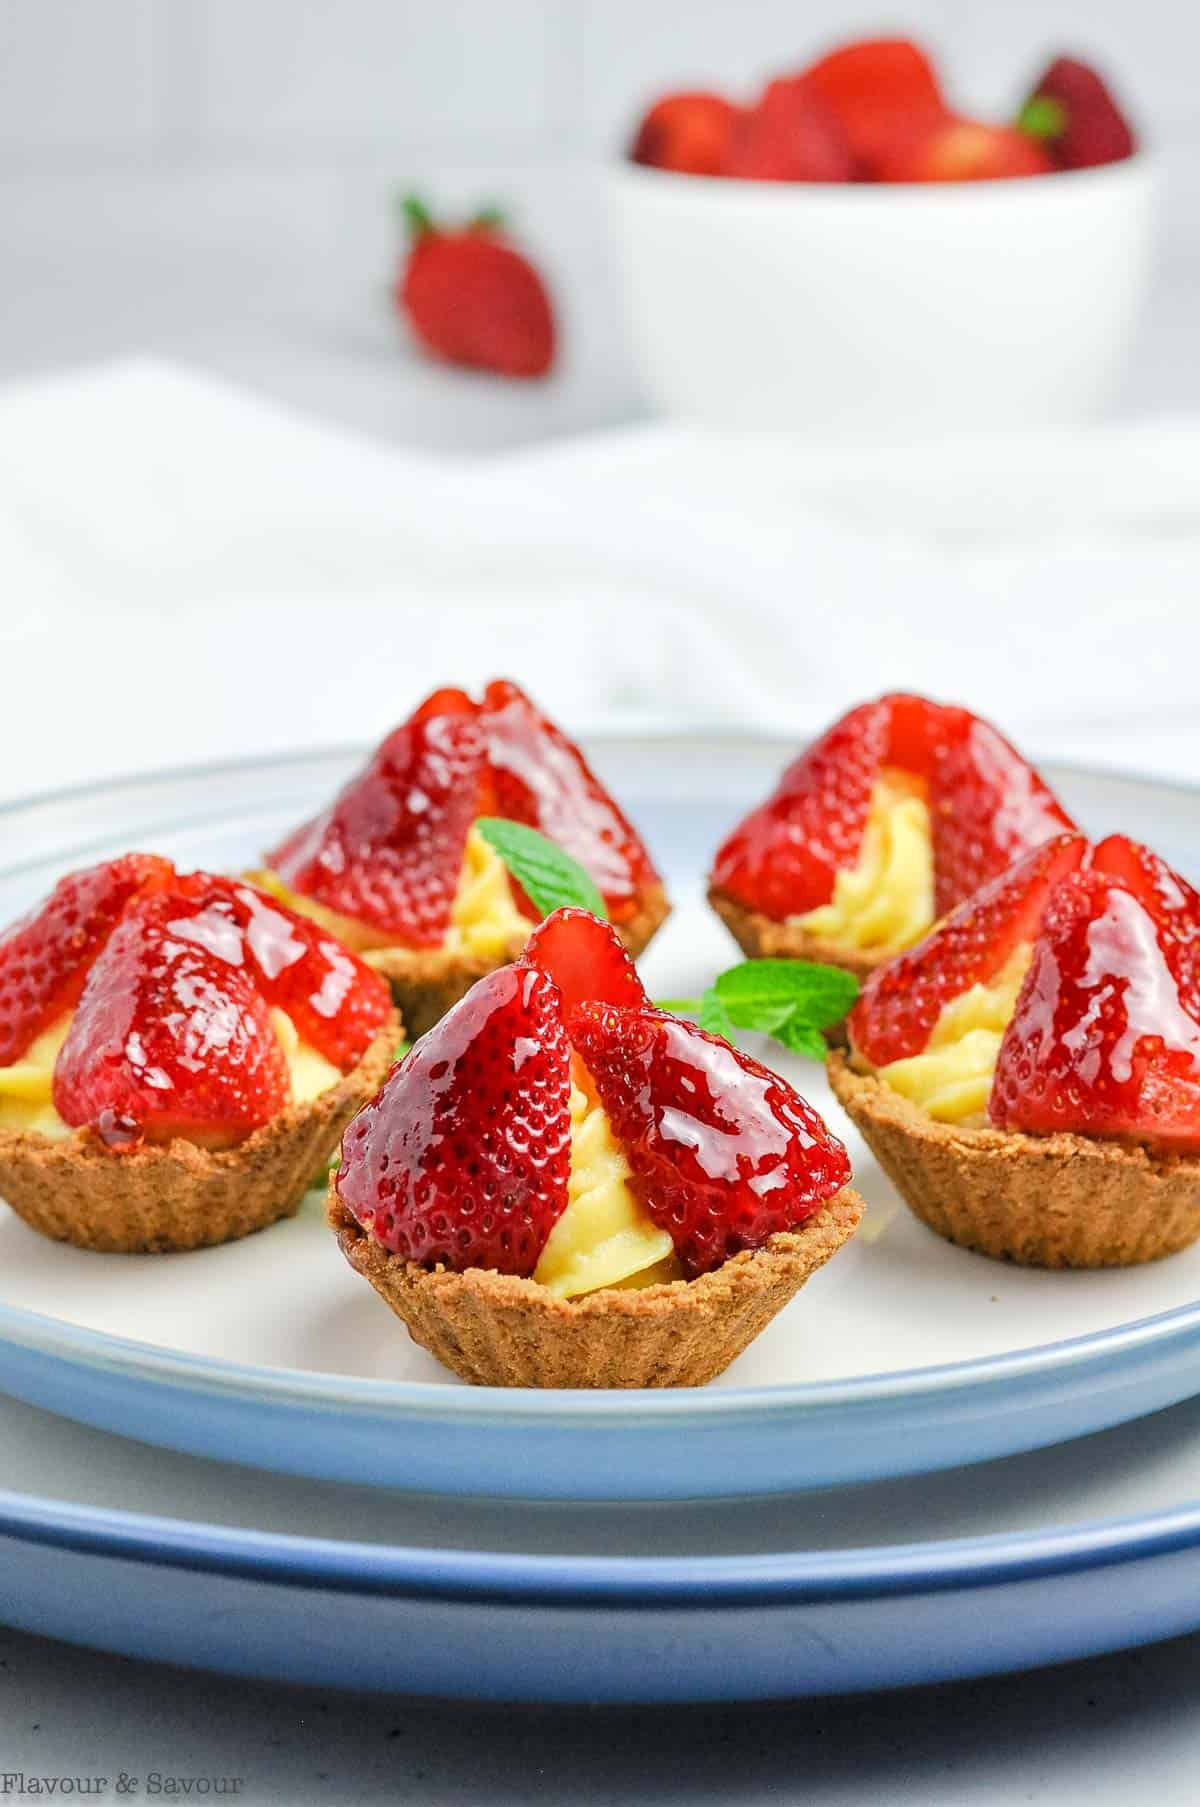
Step 8: Once it's completely cool, fill the tart shells. Add strawberries and brush with jelly to glaze.

🔁 Possible Variations
Of course, you could always substitute other berries for the strawberries! Blueberry Tarts, Blackberry Tarts, or Raspberry Tarts would all make delicious options. You could also arrange a mixture of sliced fruit and berries on top.
You can also make a dozen smaller tarts instead. Be sure to use a non-stick tart pan, as gluten-free graham cracker crumbs tend to stick.
👍🏼 Helpful Tips
- Whenever you're baking, it helps to have the right equipment. These tart pans with removable bottoms may seem like a luxury, but once you have them, if you're like me, you'll love them and you'll find lots of recipes to use them!
- This recipe for vanilla pastry cream filling is deliciously creamy! It uses six egg yolks. Don't throw out the whites! There are lots of ways to use extra egg whites. Make egg white omelets, or mini pavlova, macaroons, or meringues to use in this recipe for traditional Strawberry Eton Mess.
- You can make the tart crusts a day or two in advance and the pastry cream up to four days in advance. Store them separately and assemble the tart on the day you want to serve it.
⏰ Storage Instructions
Refrigerate leftover tarts in a covered container. While they will be best on the day you've made them, you can still enjoy them the following day or two.
🗒 More gluten-free dessert recipes
When you make this strawberry tartlet recipe, please leave a comment and a rating below. I love hearing from you! Thanks in advance. Subscribe to my newsletter and receive new recipes delivered straight to your inbox once a week.
📖 Recipe
Strawberry Tartlets with Vanilla Pastry Cream
Equipment
Ingredients
Crust
- 2 cups graham cracker crumbs, gluten-free, if necessary
- 2 tablespoons sugar
- 6 tablespoons butter, melted
Pastry Cream Filling
- 2 cups whole milk
- 1 tablespoon pure vanilla extract
- 6 large egg yolks
- ⅔ cup sugar
- ¼ cup cornstarch
- 1 tablespoon unsalted butter
Fruit Topping
- fresh strawberries, halved
- ¼ cup strawberry or red currant jelly, gently heated to make it spreadable
Instructions
Graham Cracker Crust
- Preheat oven to 350°F. Combine all ingredients in a medium bowl.
- Press the crumbs up the sides and bottoms of six 4-inch tart pans with removable bottoms.
- Bake at 350°F. for 7 - 8 minutes. Remove from the oven and cool.
Pastry Cream Filling
- In a medium saucepan, heat the milk and vanilla over medium heat until it begins to boil.
- Meanwhile, in a medium bowl, whisk the egg yolks with the sugar until light yellow and fluffy.
- Sift the cornstarch into the egg yolk mixture a little at a time and whisk until no lumps remain.
- Temper the eggs: Pour ¼ cup of the hot milk mixture into the bowl with the egg mixture and whisk quickly until well incorporated.
- Gradually whisk in the remaining milk mixture.
- Pour the mixture through a strainer back into the saucepan. Cook over medium-high heat, whisking constantly until it comes to a boil and is thickened.
- Remove the pan from the heat, transfer the mixture back into the bowl and stir in the butter. Let it cool for 5 minutes, then press a piece of plastic wrap on the surface to prevent a skin from forming.
- Chill for at least 2 hours or overnight.
Assembling the tart
- Spread the chilled pastry cream filling into the cooled crusts, smoothing to the edges, but mounding it a little higher in the center. You can either use a piping bag or a spoon to fill the tarts.
- Top with fresh strawberries sliced in half.
- Brush the berries with strawberry or red currant jelly and chill until serving time. Add a mint leaf just before serving.

Marnie
I'm making these for a Valentine's Day treat! Thanks for a great recipe!
Elaine
Great idea! They'll make an ideal Valentine's dessert!
Terri
These are so elegant, yet easy and light tasting - the perfect spring dessert! I love anything I can make in advance for company - I get too stressed cooking AND entertaining!
Elaine
Thanks Terri! Agreed! It makes having friends over so much easier if you have dessert made in advance.
Asha
These are so cute! Loved the easy to follow instructions. These will be perfect for my upcoming mother's day brunch that I'm hosting 🙂
Elaine
Thanks Asha!
Cindy Mom the Lunch Lady
These remind me of the most delicious strawberry tarts we use to buy at the coffee shop when I was a young girl. They are so pretty!
Elaine
Thanks Cindy!
nancy
perfect personal sized strawberry tarts. Only problem was that i ate three. oops
Elaine
Happy to hear that you liked them, Nancy!