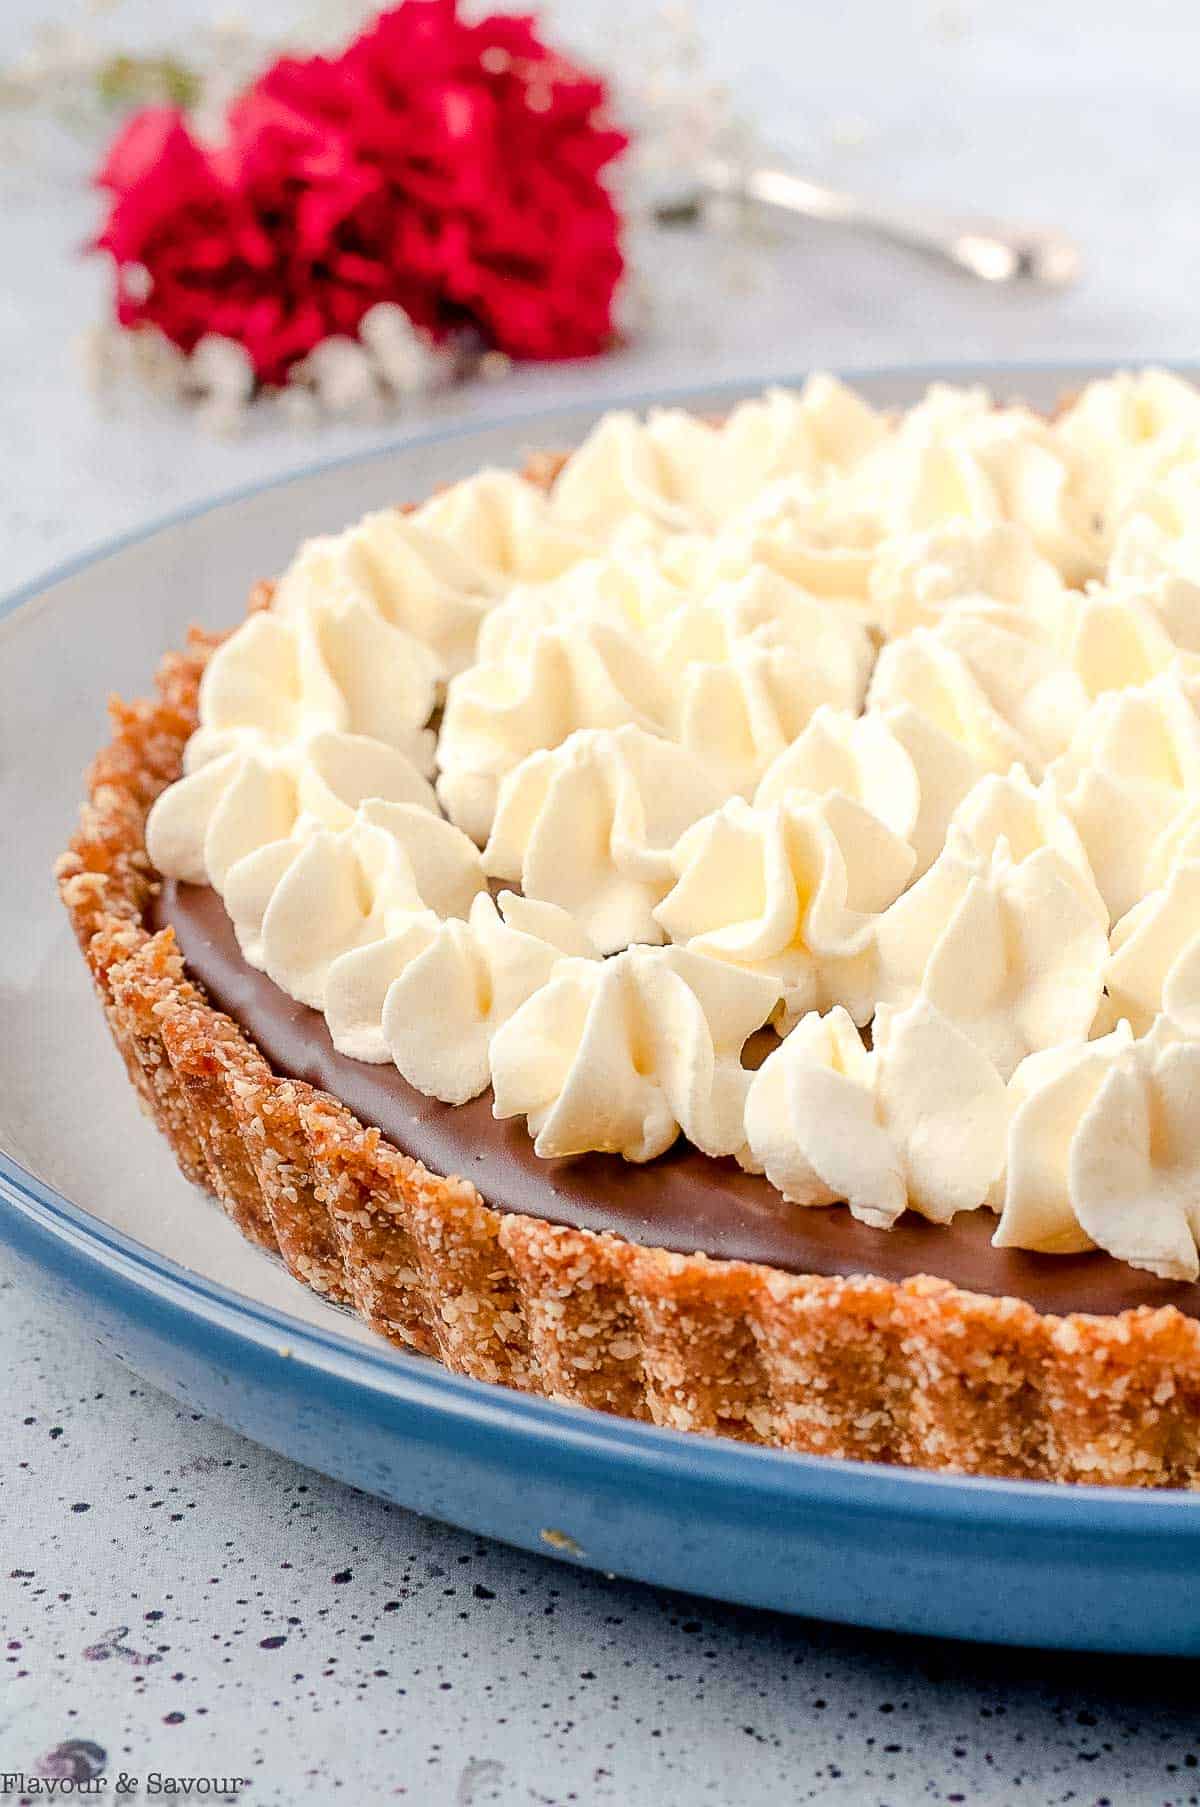
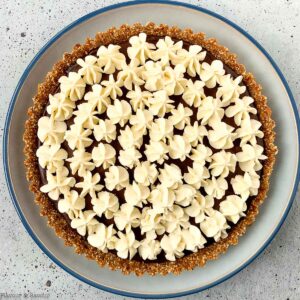
This easy but elegant espresso chocolate ganache tart with a press-in hazelnut crust makes a spectacular dessert! With a rich, silky smooth chocolate mocha filling and a crunchy crust, this gluten-free chocolate tart recipe is quick to make!
Some days you simply need an elegant dessert for a special occasion. And often that special dessert involves chocolate or chocolate AND espresso as in this Affogato Coffee recipe!
This amazing espresso chocolate ganache tart makes a perfectly sweet ending to a special dinner for winter holidays, Valentine's Day, Easter, or a summer dinner party. Treat Dad on Father's Day!
Chocolate is welcome at any time of the year, right? Chocolate ganache sounds fancy, but in reality, it's just chocolate and cream and it couldn't be easier to make!
Jump to:
❤️ Why you'll love this recipe
- Every bite of this silky smooth chocolate tart is "worth it!"
- It's lightly spiked with espresso (and optional Kahlua) to give it a mocha coffee flavour.
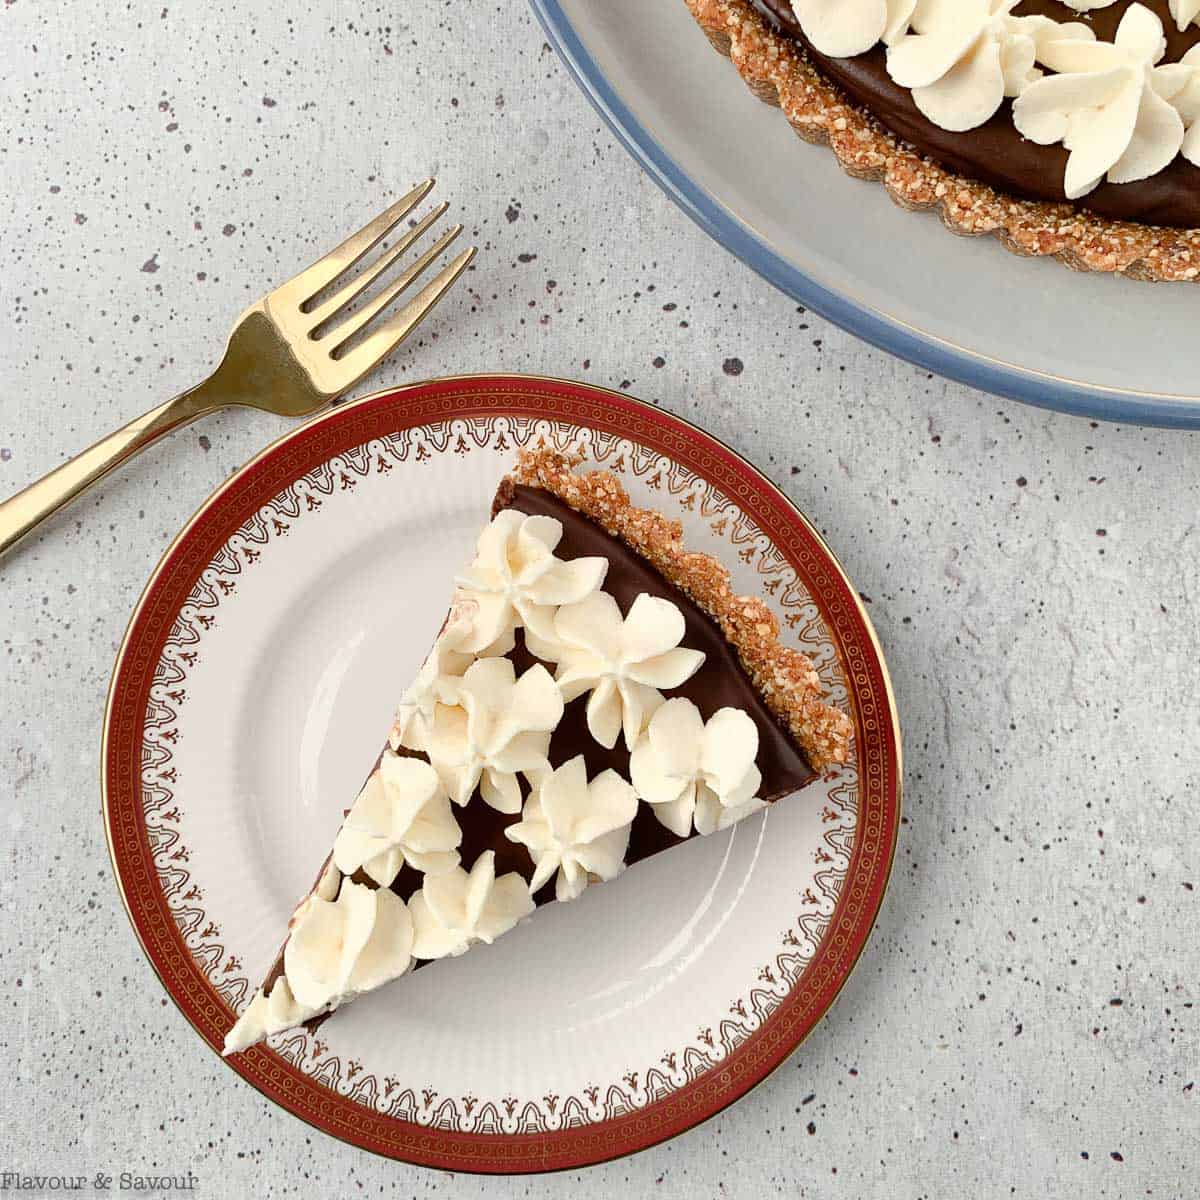
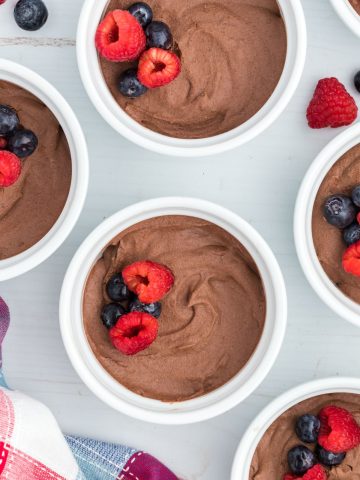
- You can leave it plain, add a sprinkle of flaky sea salt, decorate it with whipped cream, or top it with berries or cherries. Get creative!
- You can make this chocolate tart a day or two in advance!
- It's naturally gluten-free!
🛒 Ingredients
You'll find the full printable recipe, including ingredient quantities, below. But first, here are a few details about the ingredients to help you make this chocolate ganache tart recipe perfectly every time.
This is not a low-calorie dessert! Chocolate ganache is definitely an indulgence, so if your occasion warrants something very special, here's a recipe for you!
For the nut crust
You'll need roasted hazelnuts (see How to Roast Hazelnuts for easy tips for removing their skins), unsalted butter, sugar, and kosher salt.
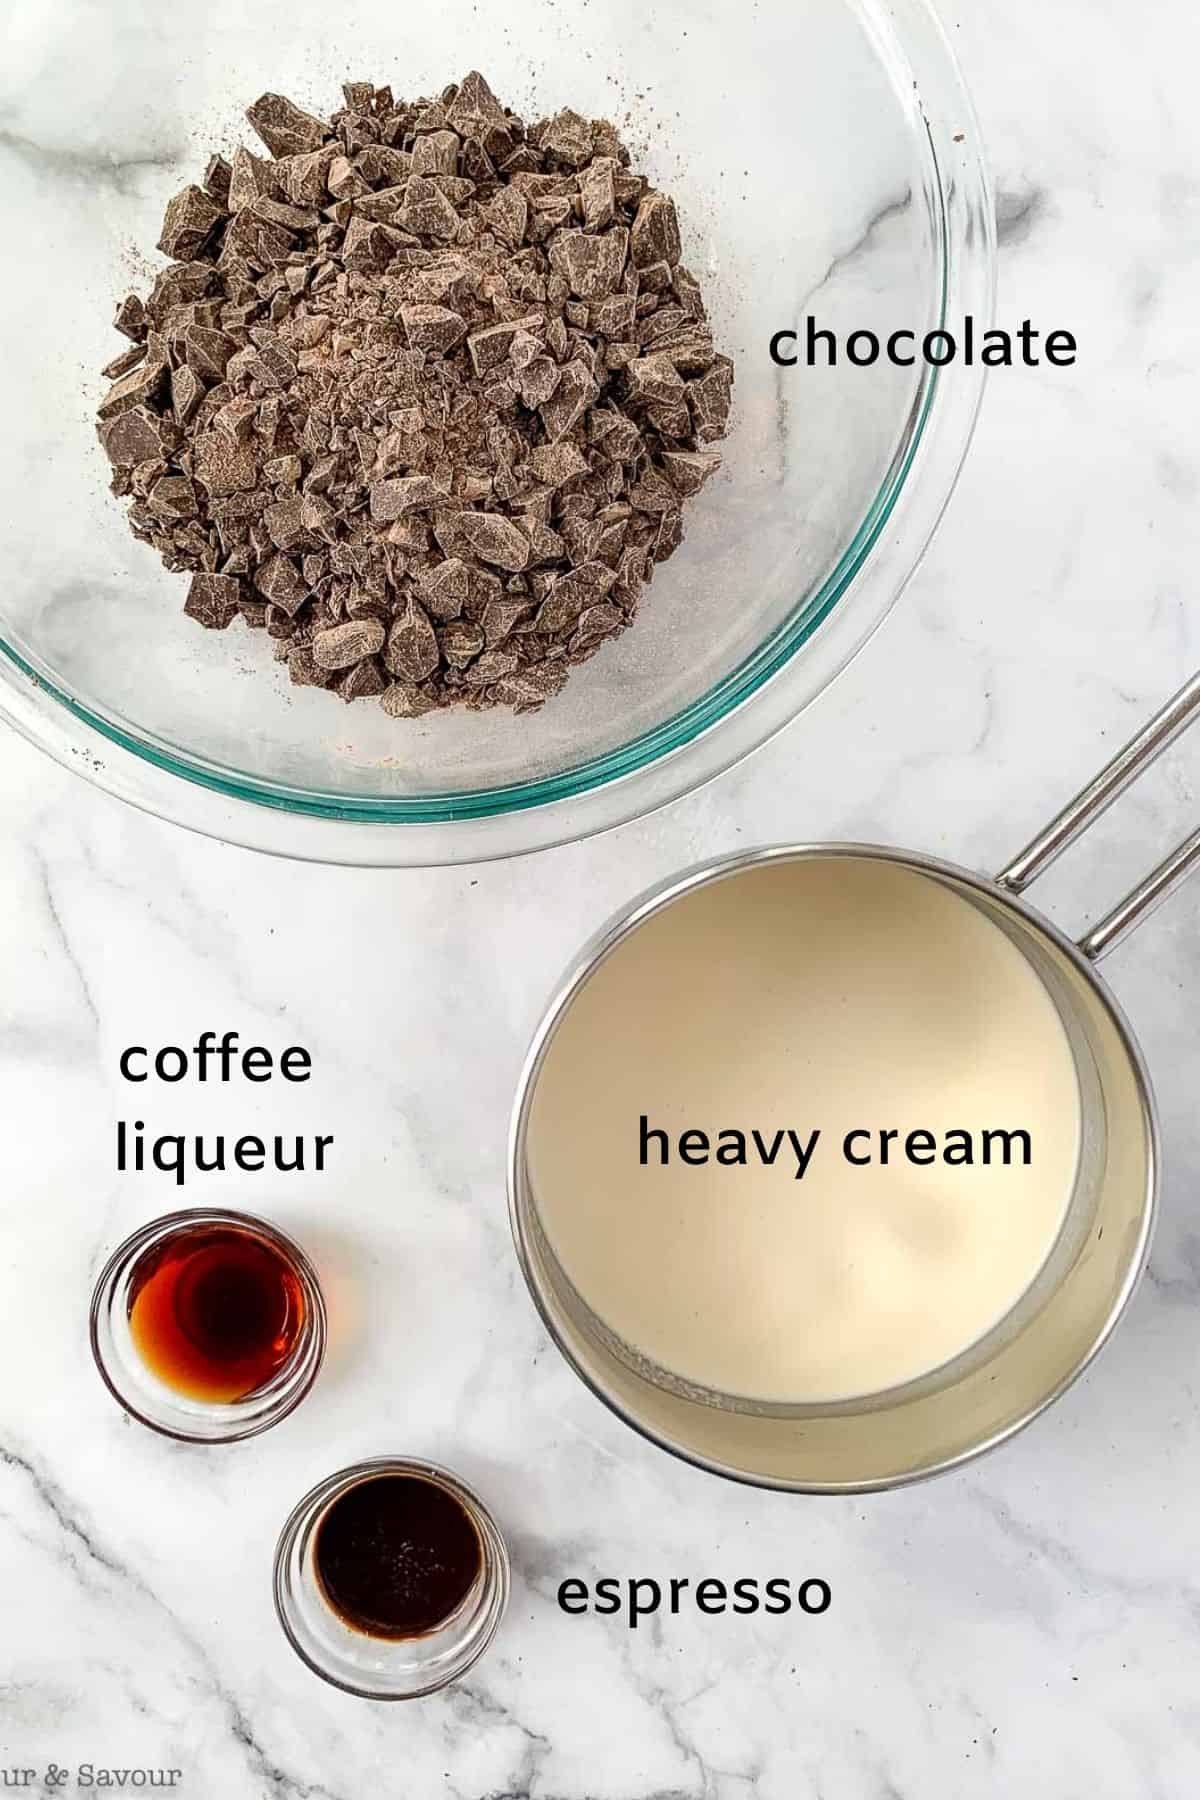
For the ganache filling
- chocolate: Cheap chocolate chips won't cut it here! Use the best quality couverture dark chocolate like Bernard Callebaut, Guittard, Lindt or Valrhona. Couverture chocolate contains at least 30 percent cocoa butter. As a result, it is smooth and it melts quickly and evenly, making it ideal for this silky smooth chocolate pie!
- heavy cream: also called whipping cream. You'll need 8 ounces (1 cup) for the filling, and up to an additional 8 ounces for garnishing the tart if you decide to do so.
- espresso: if you don't have espresso, you can substitute instant espresso powder dissolved in hot water
- Kahlua: a coffee liqueur, optional
For the whipped cream topping
- heavy cream
- confectioner's sugar
- pure vanilla extract
- unflavoured gelatin (if you want to make stabilized whipped cream)
🔪 Step-by-Step Instructions
Here's a quick overview of what you'll do to make this gluten-free chocolate hazelnut tart. You'll find detailed instructions in the recipe card below.
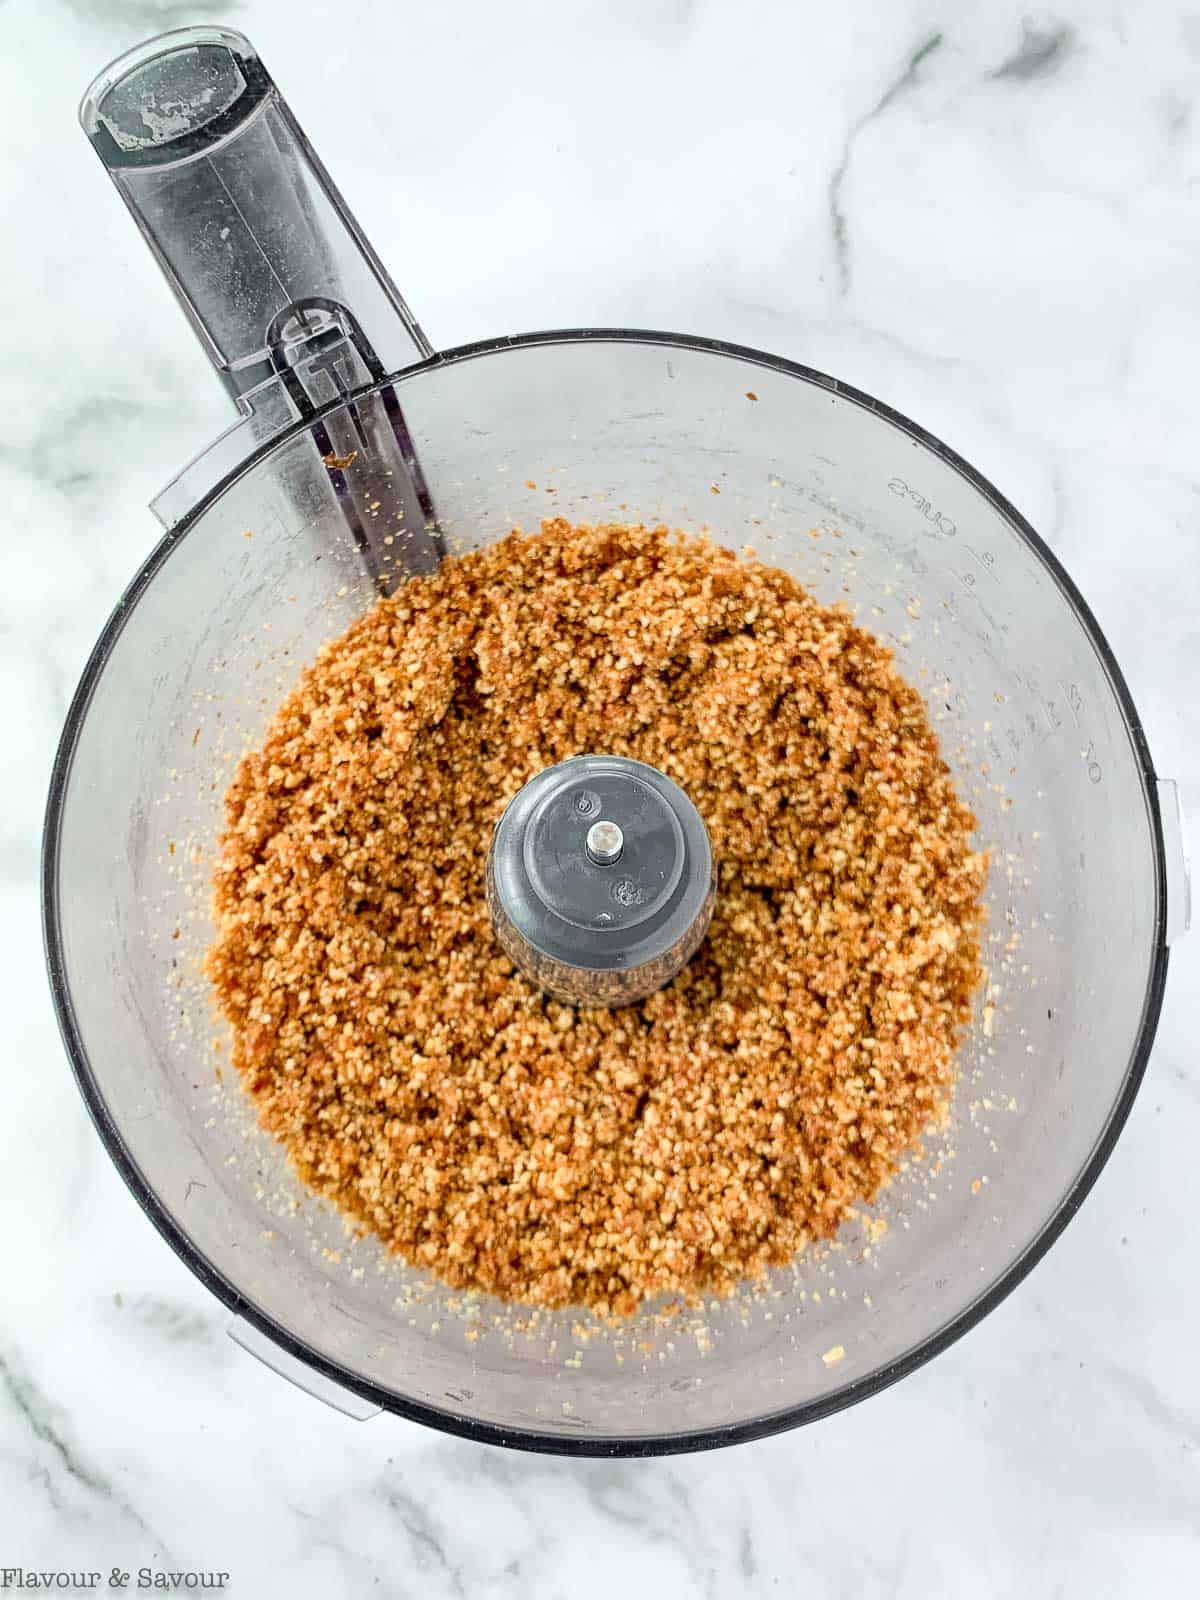
Step 1: Begin by making the hazelnut crust.
You'll combine the crust ingredients, (a food processor makes this very easy) then press them into the sides and base of a 10-inch non-stick tart pan with a removable bottom lined with parchment paper. While the crust is baking, you can make the filling.
Step 2: Prepare the espresso chocolate ganache filling
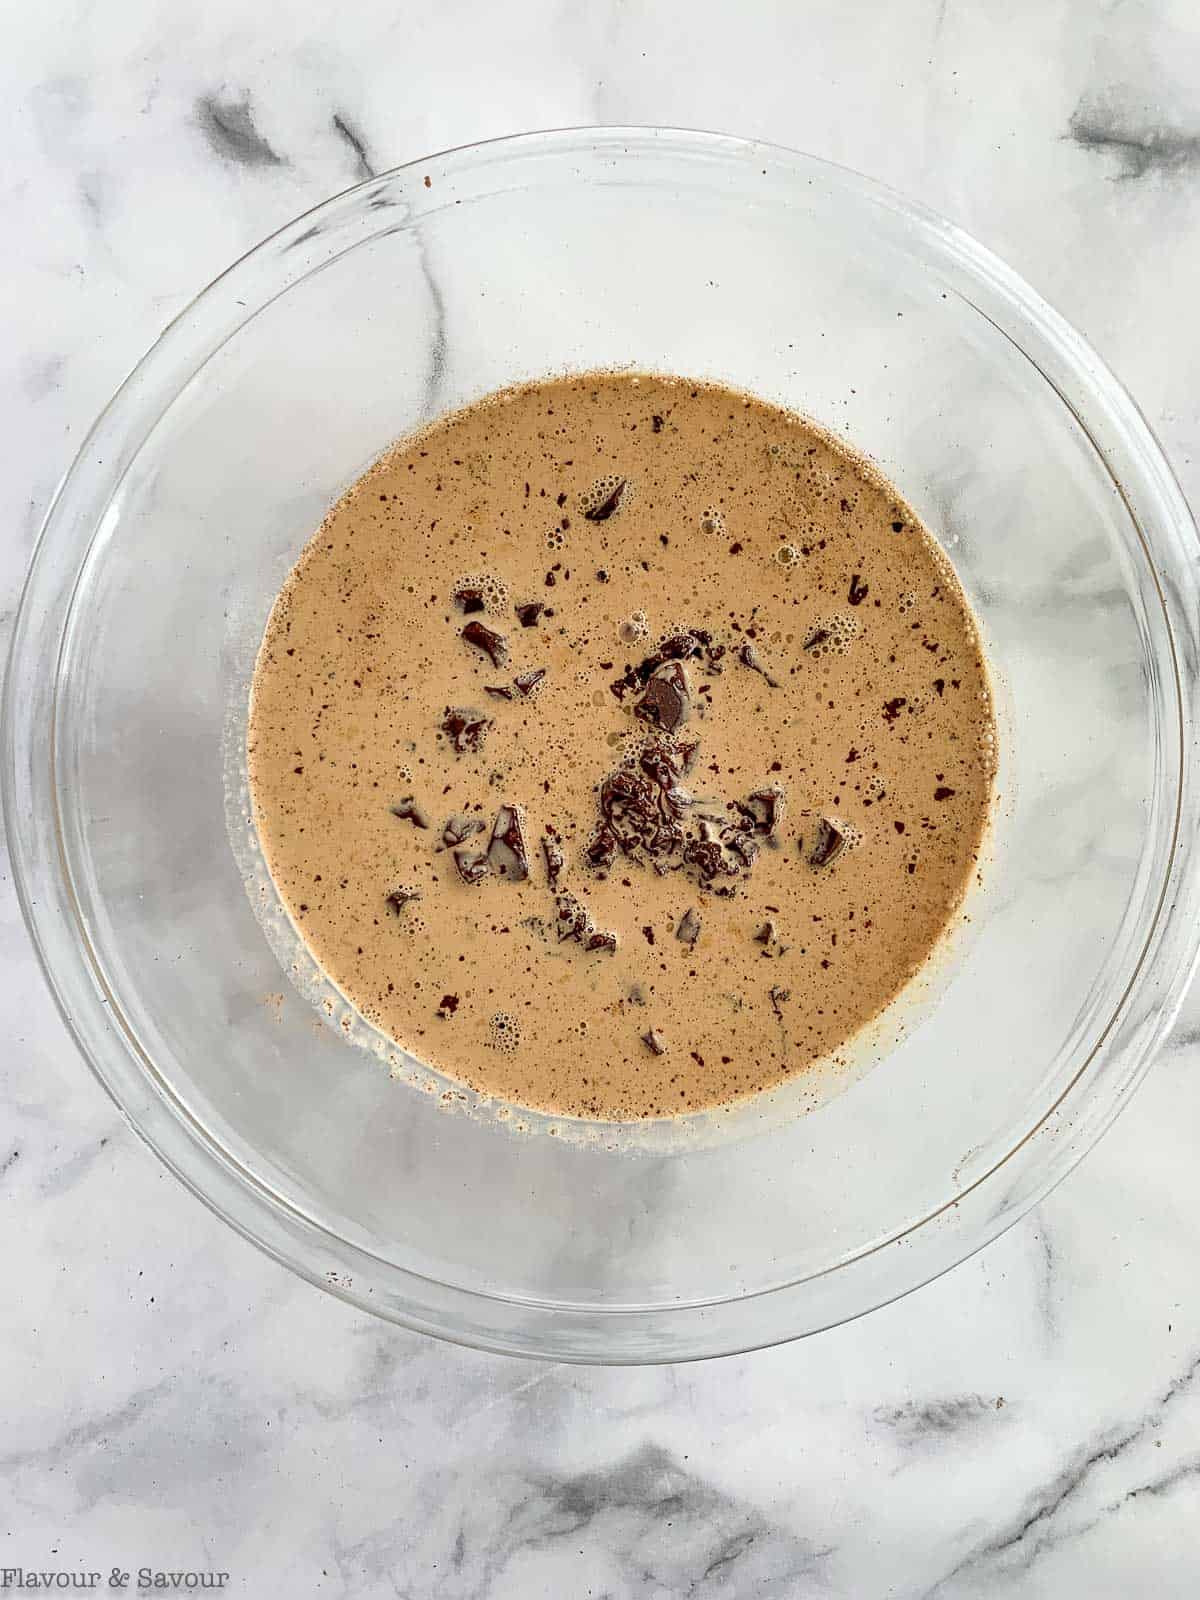
You'll put the chopped chocolate in a heat-proof bowl, heat the cream in a small saucepan on the stovetop until almost boiling, then pour the hot cream in the saucepan over the chocolate in the bowl to melt it.
Once it's all smooth, you'll stir in the espresso and the coffee liqueur. Then all you have to do is pour the rich chocolate ganache filling into the cooled crust and chill the tart. And because you've added espresso, the filling actually becomes a mocha ganache!
Step 3: Whip the cream
If you decide to garnish your tart with whipped cream and you want to decorate it a day in advance, I'd suggest using stabilized whipped cream so that the whipped cream holds its shape. Stabilized whipped cream is nothing more than simply adding a small amount of softened gelatin to it.
You'll whip the cream to the frothy stage, add confectioner's sugar and vanilla, then continue beating to the soft peak stage. Once the peaks almost hold their shape, you'll drizzle in the softened gelatin and continue beating until the cream has formed firm peaks.
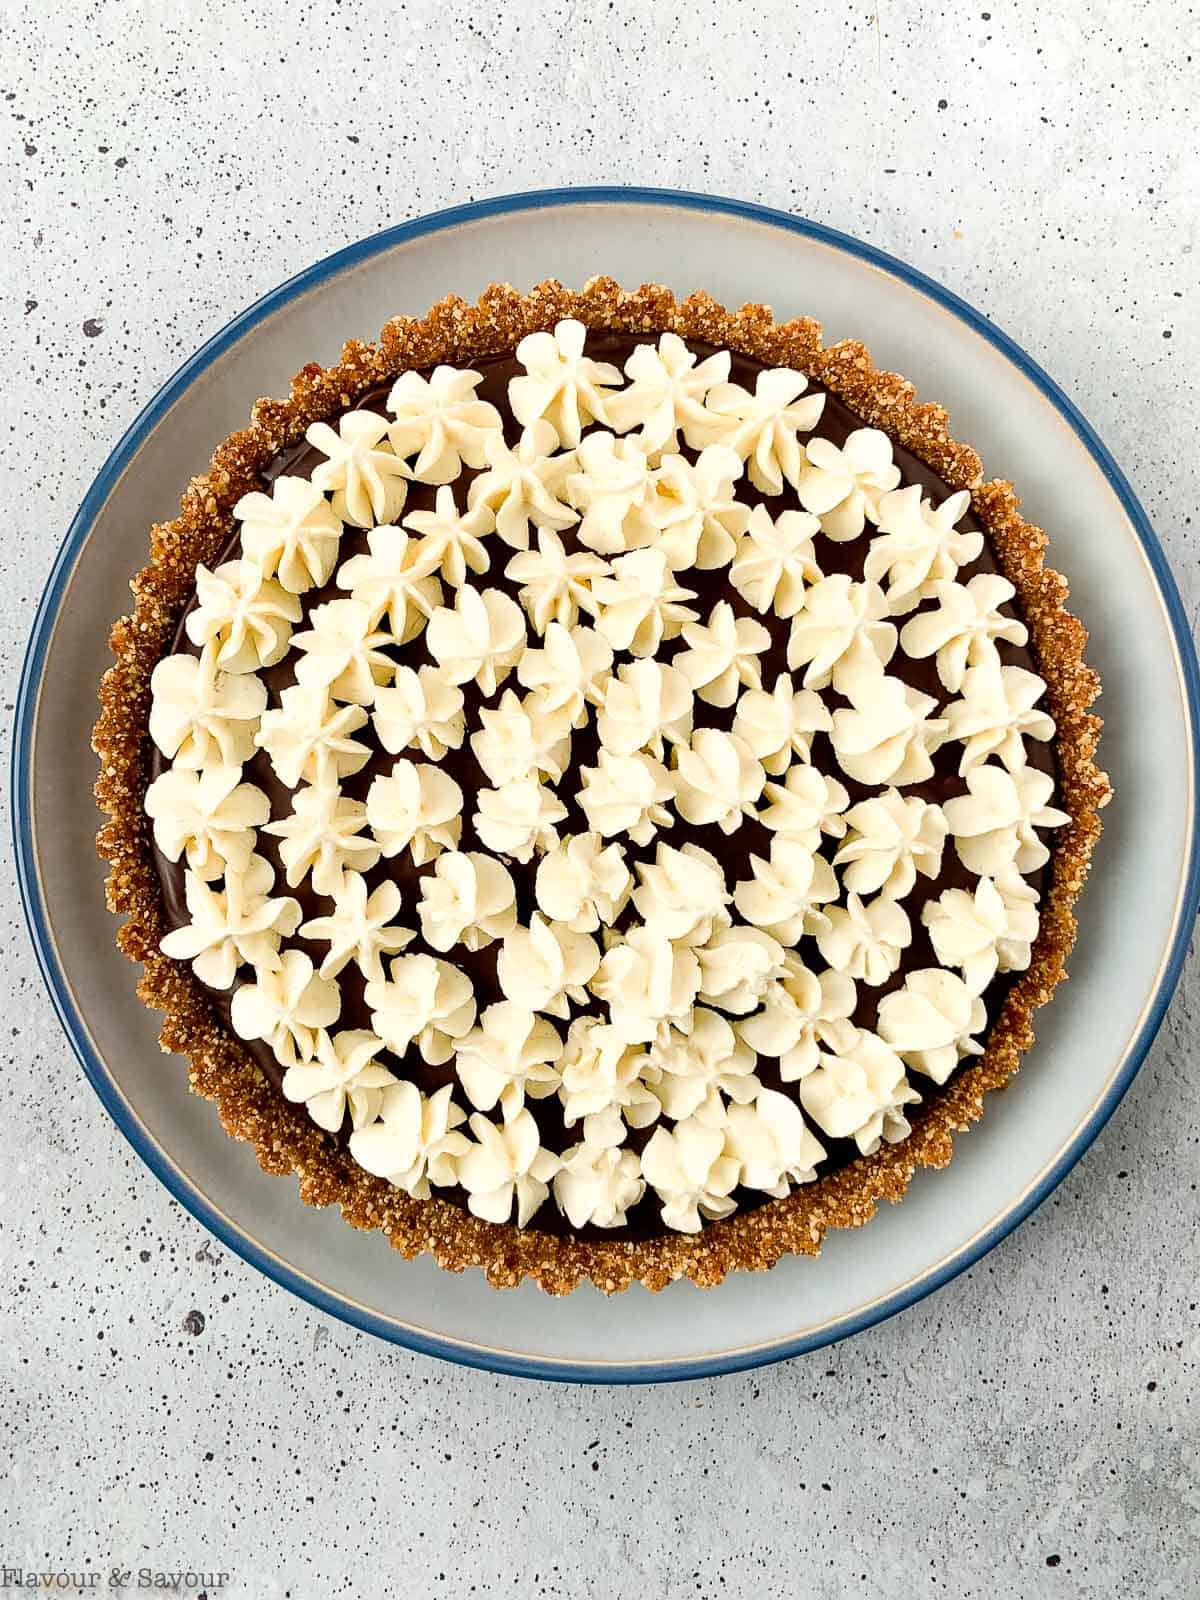
Now you can either pipe the cream on in a pattern or spread it in a thin layer.
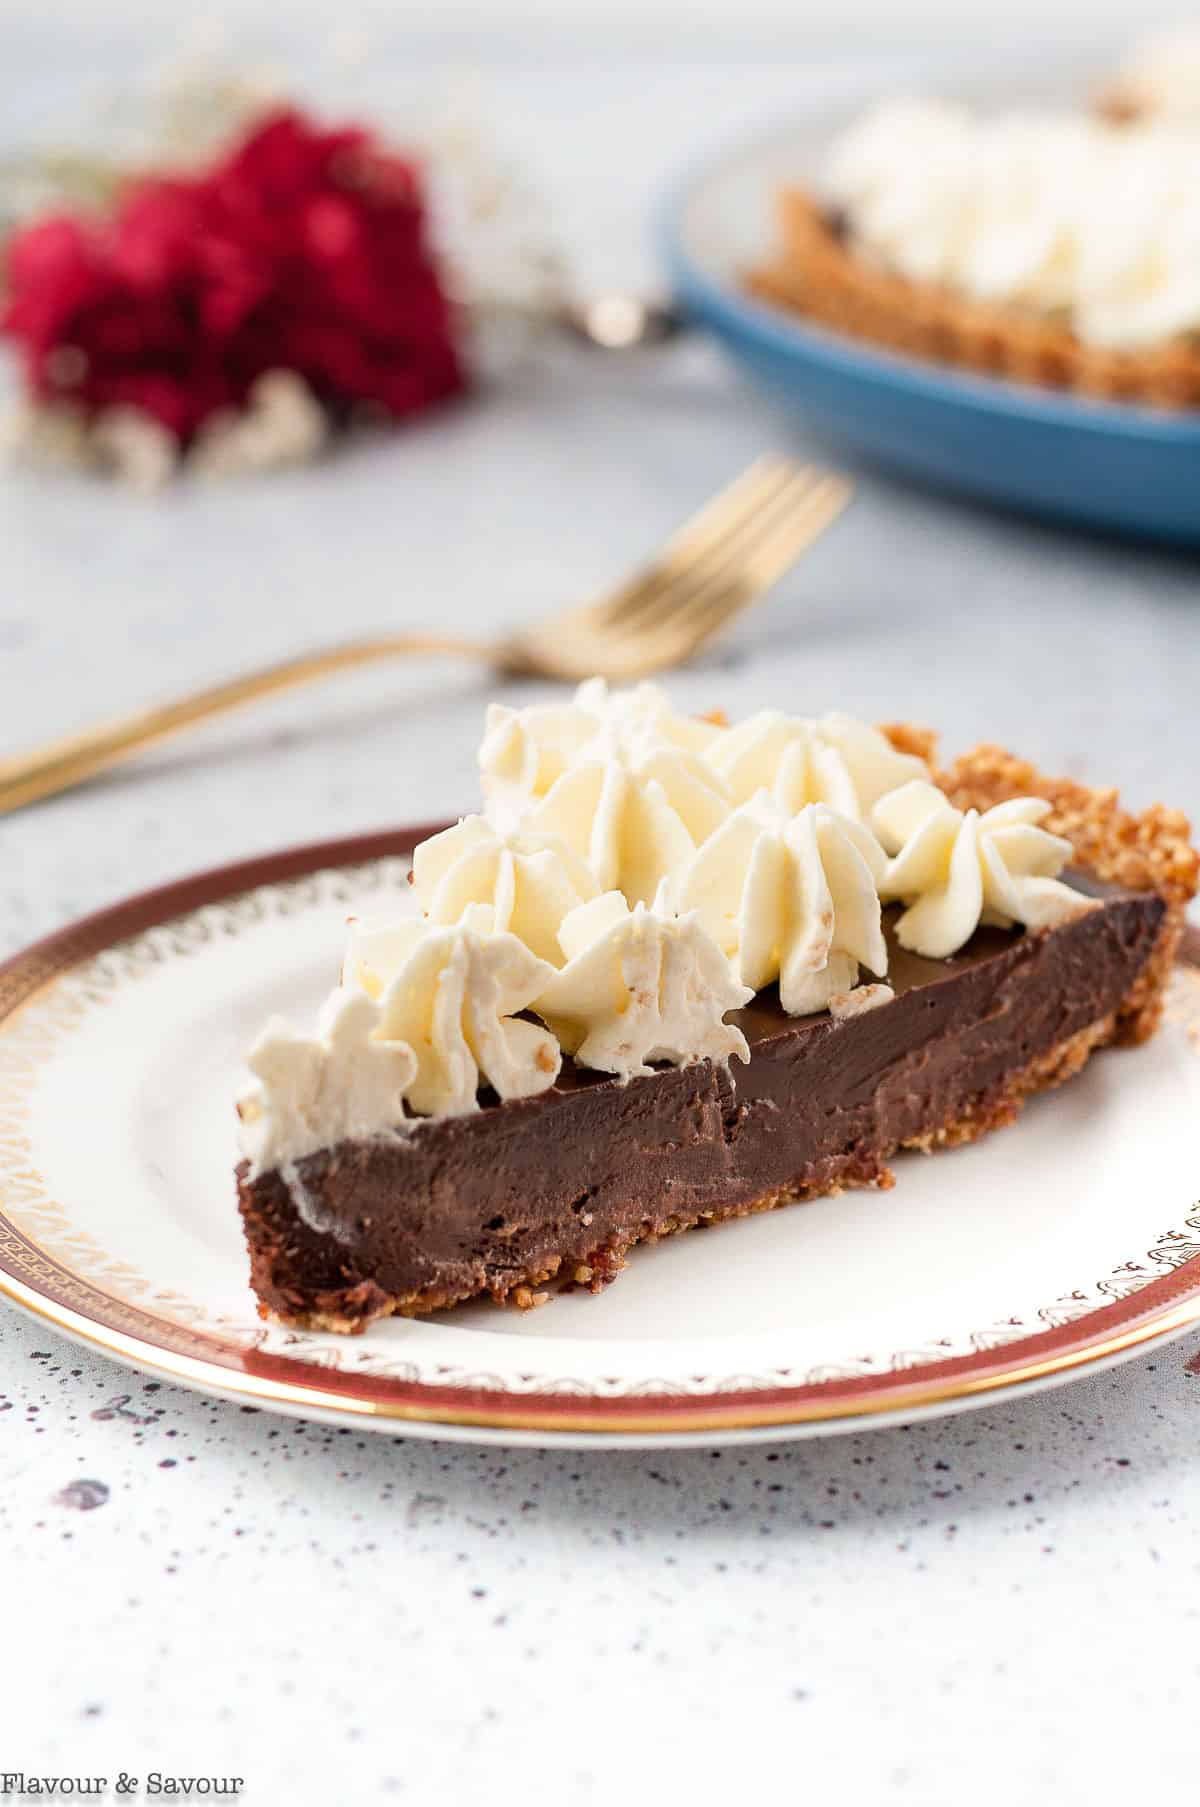
Refrigerate your beautiful ganache tart until serving time. Slice with a sharp knife dipped in hot water to get perfectly clean slices.
👍🏼 Pro Tips
Making the hazelnut tart shell
Take your time to press the nut mixture evenly into the tart pan. It's important not only for looks but for structure as well.
Start by pressing the crumbs up the sides, using the back of a spoon with one hand while you place the fingers of your other hand on the top of the pan while you press. This technique helps to make a clean top edge. Check to make sure you haven't left it too thin in places, or it may crumble when you slice the pie.
Once you've finished the sides, spread the remaining nut crumbs over the bottom of the pan and press them firmly either with your fingers, with the back of a spoon, or even with the base of a drinking glass or a metal measuring cup.
Making stabilized whipped cream
If you'd like to decorate your tart a day or two ahead of time, I'd suggest making stabilized whipped cream so that it doesn't lose its air and deflate. Stabilized whipped cream will hold its shape well for a few days! It's perfect for piping on tarts, cakes or cheesecakes.
Detailed instructions for stabilizing whipping cream are in the recipe card below.
❓Questions you might have
If you use a 10-inch tart pan, the filling (without the whipped cream on top) is about ½ to ¾ inch thick.
🔁 Possible Variations
Substitute any nut for hazelnuts. This tart is delicious with a pecan crust, too. Or make this chocolate ganache tart with almond crust instead. Delicious!
Keep it nut-free! Use a graham cracker crust (gluten-free if necessary) or a cookie crumb crust.
Keep your garnish super simple! Sprinkle a little flaky sea salt on top. Delicious!
🥶 Storage and Freezing Instructions
Store this tart in the fridge for up to a week, or in the freezer for a month or so.
🗒More recipes for gluten-free tarts and pies
- Gluten-free Lemon Curd Tart with Berries
- Dutch Apple Pie with Almond Flour Crust
- Gluten-free Strawberry Rhubarb Crumble Pie
- Gluten-free Blueberry Lemon Ginger Galette
- Fresh Fruit Tart with Vanilla Pastry Cream

When you make this recipe, please leave a comment and a star rating below. I love hearing how my recipes turned out for you, or what adaptations you made. Thanks in advance!
Subscribe to my weekly newsletter and have new recipes delivered straight to your inbox.
📖 Recipe
Gluten-free Espresso Chocolate Ganache Tart with Hazelnut Crust
Equipment
Ingredients
Hazelnut Crust
- 2.5 cups hazelnuts, roasted and skinned
- 4 tablespoons unsalted butter, melted
- 6 tablespoons sugar
- ¾ teaspoon Kosher salt
Chocolate Espresso Ganache
- 12 ounces high quality chocolate, chopped
- 8 ounces heavy cream, aka whipping cream
- 1 ½ teaspoons espresso powder dissolved in 1 tablespoon hot water
- 1 ½ tablespoons coffee liqueur, like Kahlua (optional)
Optional Whipped Cream Garnish
- 8 ounces heavy cream, aka whipping cream
- 3 to 4 tablespoons confectioner's sugar
- ½ teaspoon pure vanilla extract
- 1 teaspoon unflavoured gelatin
- 1 ½ tablespoons water
Instructions
Hazelnut Crust
- Preheat your oven to 350°F. Line the base of a 10-inch tart pan with a removable bottom with parchment paper, cut to fit inside the pan.
- Roast and skin the hazelnuts (see How to Roast and Skin Hazelnuts for easy tips), then chop them finely in a food processor.
- Add sugar, salt and melted unsalted butter to the processor and pulse just until combined. The mixture should clump together when squeezed.
- Press this mixture evenly up the sides and into the bottom of the tart pan. See Helpful Tips in the post for the best way to press a crumb crust into a fluted tart pan.
- Bake the crust for 20 - 22 minutes or until golden brown. Remove from the oven and set aside to cool.
Chocolate Ganache Filling
- Dissolve 1 ½ teaspoons of espresso powder in 1 tablespoon of hot water. Set aside. Measure 1 ½ tablespoons of coffee liqueur (like Kahlua) and set aside.
- Put the finely chopped chocolate in a heat-proof bowl.
- In a small saucepan, heat the heavy cream over medium heat until bubbles form around the edge and until it is almost boiling.
- Pour the hot cream over the chocolate in the bowl. Let it stand for about 1 to 1 ½ minutes, then stir until completely smooth and shiny.
- Stir in the espresso and coffee liqueur.
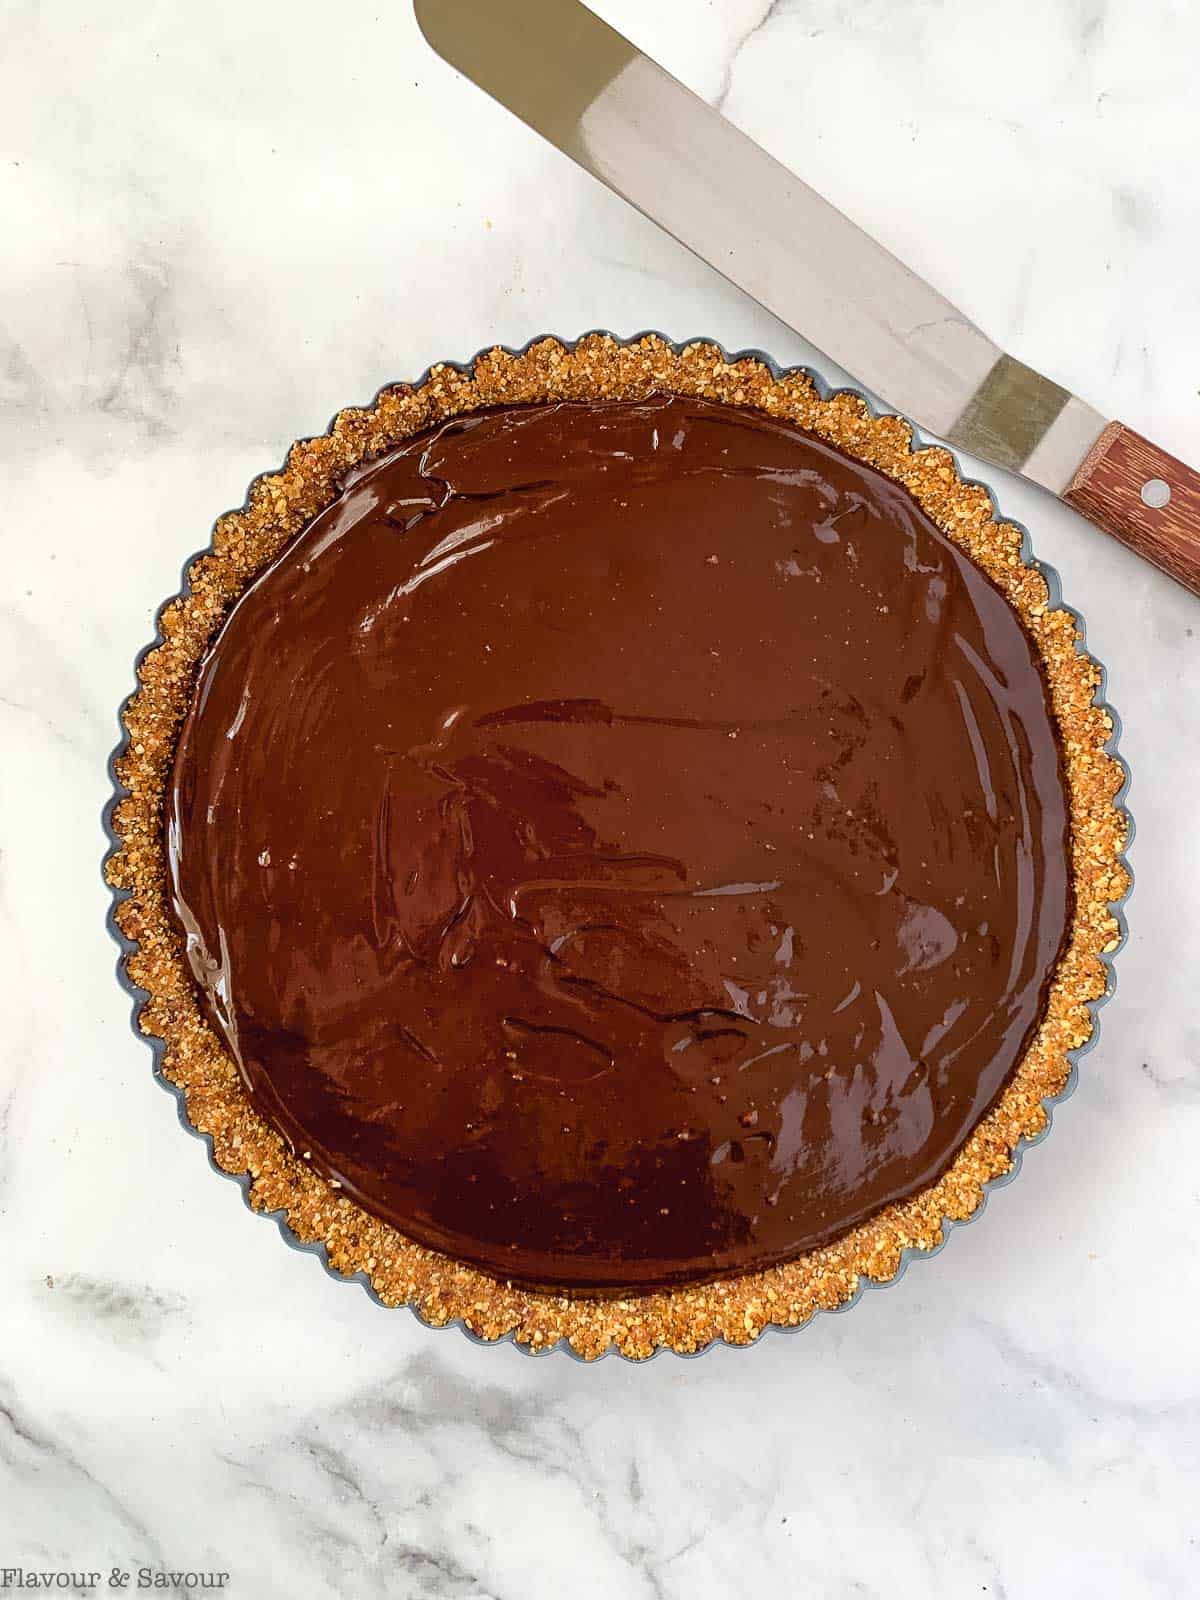
- Pour the chocolate espresso filling into the crust, smoothing it evenly to the edges. An offset spatula works well for this task.
- Chill the tart before adding a garnish of whipped cream or berries.
Whipped Cream Garnish
- Chill a bowl and beaters. Starting with chilled ingredients and equipment will help the cream to chill faster and will increase its volume.
- Pour 1 ½ tablespoons of water into a small microwave-safe bowl. Sprinkle one teaspoon of unflavoured gelatin on top (like Knox) and let it bloom for 5 minutes.
- Soften the gelatin by microwaving it for 5 seconds. If you can still see granules, microwave it for 3 seconds more.
- Add a tablespoon of whipping cream to the softened gelatin, stir, then set aside.
- Whip the heavy cream on medium speed until it's foamy. Add the confectioner's sugar and vanilla extract and continue beating until it has reached soft peaks that almost hold their shape.
- With the mixer running on low speed, slowly drizzle in the gelatin mixture. Increase the speed to medium once again and continue beating until the cream has formed firm peaks. Be careful not to beat past this stage, or it may become lumpy and start to look chunky or like butter.
- You will need to use the whipped cream right away before it sets. Transfer it to a piping bag with a star tip and pipe the cream on top of your chilled tart.
- Refrigerate your gorgeous tart until serving time. Slice with a sharp knife dipped in hot water to get perfectly clean slices.
Lily
Perfect! I made this yesterday and I was surprised at how easy it is. Incredibly delicious!
Elaine
Thanks so much for the 5 stars, Lily!