An easy no-bake recipe for Chocolate Peanut Butter Rice Krispie Squares made in 10 minutes with only four ingredients. These crunchy, crisp rice cereal bars satisfy those of us who love the winning combination of peanut butter and chocolate!
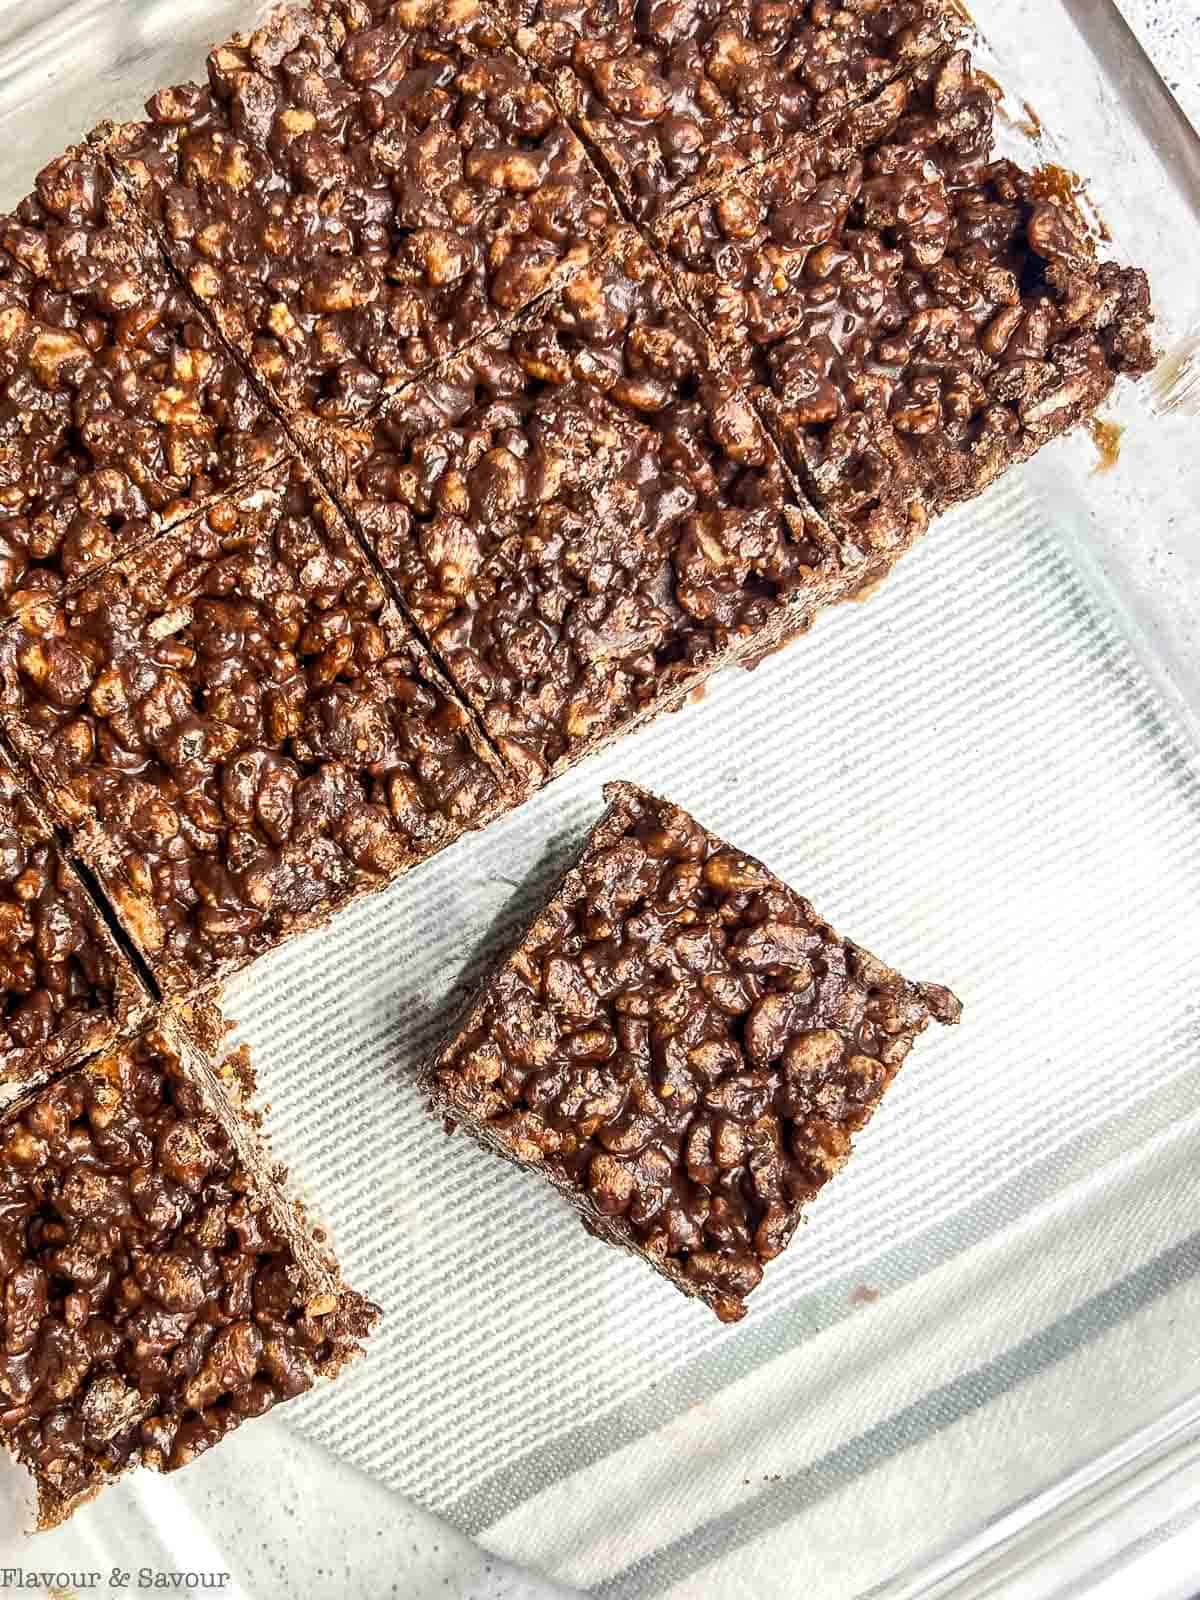
Chocolate and peanut butter--who doesn't love that winning combination? It's time for another chocolate peanut butter recipe here on Flavour and Savour.
❤️ Why you'll love this recipe
- 4 ingredients. You'll only need four ingredients and about 10 minutes to make these Rice Krispie treats.
- No refined sugar. This recipe does not contain marshmallows or corn syrup. It's made with honey instead.
- Loved by all. These Chocolate Peanut Butter Rice Krispie Squares are not just for kids. Every adult I've offered these to loves them just as much as kids do!
- No frosting. There is no need to frost these or top them with chocolate. These are not peanut butter Rice Krispie squares with chocolate on top. The chocolate is melted with the peanut butter and mixed together with crisp rice cereal. They're sweet enough with chocolate mixed right into the squares.
- Always turns out. This is a no-fail recipe that I've made many times over the years.
If you adore this flavor combo, have a peek at these other gluten-free peanut butter chocolate recipes, too.
- Chocolate Peanut Butter Pie (Vegan)
- Grain-free Peanut Butter Chocolate Pumpkin Energy Balls
- Grain-Free Peanut Butter Chocolate Swirl Bars
- No-Bake Chocolate Peanut Butter Bars
- Chocolate Peanut Butter Collagen Bars (protein bars)
- Chocolate Peanut Butter Protein Smoothie
🛒 Ingredients (only four!)
You'll find a complete list of the simple ingredients with quantities in the recipe card below. But before we get to the full recipe, here are a few notes.
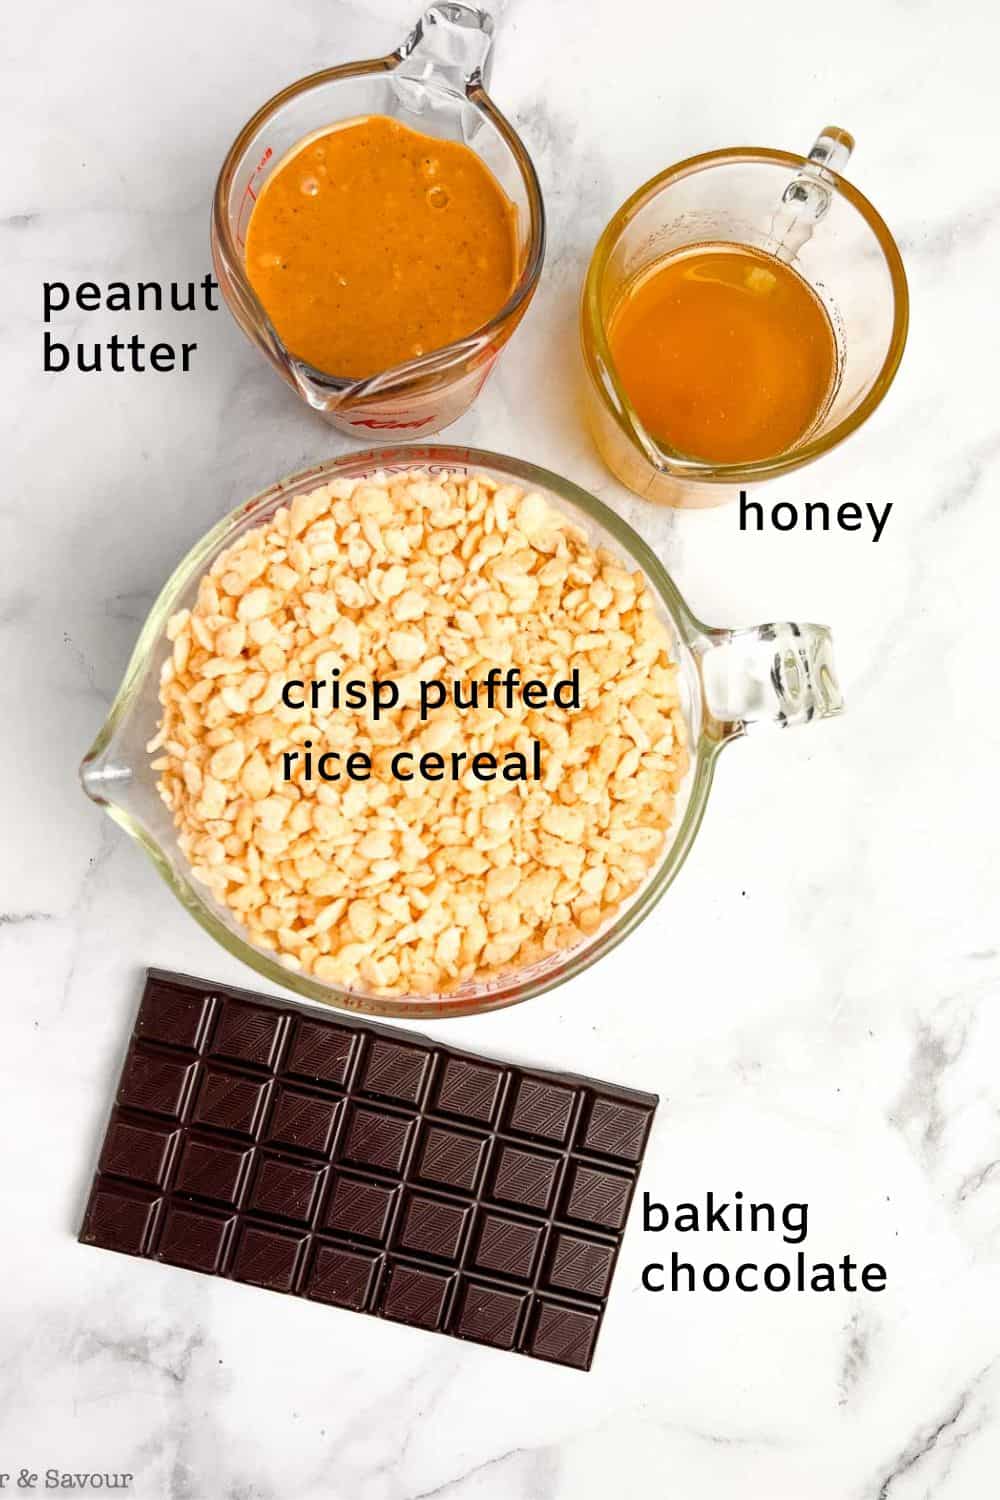
- chocolate: You'll need a 7-ounce bar of dark baking chocolate. You can also use semi-sweet chocolate chips, or any variety of chocolate chips (like milk chocolate chips) if you'd like.
- creamy peanut butter: This recipe uses unsweetened natural peanut butter.
- honey: liquid honey, or use maple syrup to keep this recipe vegan. The squares will be a little softer if you use maple syrup.
- puffed rice cereal: Classic Rice Krispies or Brown Rice Rice Krispies have a crisp texture, perfect for these bars. Some of the natural puffed rice cereals called "rice puffs" can be somewhat tougher and chewier in a recipe like this. Look for the natural rice cereals called "Crispy Rice Cereal."
🔪 Instructions
Here's an overview of what you'll do to make this recipe perfectly. You'll find complete instructions in the recipe card at the end of this post.
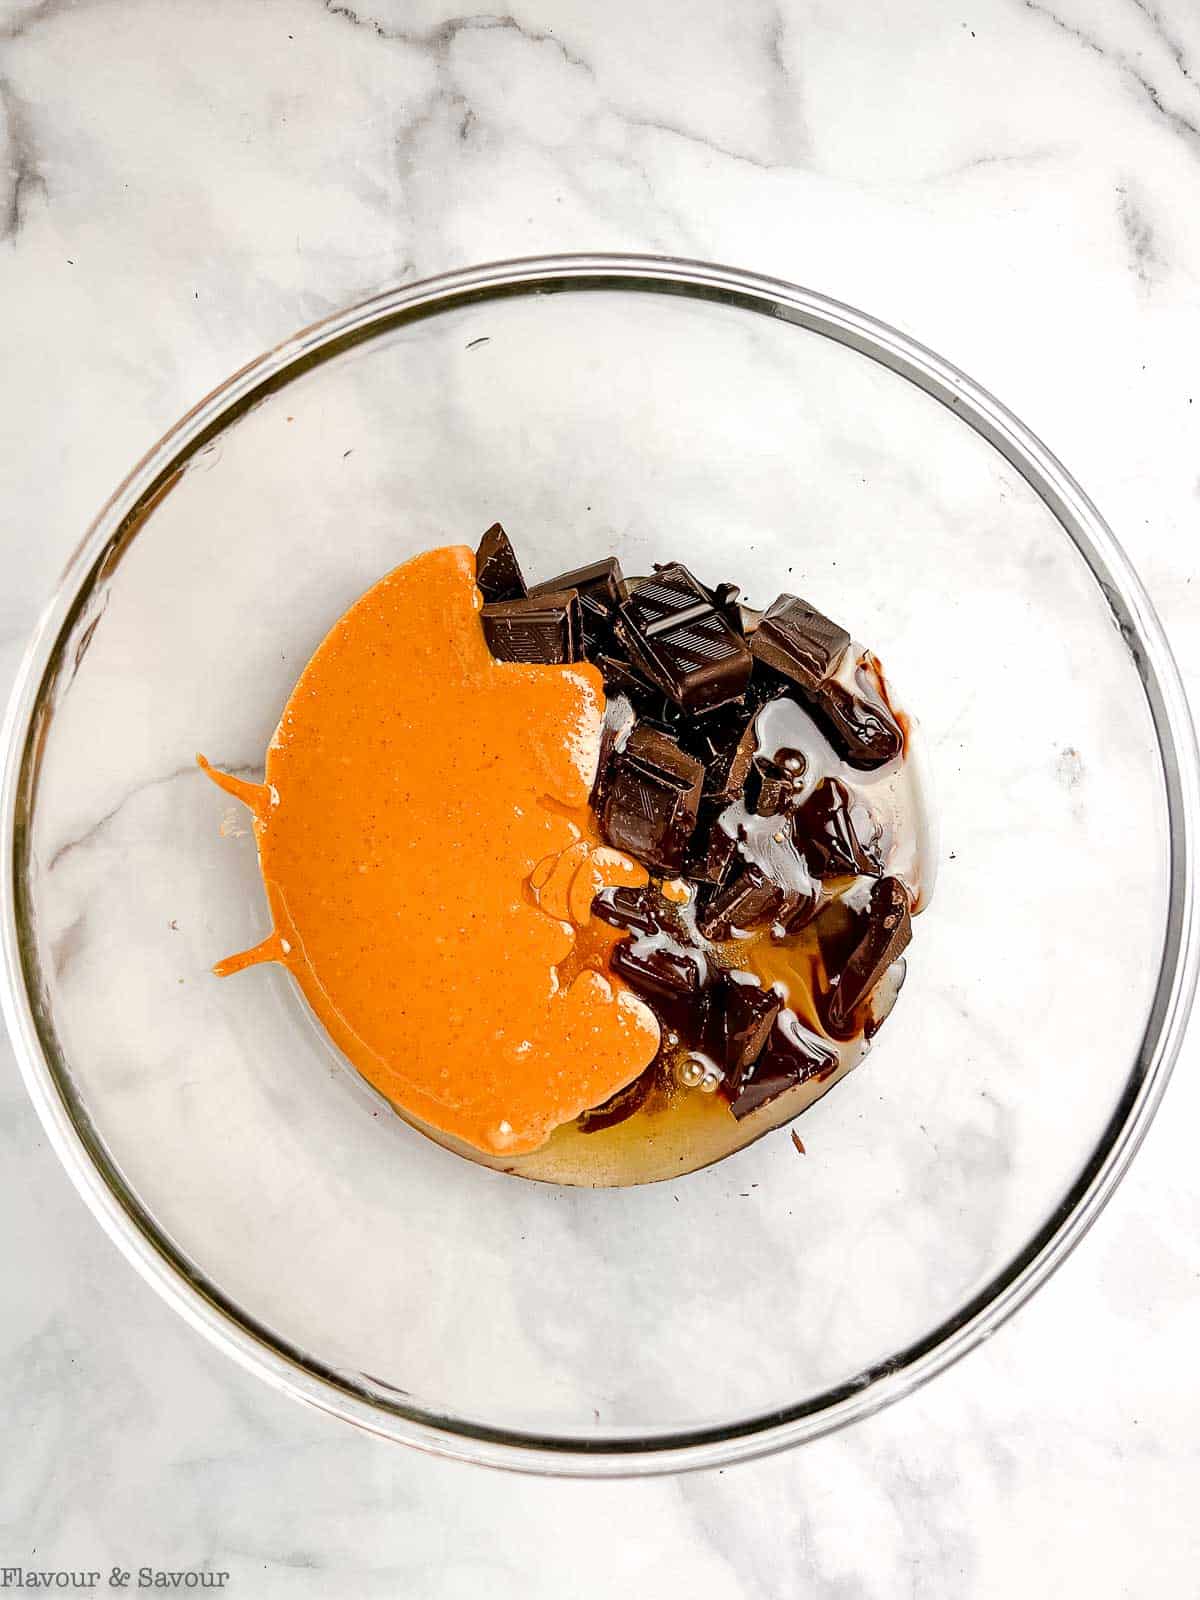
- This peanut butter Rice Krispie treat recipe couldn't be easier. Gently microwave the honey, peanut butter and chocolate pieces in a microwave-safe bowl large enough to hold 5 cups of crisp rice cereal. You can, of course, heat this in a large saucepan over medium-low heat on the stovetop.

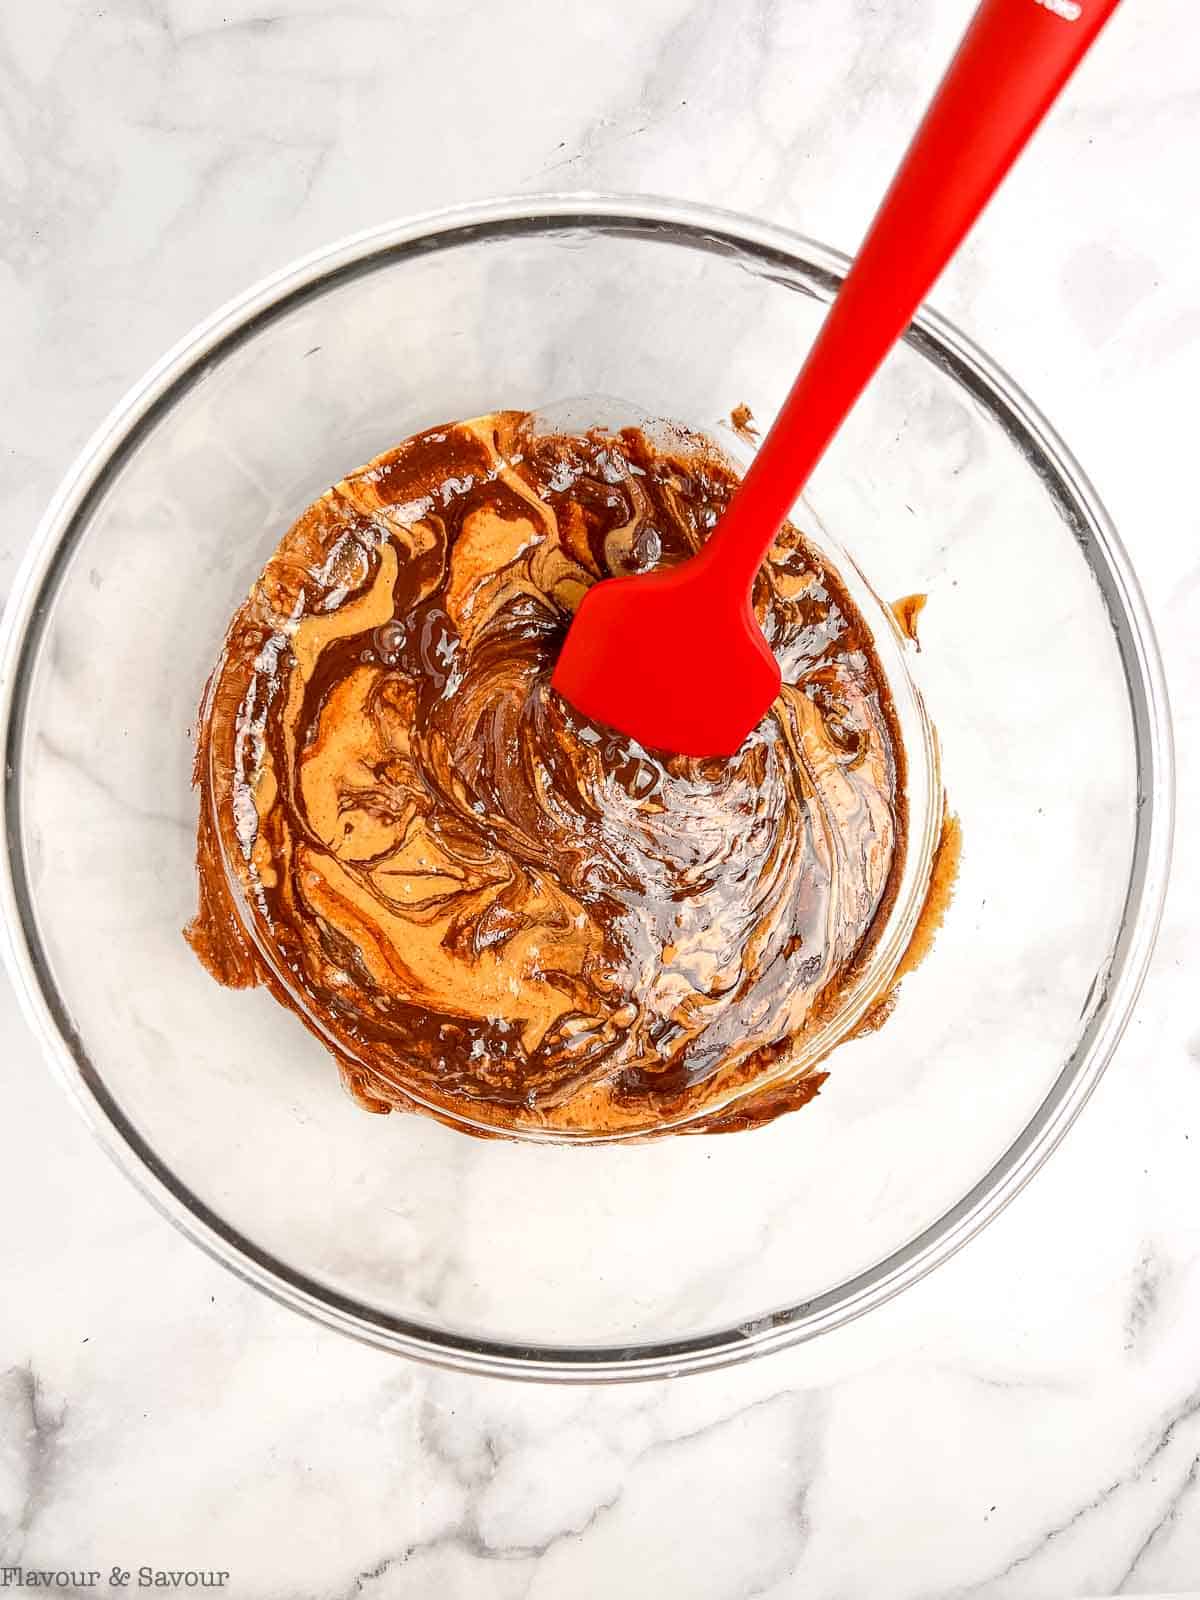
- Stir the melted chocolate with the honey and peanut butter until well combined.

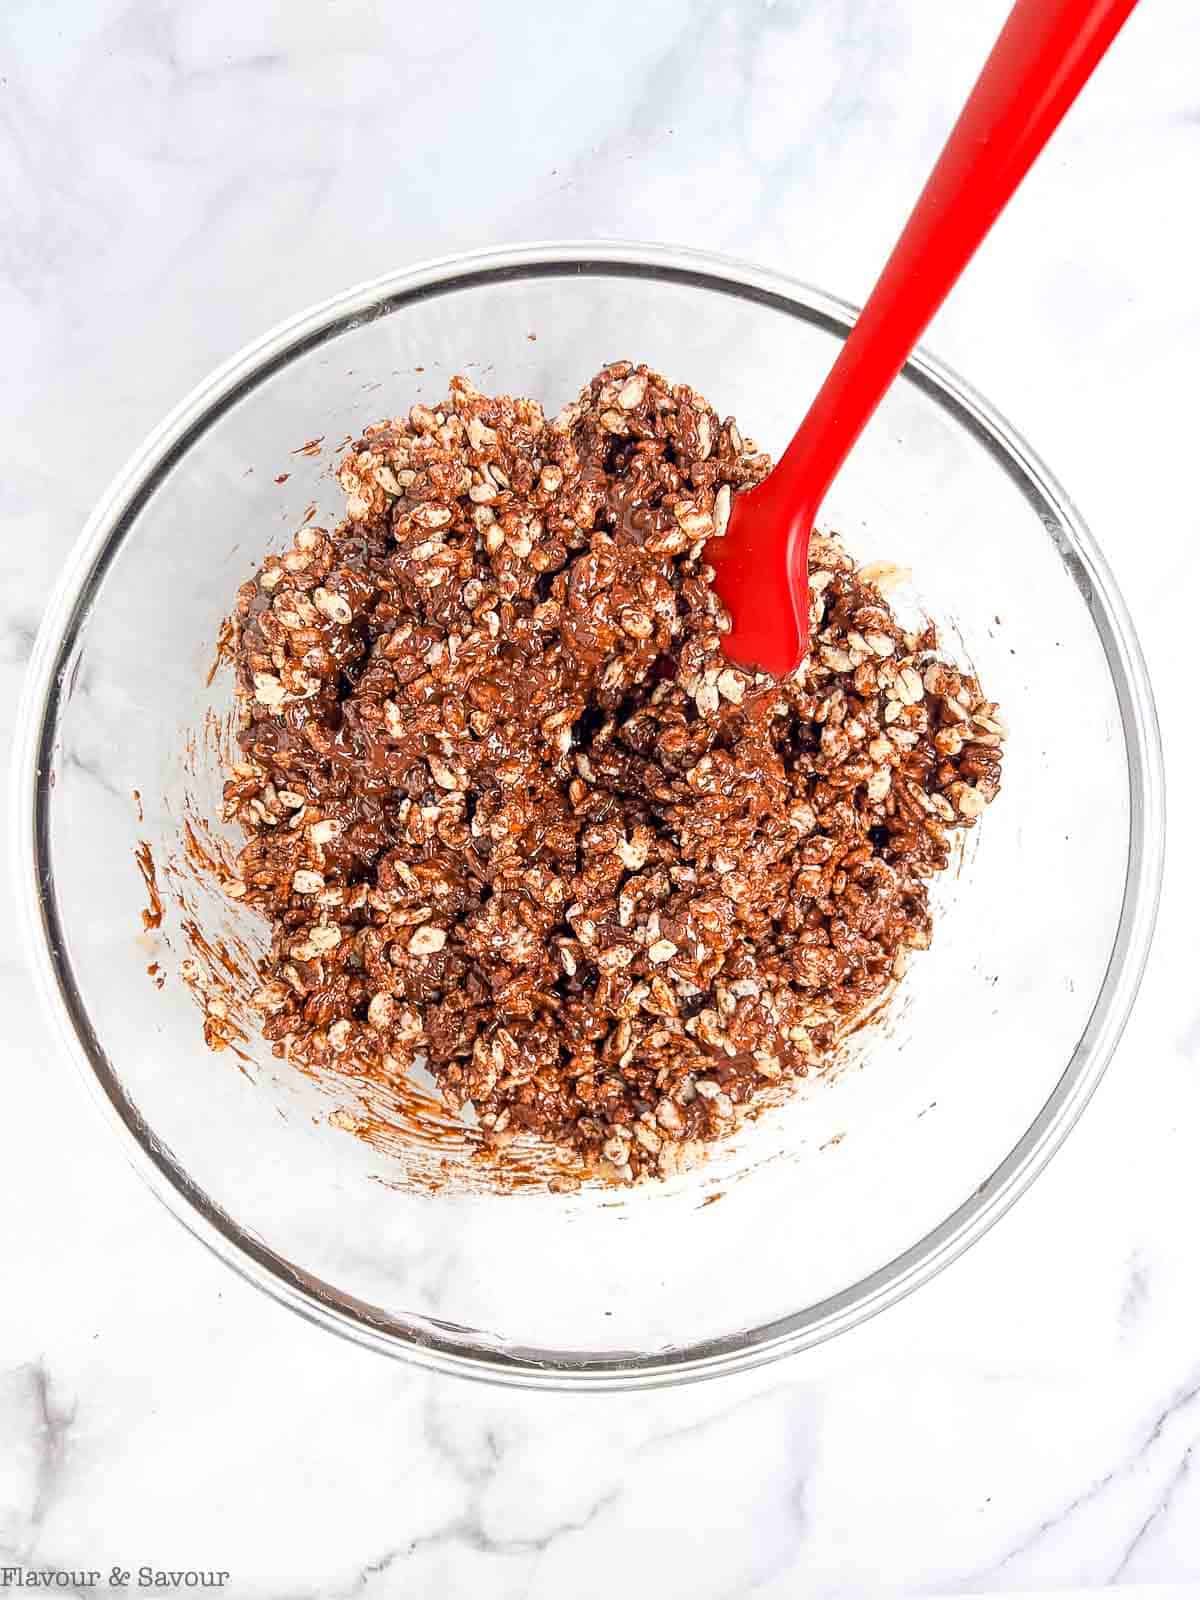
- Add the cereal.

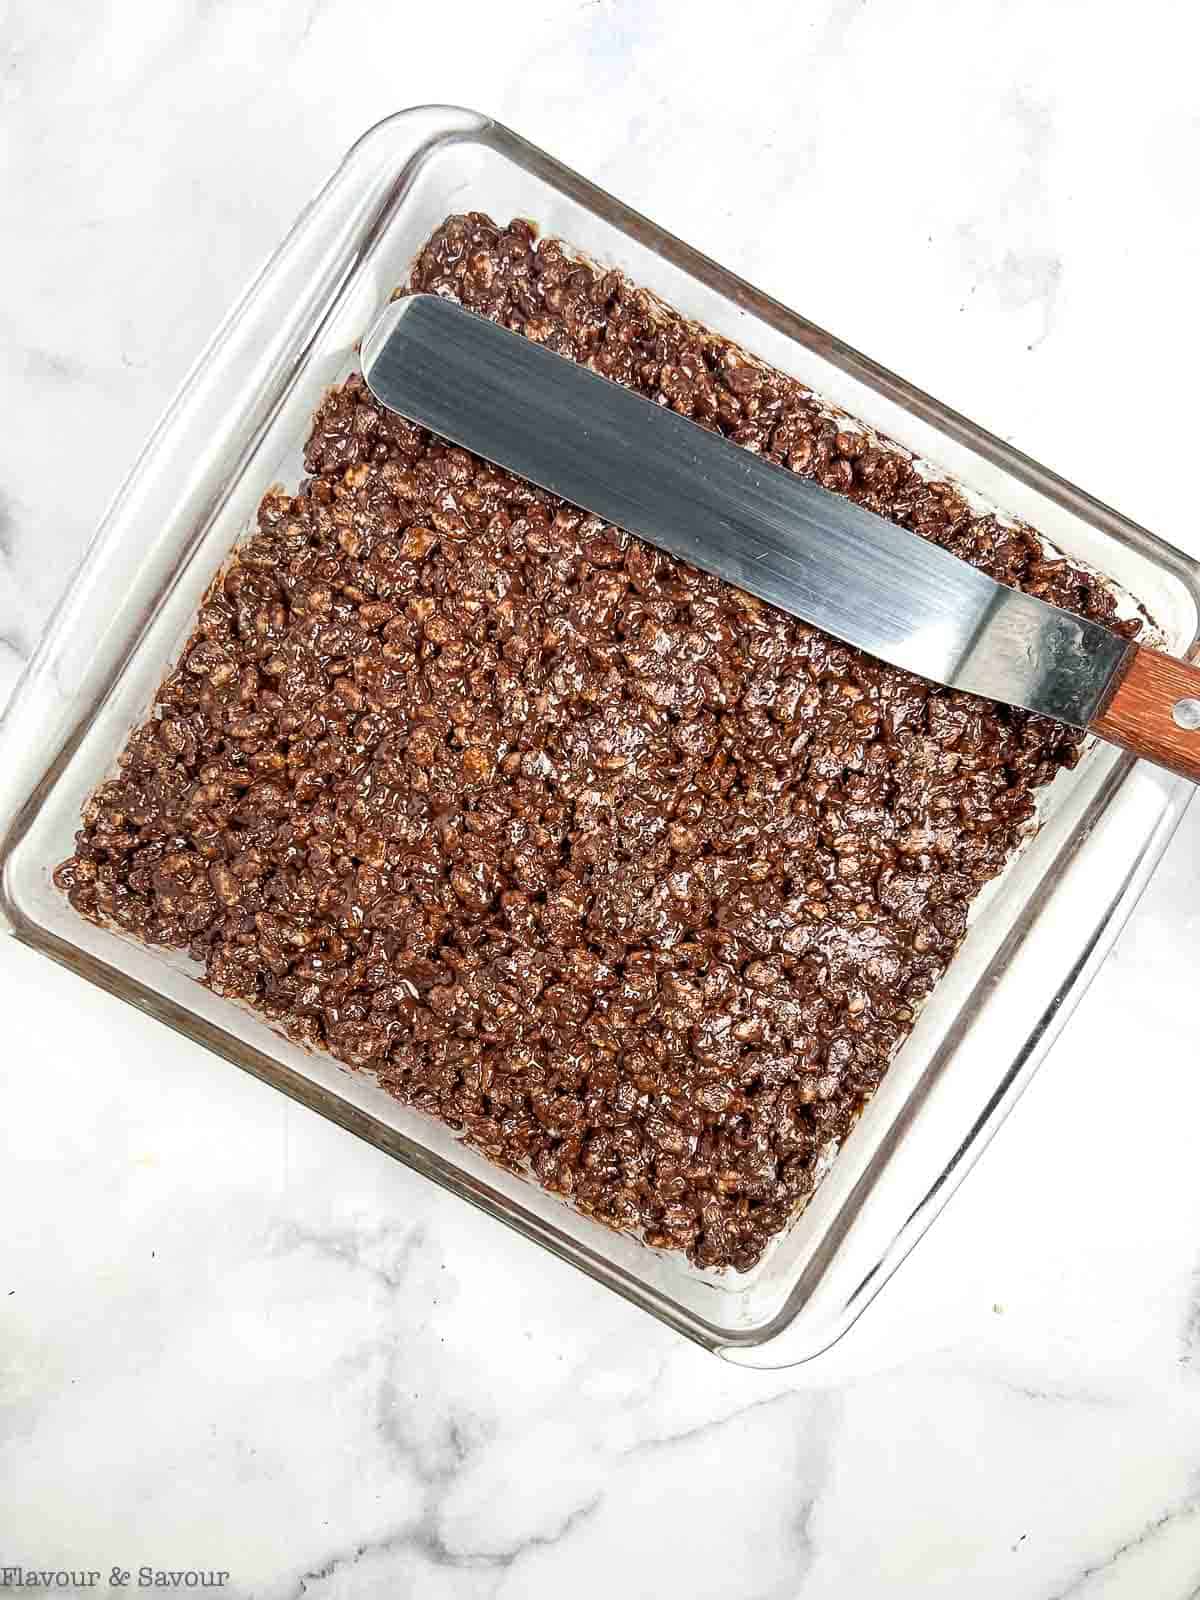
- Once it is completely coated, press the cereal mixture in an even layer into an 8-inch or 9-inch square baking pan and refrigerate. That's all there is to this simple recipe!

Possible Variations
I like to bake these in an 8-inch square pan so they form sixteen 2-inch cubes. . However, you can certainly use a 9 x 13-inch pan instead. The squares will be thinner, but equally as delicious.
These chocolate peanut butter squares are quite sweet. If you'd like you can cut the batch into 32 smaller bars instead.
👍🏼 Helpful Tips
The mixture will be sticky, so either use buttered fingers to press it into a baking pan. Ideally, use an offset spatula.
For the easiest removal, line your baking pan with parchment paper, leaving a little hanging over the edges. Then you can simply lift the refrigerated mixture out of the pan and slice it on a cutting board. If you're using a metal baking pan, parchment paper will protect it from getting scratched when you cut the bars.
❓Reader's Questions
You could, but they don't need frosting. They're quite sweet without frosting.
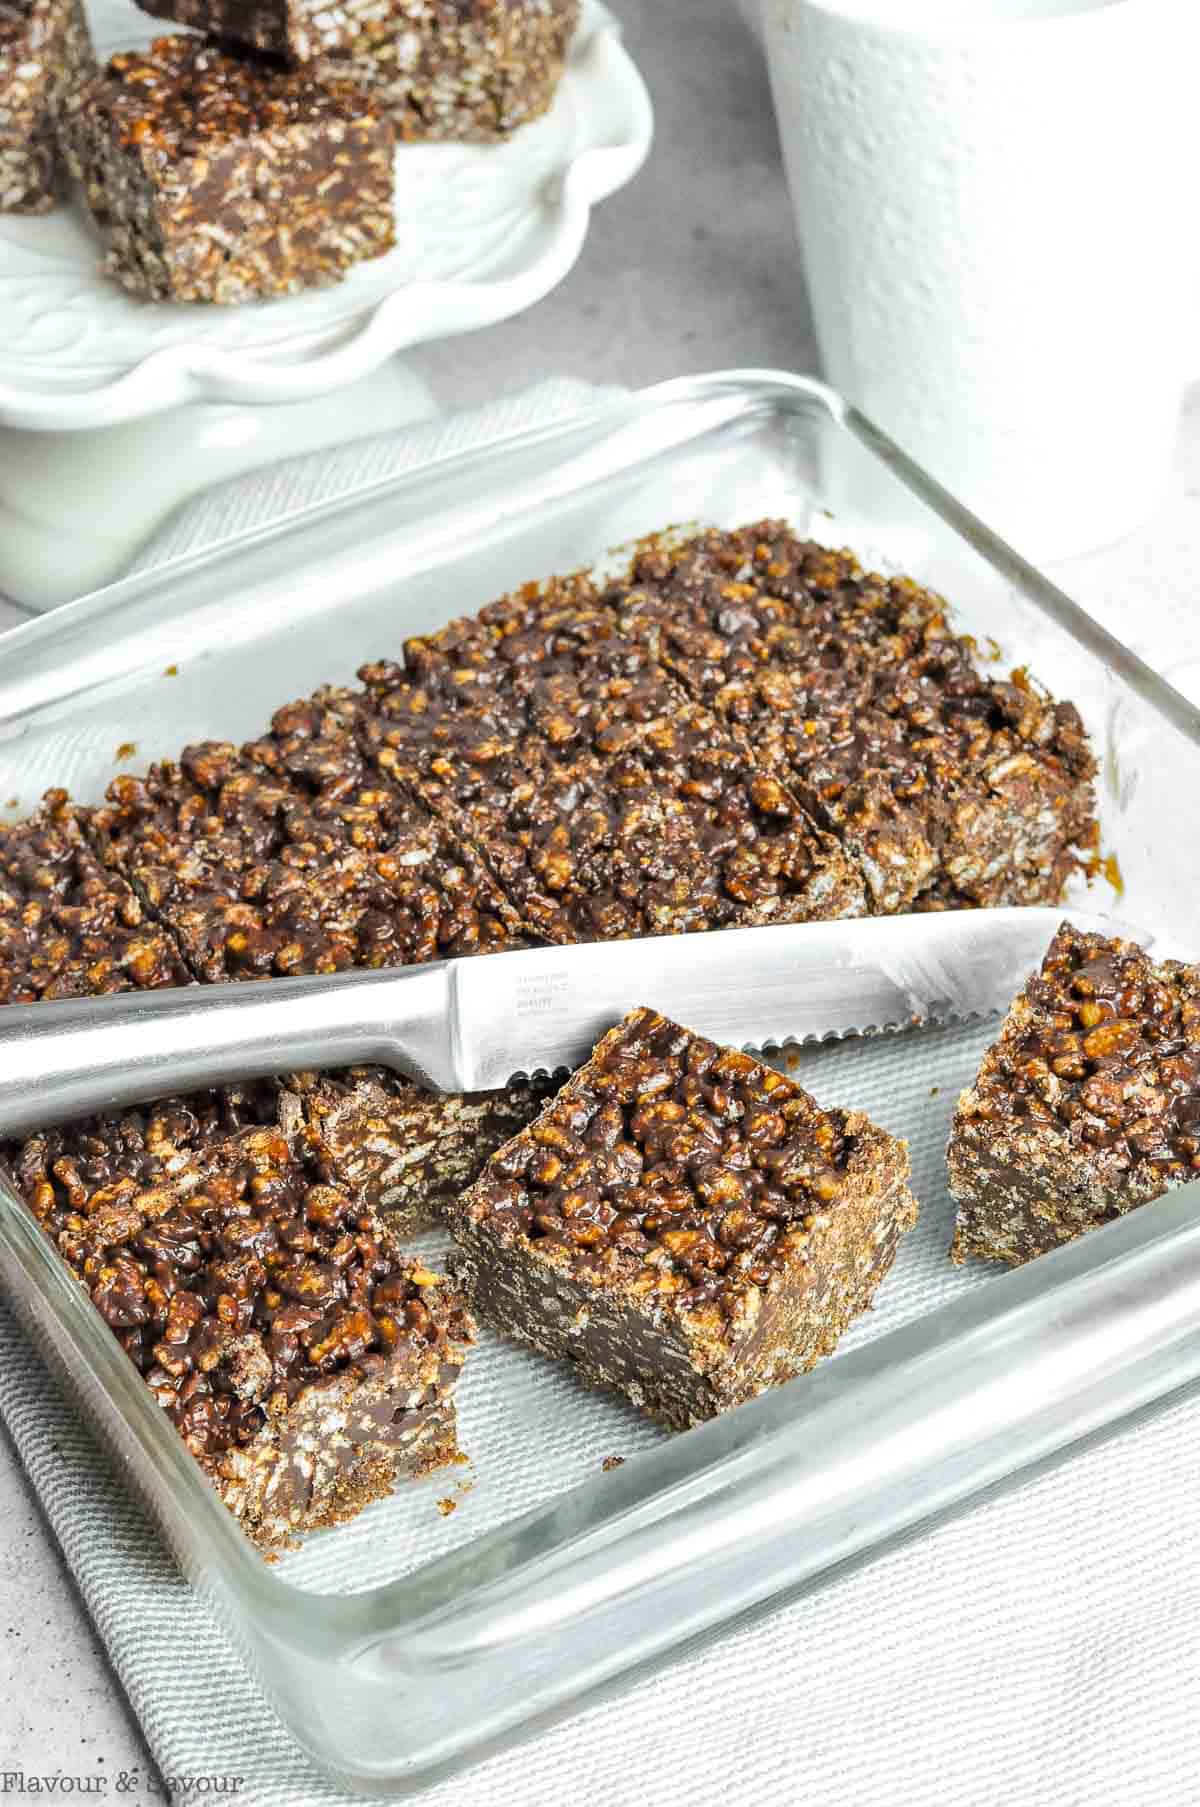
🍽 When to serve Chocolate Peanut Butter Rice Krispie Treats
The possibilities are endless! Make a quick batch of these for birthday parties, summer barbecues, Hallowe'en party treats, Valentine's Day or as part of a winter holiday cookie platter. These no-bake rice cereal treats make a great after-school snack, too.
⏰ Storage Instructions
To store: Store these squares in a covered container in the fridge. They'll last for a week to 10 days.
To freeze: For longer storage, you can freeze these bars. Store in an airtight container and freeze them for up to 3 months or longer.
I hope you love these easy crispy rice cereal bars as much as I do. They're guaranteed to satisfy chocolate peanut butter lovers! They're perfect for any day you feel like a chocolate peanut butter treat!
🗒 More gluten-free cookies and squares
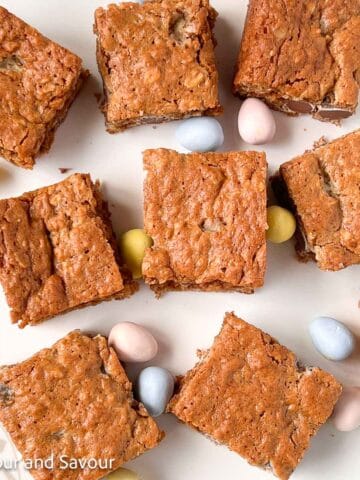
- Mini Egg Oatmeal Cookie Bars - Gluten-Free
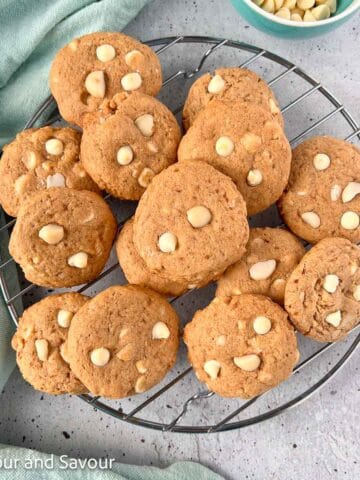
- Gluten-Free White Chocolate Macadamia Nut Cookies
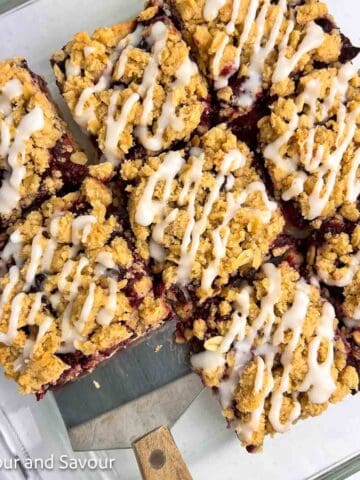
- Gluten-Free Cherry Pie Crumble Bars
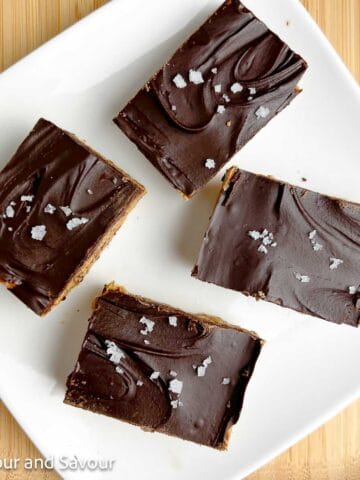
- Chocolate Peanut Butter Collagen Bars
When you make this recipe for peanut butter chocolate rice krispie treats, please leave a comment and a star rating below. I love hearing from you! Thanks in advance. Subscribe to my newsletter and receive new recipes delivered straight to your inbox once a week.
📖 Recipe
Chocolate Peanut Butter Rice Krispie Squares
Equipment
Ingredients
- 7 ounces chocolate pieces, or chocolate chips
- 1 cup natural, unsweetened peanut butter
- ½ cup honey
- 5 cups crispy puffed rice cereal
Instructions
- Put honey, chocolate pieces and peanut butter in a large microwave-safe bowl.
- Microwave and stir at 30 second intervals until the chocolate is almost melted. Remove from the microwave and stir until well combined.
- Add the crispy puffed rice cereal and stir until completely coated with the chocolate peanut butter mixture.
- Press firmly into an 8-inch or 9-inch square pan. Refrigerate or freeze until set before slicing into small squares.
- Cover and store in the fridge for up to 10 days, or freeze for up to 3 months.



Laura
So easy! Yum
Elaine
Agreed! Ready in 10 minutes 😀
Mel
We devoured these so quickly I had to freeze them. This is a keeper recipe as it's just so darn easy and so darn good!
Elaine
Thanks Mel, Agreed! I have to freeze mine too, but they're just as good frozen! Thanks for commenting.