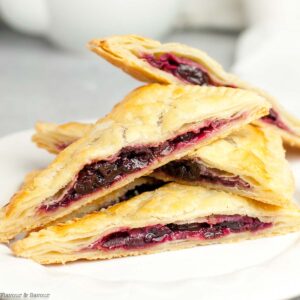
These homemade cherry hand pies are made with fresh or frozen cherries and your choice of regular or gluten-free puff pastry. Buttery, flaky puff pastry pies filled with sweet cherry filling make a memorable dessert or hand-held snack!
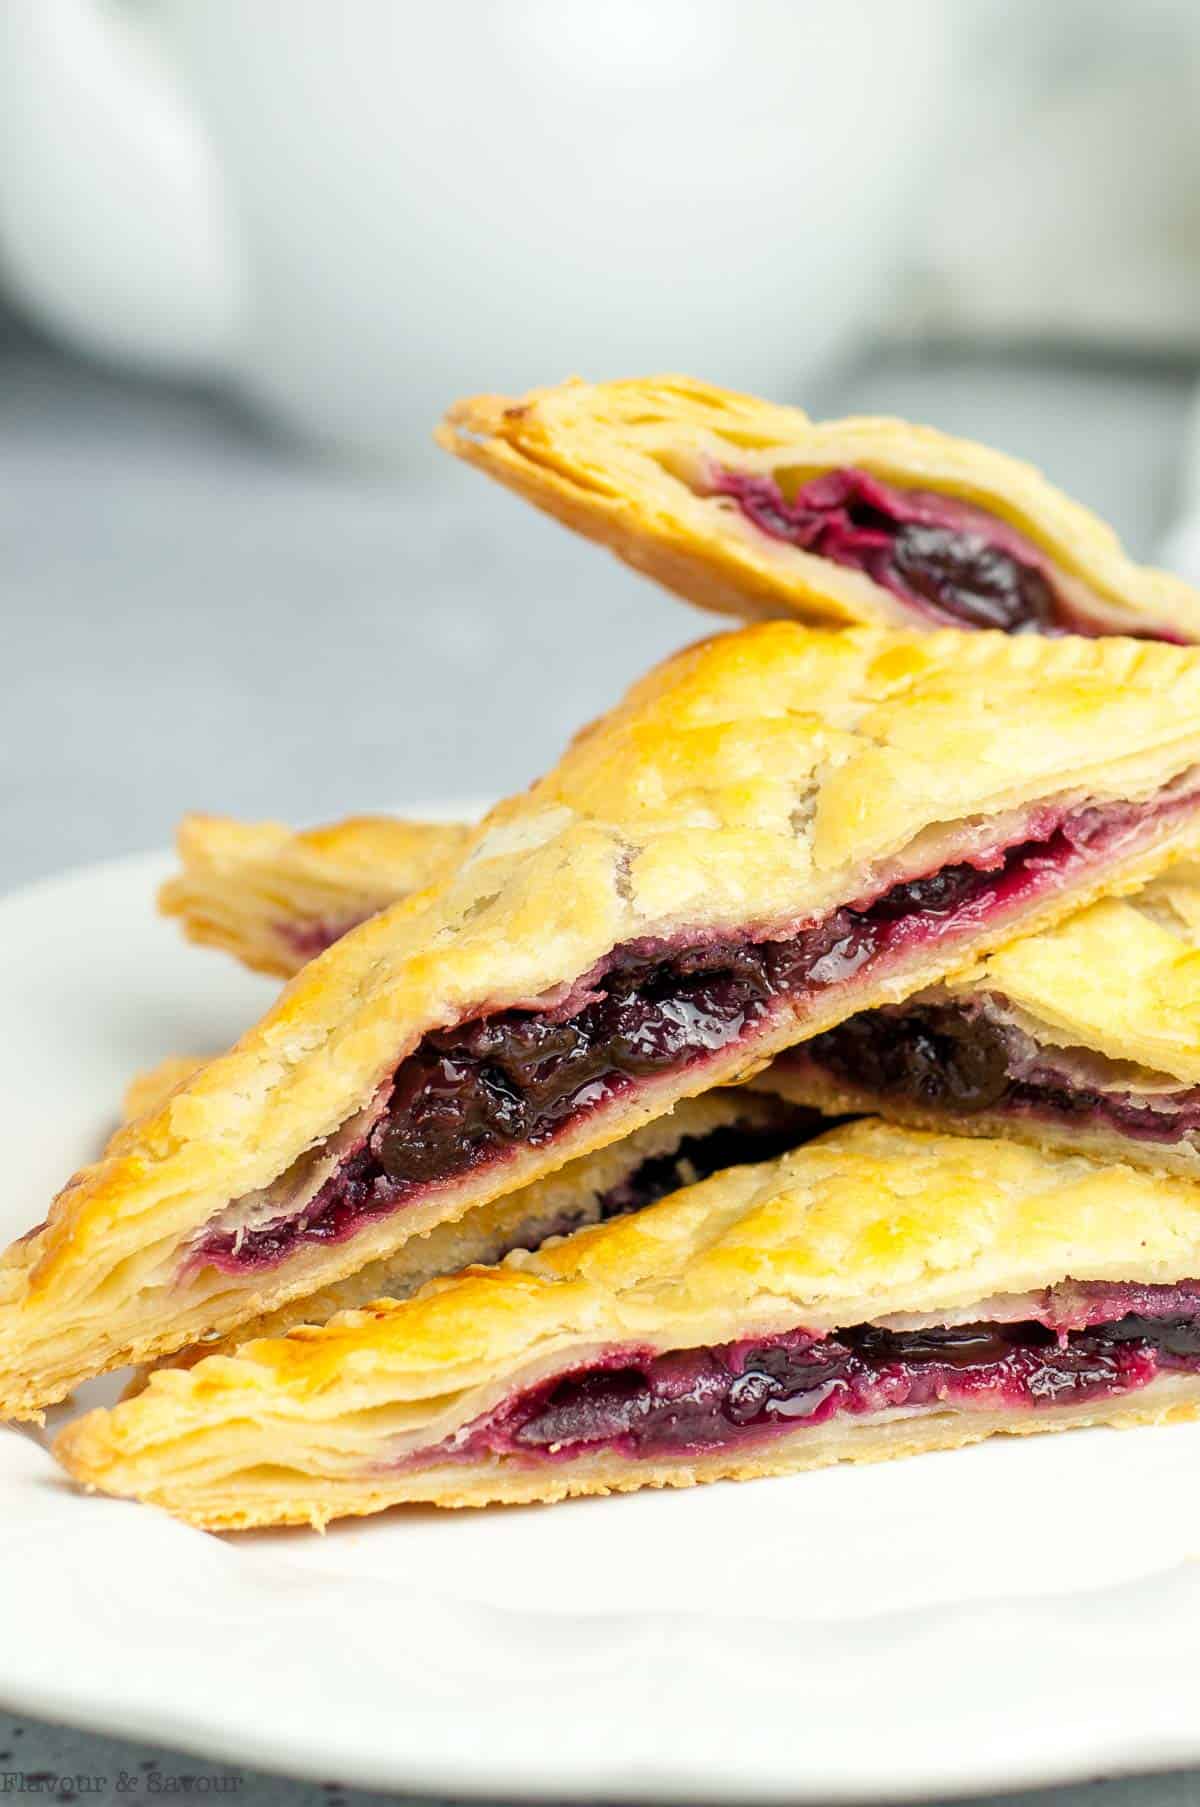
Sweet mini cherry pies in their own little pockets!
Jump to:
❤️ Why you'll love this recipe
- Using puff pastry is so convenient! It's crisp, buttery, and flaky, but most of all, convenient! There's no fussing with making pastry in this recipe.
- These hand pies are very similar to cherry turnovers.
- Just like this Cherry Crisp with Frozen Cherries recipe, it's a great way to use frozen cherries that may be lingering in the bottom of your freezer.
- If you've bought frozen cherries, they come already pitted, making this a quick dessert to make.
- In cherry season, feel free to use fresh cherries!
Today is all about dessert, and in particular, desserts with frozen cherries!
❓Wondering what to make with frozen cherries?
You'll find lots of ideas for desserts with frozen cherries, including cherry crisp, cherry almond cheesecake, cherry parfait, cherry ricotta cake and more in this collection of 8 Fabulous Recipes for Fresh or Frozen Cherries.
All, of course, are gluten-free!
🛒 Ingredients
Before we get to the full recipe in the recipe card below, here are a few notes about some of the ingredients.
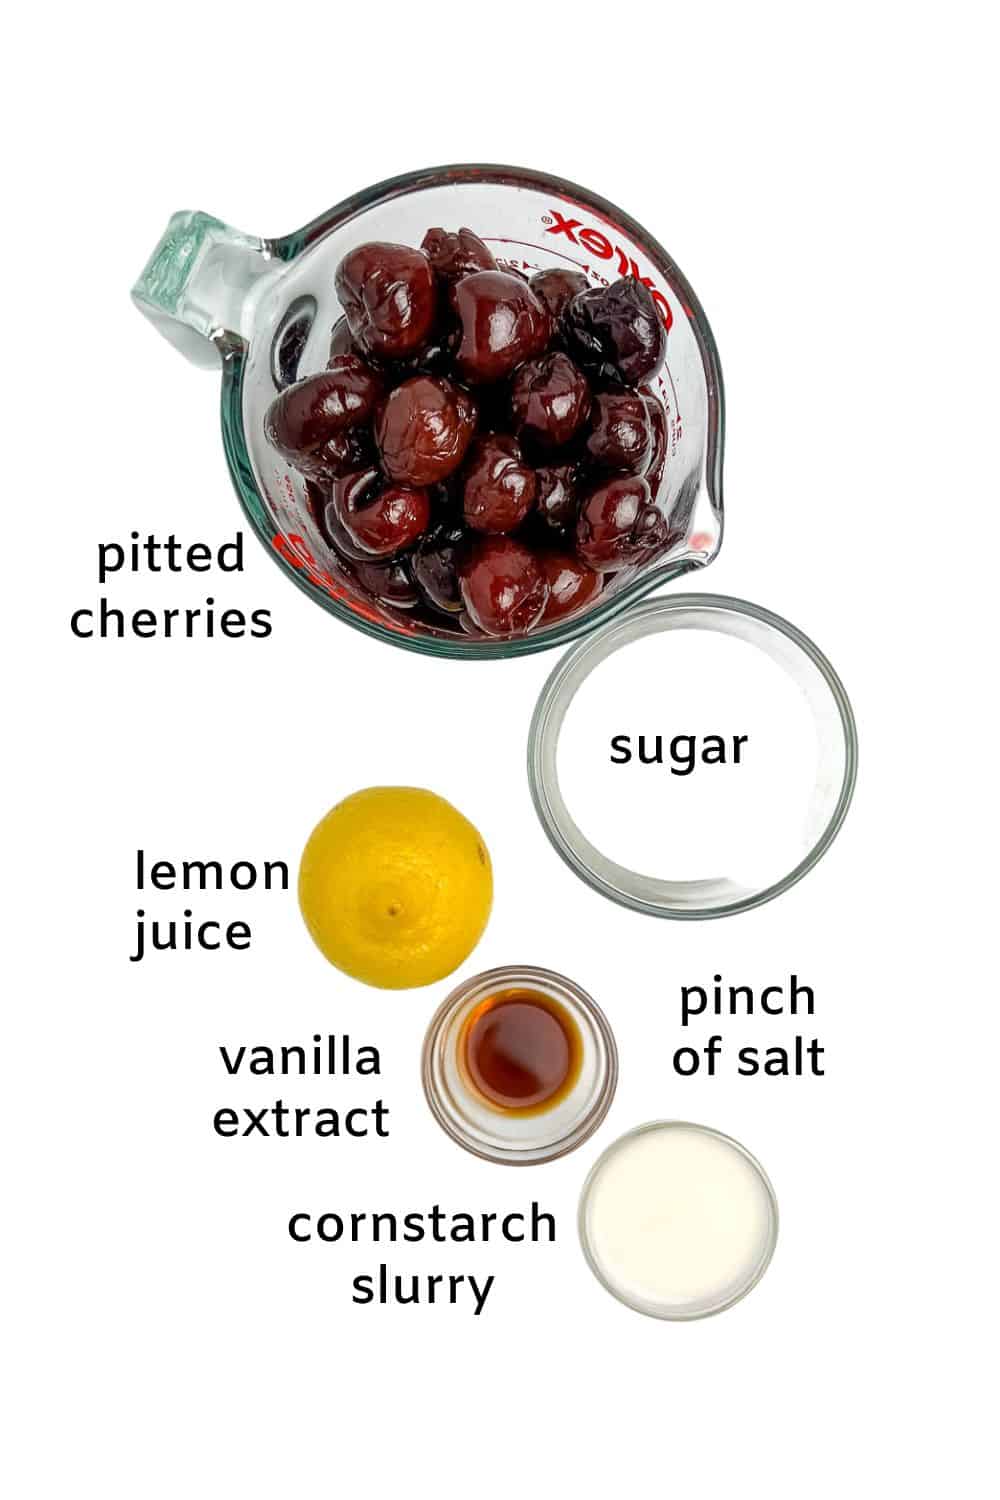
puff pastry: You can use regular puff pastry or gluten-free puff pastry. Regular puff pastry is readily available in the freezer section of your supermarket. It usually comes in sheets. The gluten-free pastry I buy comes in a block that is easy to roll out into a square.
cherry pie filling: Avoid the canned variety and make your own from scratch. It only takes a few minutes and you'll know it will be free of corn syrup and other additives. You'll need fresh or frozen cherries, sugar, lemon juice, a pinch of salt and vanilla extract.
egg wash: You'll need an egg mixed with a little milk or water to make a wash to brush on the pastry before baking. Use a handy little pastry brush.
🔪 Instructions
Here's an explanation of what you'll do to make this recipe perfectly. You'll find complete instructions in the recipe card at the end of this post.
You'll need to thaw both the cherries and the puff pastry. It's best to thaw them overnight in the fridge. Drain most of the excess liquid from the thawed cherries.
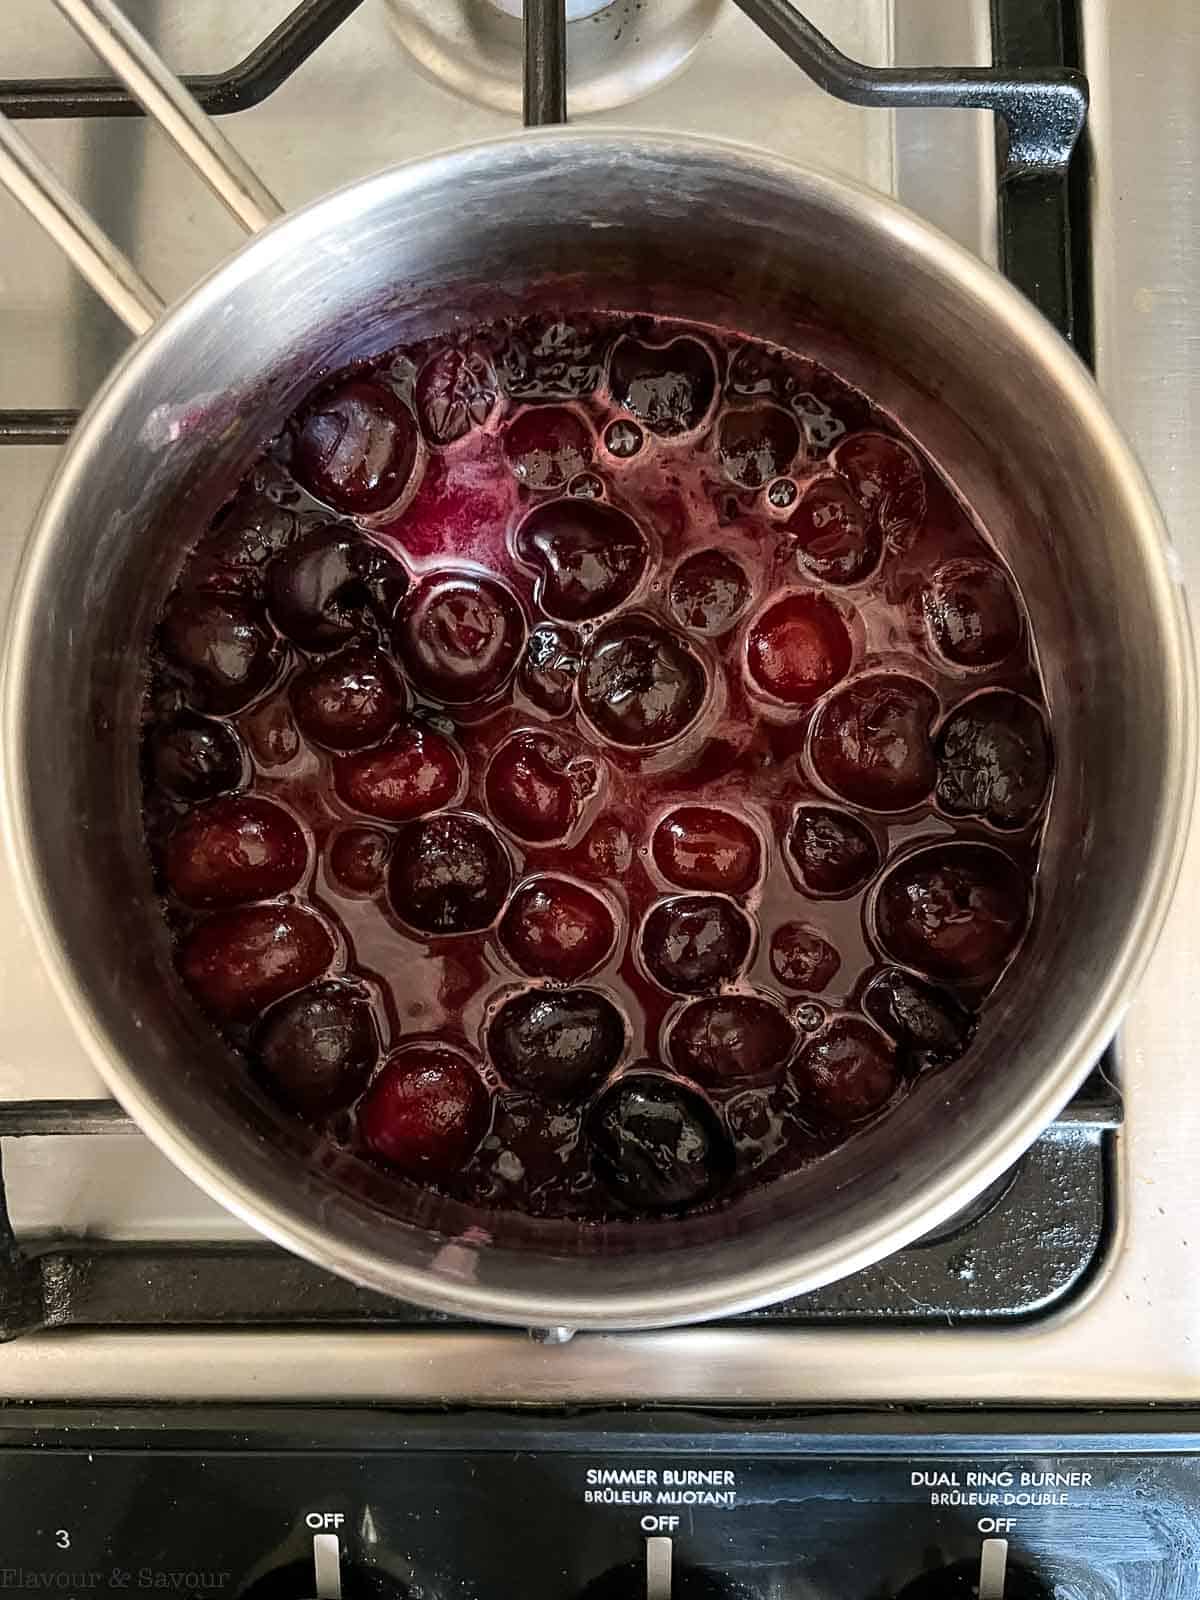
Start by making the cherry pie filling. You'll find complete directions in the recipe card below.
Most brands of puff pastry come in sheets. Once thawed, slice the sheets in half, then slice each half into three equal pieces, so you'll end up with 12 rectangles (each sheet will yield 6 rectangles.) You'll have 6 bottoms and 6 tops.
A sharp knife or a pizza wheel works well to slice the pastry.
If you're using a frozen block of puff pastry, thaw it, then on a lightly floured surface, roll it into a square about 10-12 inches. It should be ⅛th to ¼ inch thick.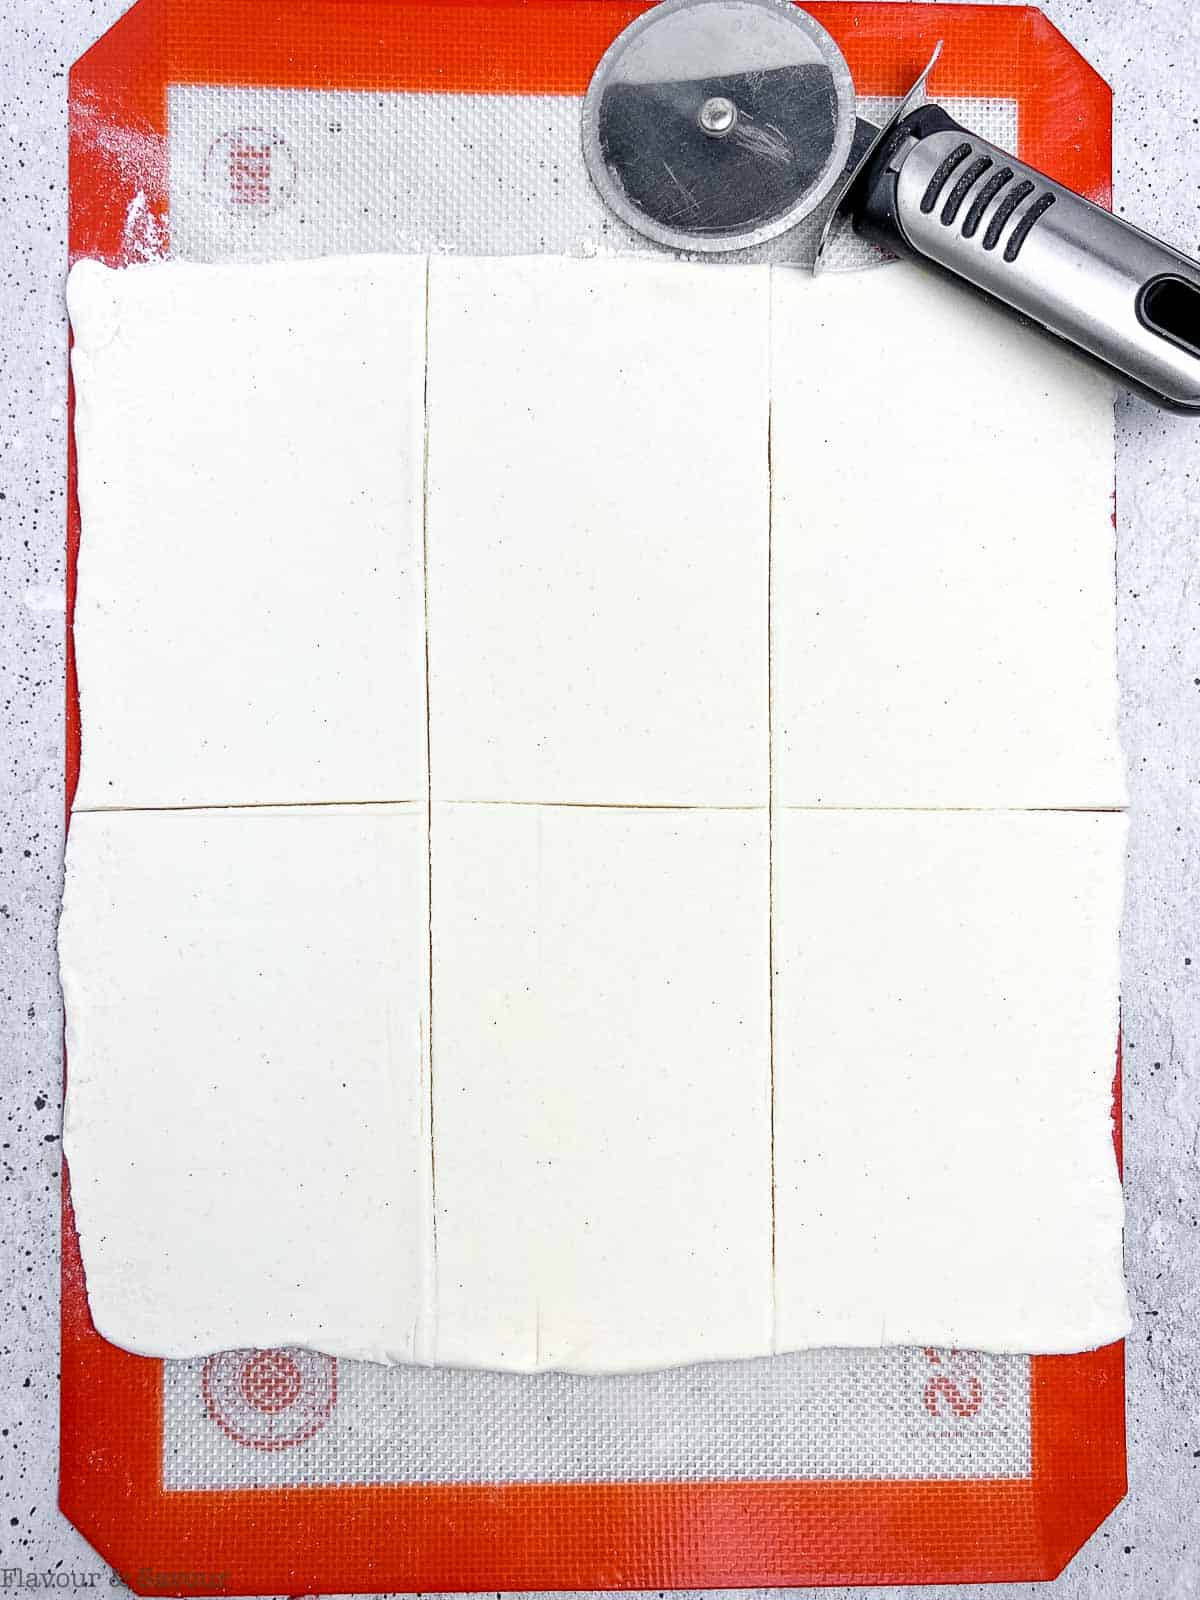
Place 3 of the rectangles on each of two parchment paper-lined rimmed baking sheets.
Add about 2 - 3 tablespoons of the cooled cherry pie filling (about 6 large cherries) to the center of each of the bottom pastry pieces. Cover with the top rectangles, matching up the edges. Using the tines of a fork, crimp the edges together to seal the pies.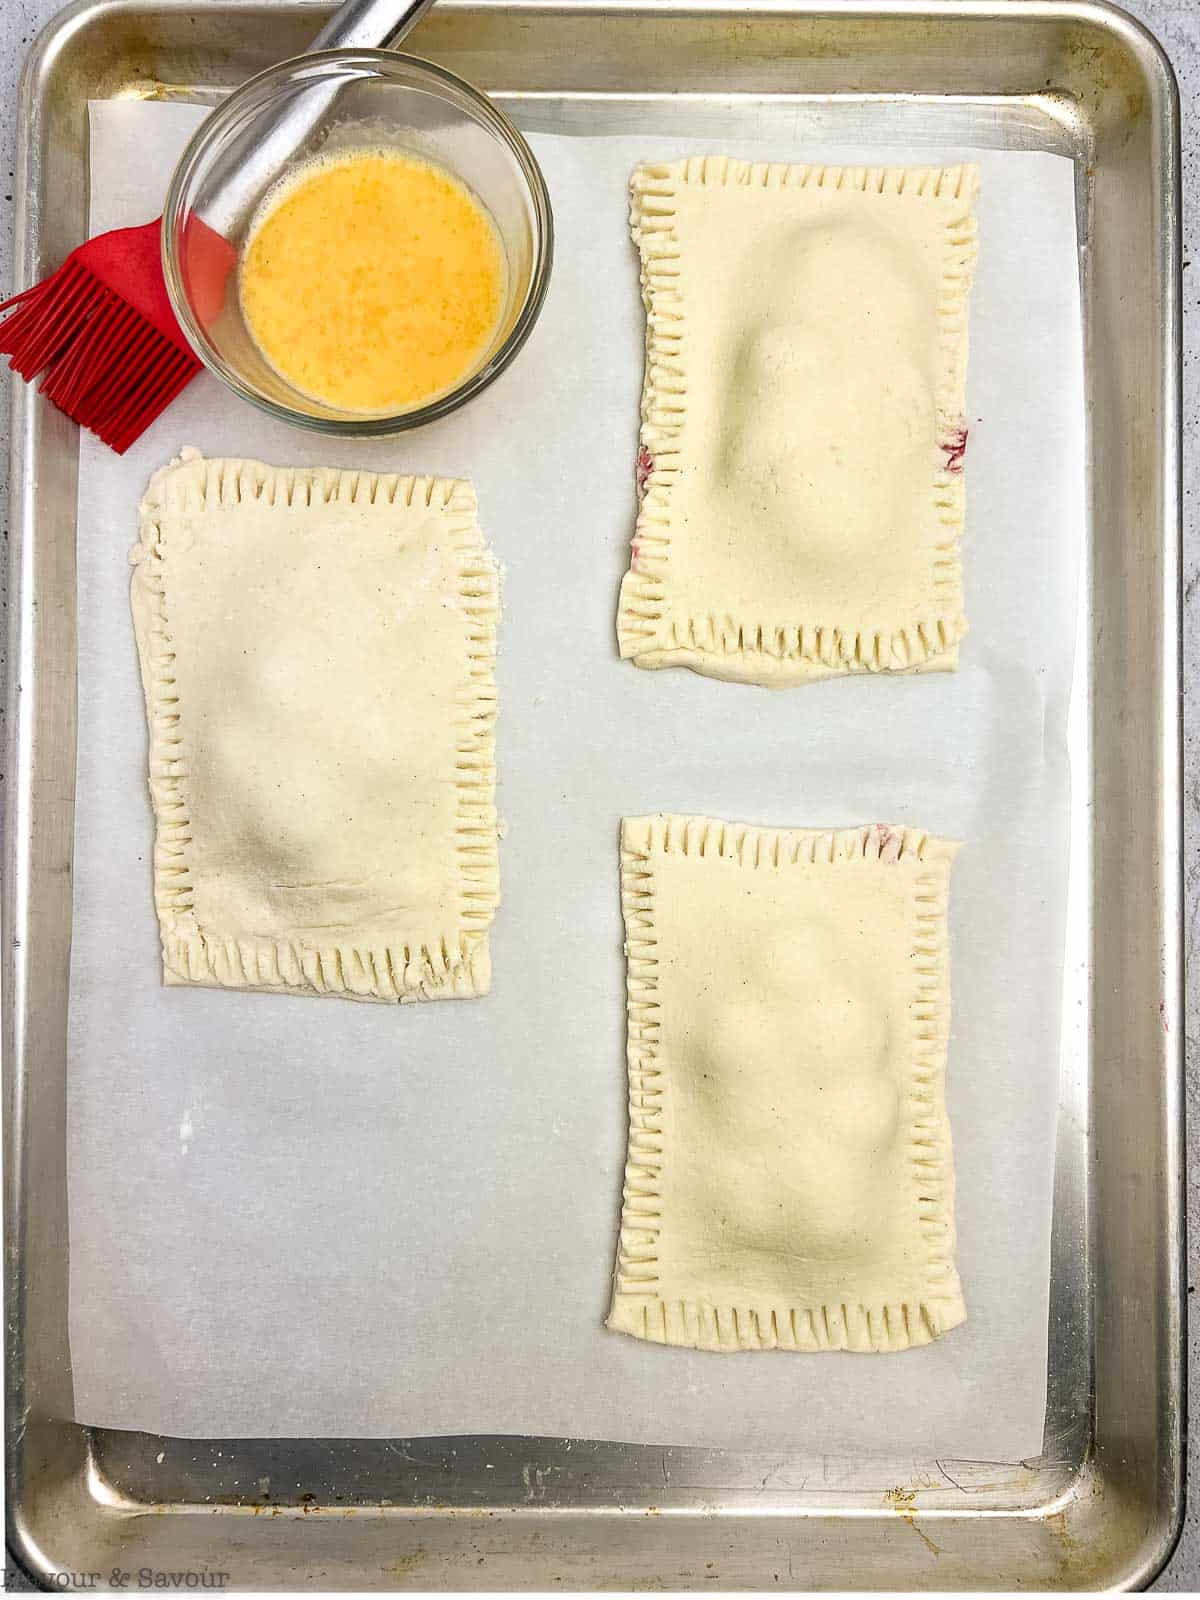
Brush the tops with egg wash to make a golden brown crust once the pies are baked.
If you like, you can sprinkle the tops lightly with coarse sugar or turbinado sugar. Iti will give these mini cherry pies a little sparkle!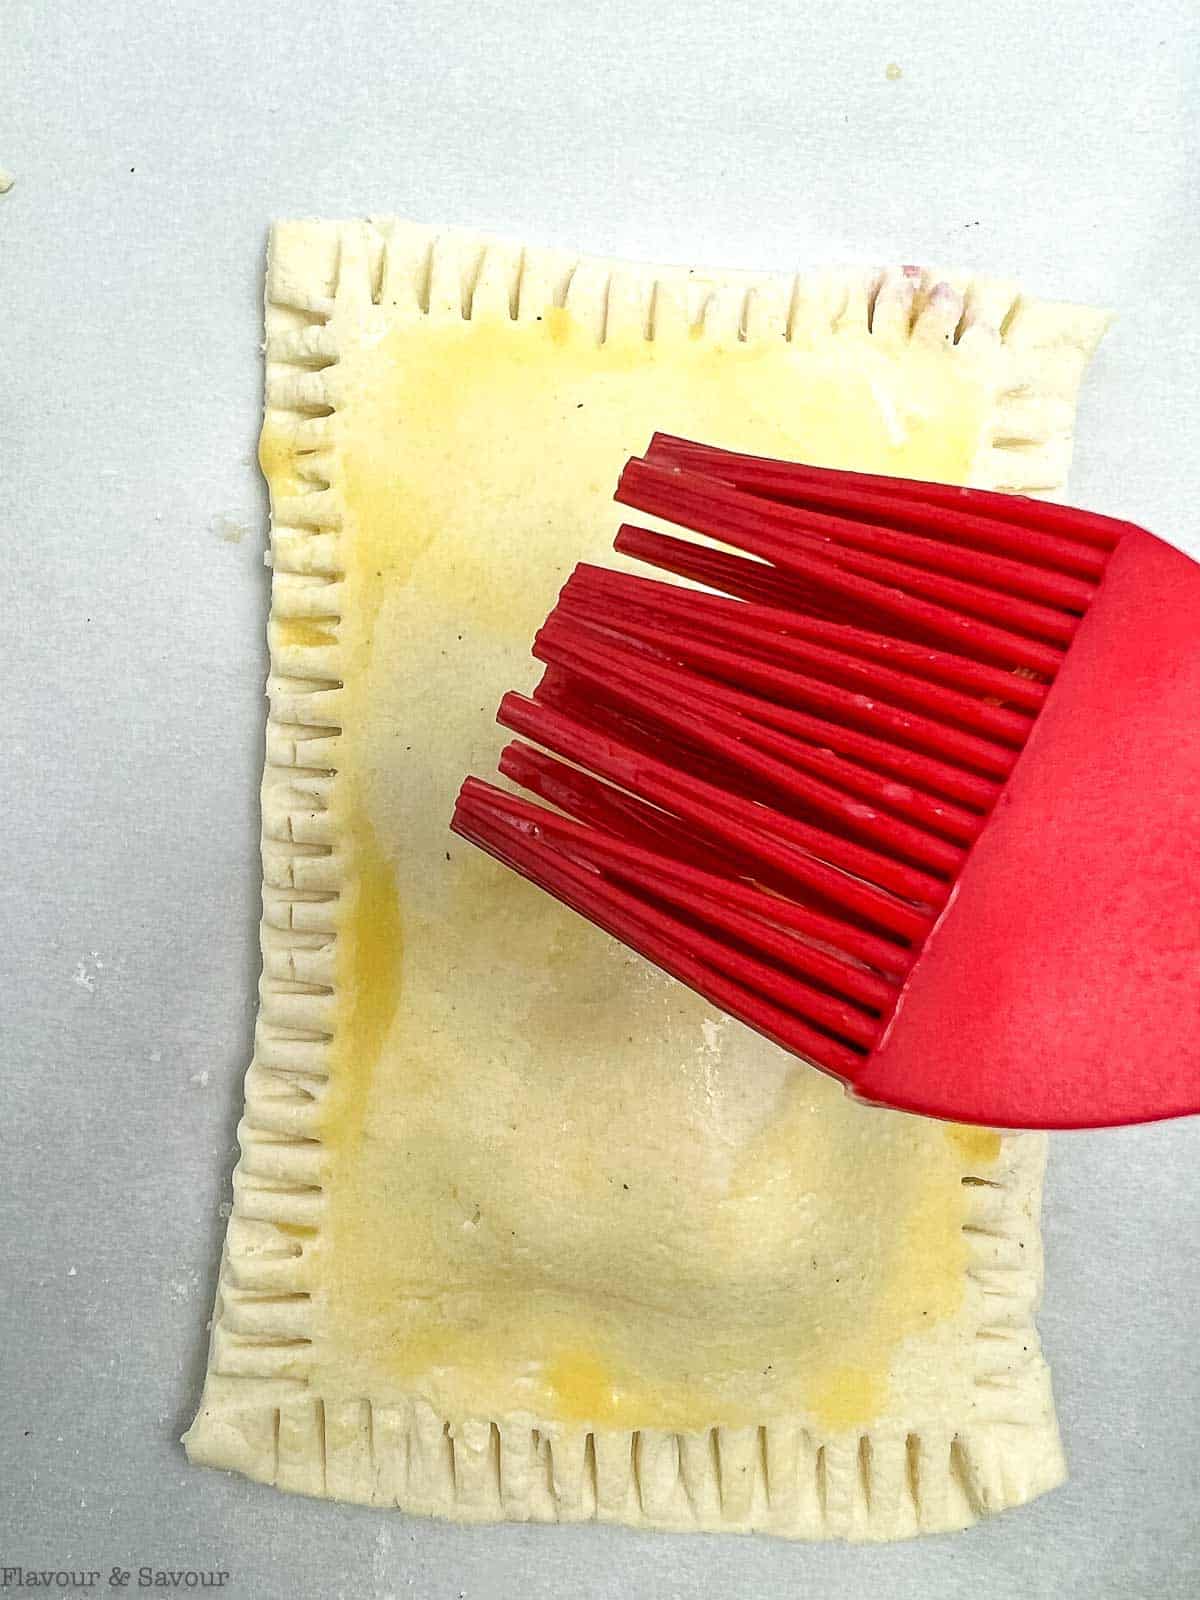
Important! Put the tray of prepared hand pies in the freezer for 10- 15 minutes or in the fridge for 30 minutes.
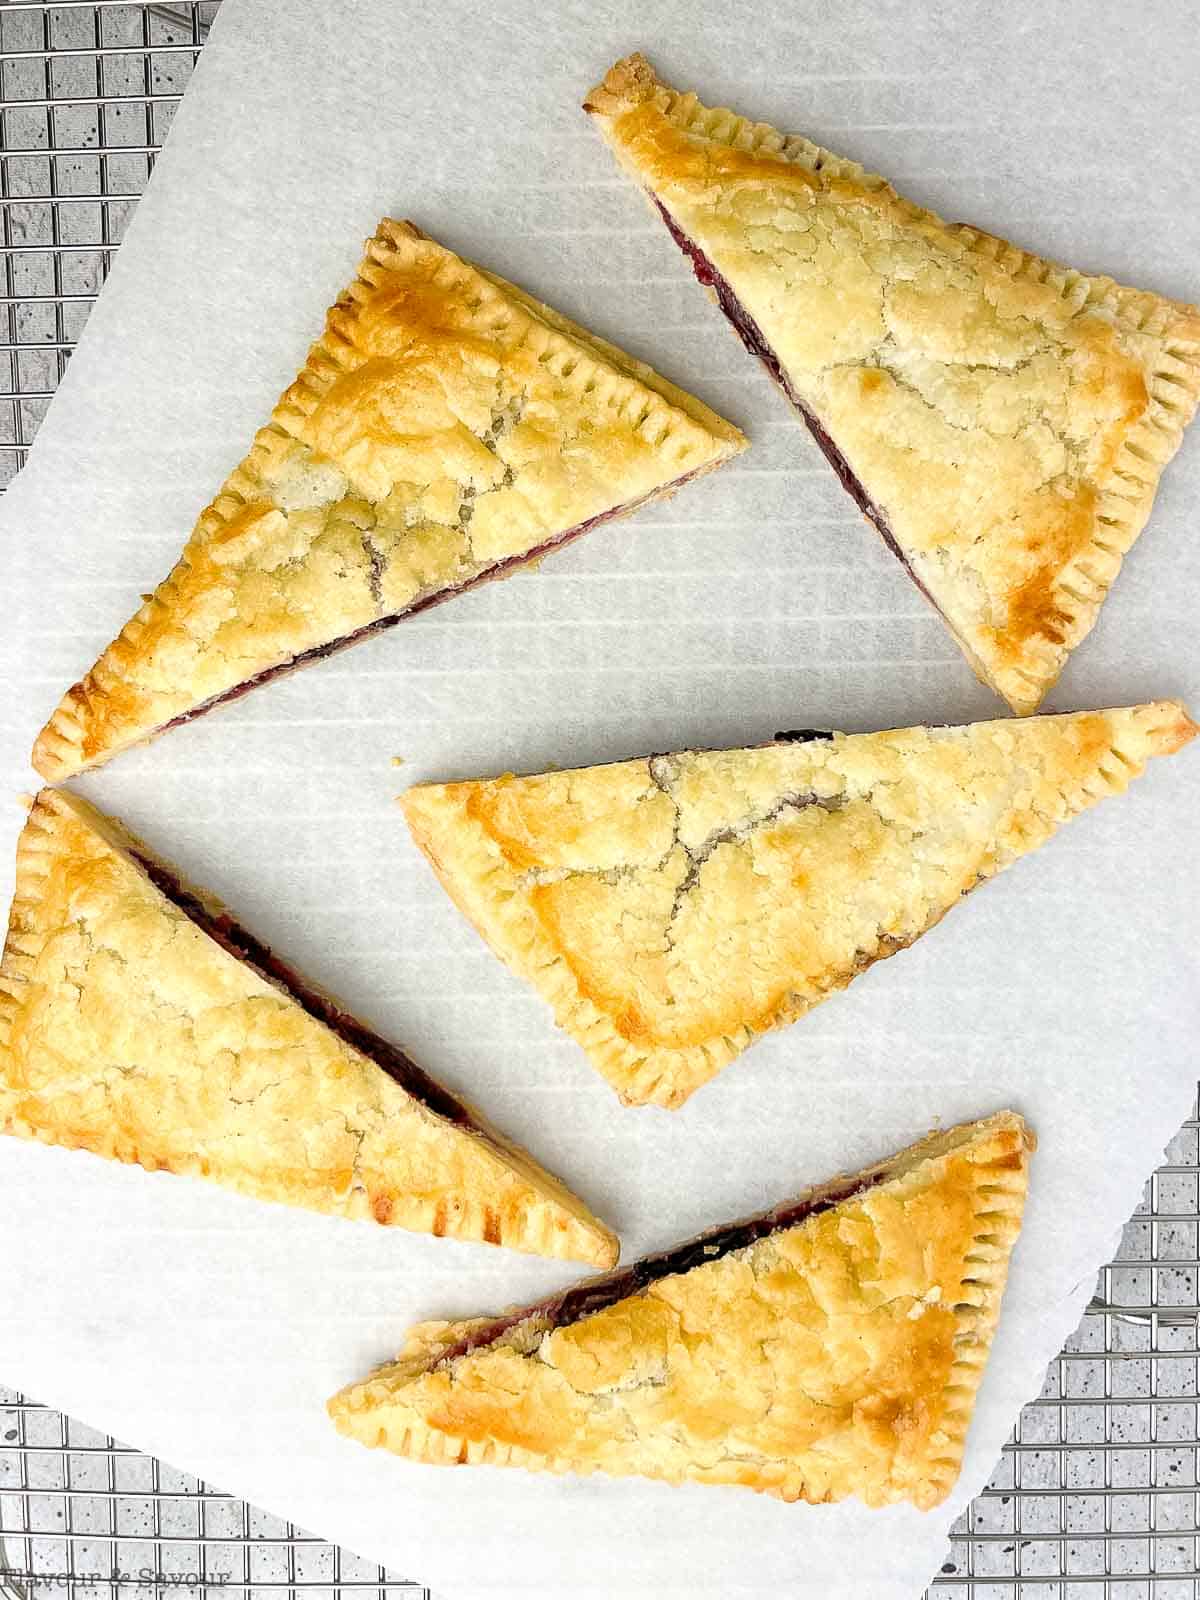
Bake for 30 to 32 minutes. Remove from the oven and let cool before serving, as the filling will be piping hot.
🔁 Possible Variations
Try other fruits, like blueberries, to make different fruit hand pies.
You can certainly make these smaller if you'd like. Be careful not to overfill them to prevent them from leaking. However, if they do leak, that jammy cherry filling is delicious! These are rustic pies, a little leakage is very common.
👍🏼 Helpful Tips for baking with puff pastry
When working with puff pastry, (or any pastry) it must be kept cool. Try to work as quickly as you can and handle it as little as possible. If you find it is sticky or becoming soft, put it in the fridge for a few minutes and try again.
Be sure to pop the prepared cherry hand pies in the freezer for 10 - 15 minutes.
Puff pastry must be chilled before baking! The fat in the pastry needs to be firm before placing it in a hot oven where it will turn to liquid, creating steam. This steam is what separates the layers and produces the flaky texture we love.
Use a rimmed baking sheet. Some varieties of puff pastry have excess oil which may leak and drip into your oven.
Puff pastry makes crave-worthy appetizers, like these Spinach-Artichoke Puff Pastry Cups, Cranberry Walnut Beggars' Purses, Cranberry Brie Pinwheels, and Spinach-Artichoke Pinwheels.
It also makes a perfect little cap to top off these Seafood Pot Pies.
❓Reader's Questions
Sometimes these two terms are used interchangeably. Usually, a turnover is made from one piece of pastry folded over the filling. A hand pie is made with a bottom and a top which are crimped to hold the filling in.
Yes, tart cherries like Montmorency cherries will work well in this recipe too. Increase the sugar to half or two-thirds of a cup.
🍽 Serving Suggestions
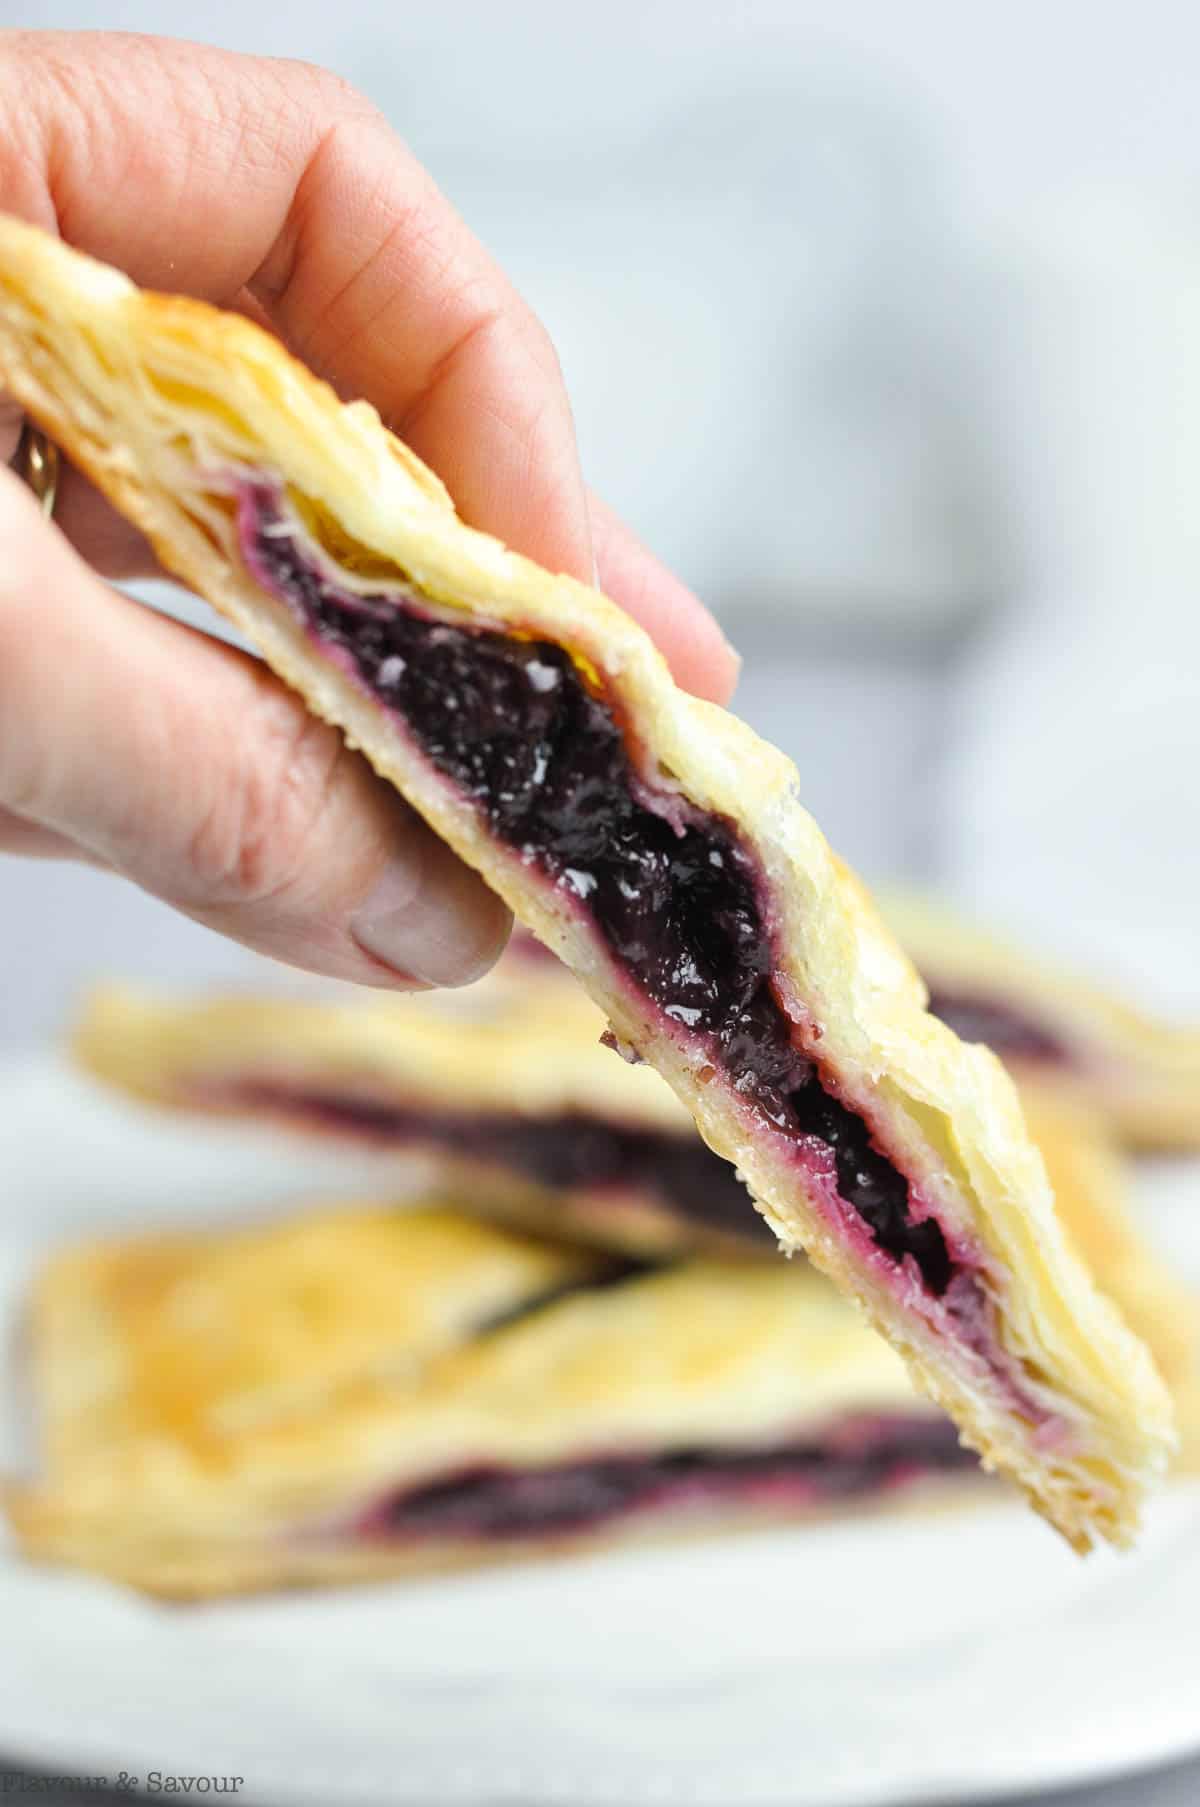
These little puff pastry cherry pies make a hand-held cherry pie snack.
They also make a delicious dessert. Split the warm pies in half, then arrange them on a small dessert plate with a scoop of ice cream, dairy-free ice cream or a dollop of whipped cream.
They're also easy to pack for a lunchtime treat!
⏰ Storage Instructions
To store: Wrap the cherry hand pies individually in plastic wrap or in small reusable bags and refrigerate them for up to 5 days.
To reheat: They're best warm, and delicious at room temperature, but if you want to reheat them, it's best to use your oven or even a toaster oven. Place them on a baking sheet lined with parchment paper in case they leak a little and reheat at 300°F. until warmed through.
Freeze them! Bake, then freeze these cherry hand pies in an airtight container for up to 3 months.
🗒 More recipes for pies and tarts
When you make this recipe for gluten-free cherry hand pies with frozen cherries, please leave a comment and a star rating below. I love hearing from you! Thanks in advance. Subscribe to my newsletter and receive new recipes delivered straight to your inbox once a week.
📖 Recipe
Cherry Hand PIes with Frozen Cherries (Gluten-Free)
Equipment
Ingredients
- 1 package (2 sheets or ready-to-roll blocks) puff pastry, regular, or gluten-free, thawed
Cherry Pie Filling
- 12 oz (2 ¼ cups) fresh or frozen cherries, pitted,
- ⅓ cup sugar
- 1 teaspoon fresh lemon juice
- 1 pinch sea salt
- 1 teaspoon pure vanilla extract
- 1 ½ tablespoons cornstarch
- 1 ½ tablespoons water
Egg Wash
- 1 large egg
- 2 teaspoons milk, any type
Instructions
- Thaw both the cherries and the puff pastry. It's best to thaw them overnight in the fridge. Drain most of the excess liquid from the thawed cherries.
Cherry Pie Filling
- Combine cornstarch and water in a small bowl to make a slurry, stirring until completely smooth. Set aside.
- In a medium saucepan over medium heat, combine cherries, sugar, lemon juice, and a pinch of salt. Stir with a spatula or wooden spoon. Once warm, stir in the cornstarch slurry and gradually bring the mixture to a boil, stirring often. Once it has boiled, remove the pan from the heat and stir in the vanilla extract. Let the cherry filling cool completely before making the hand pies.
Puff Pastry
- Most brands of puff pastry come in sheets. Once thawed, slice the sheets in half, then slice each half into three equal pieces, so you'll end up with 12 rectangles (each sheet will yield 6 rectangles.) You'll have 6 bottoms and 6 tops.A pizza wheel works well to slice the pastry.If you're using a frozen block of puff pastry, thaw it, then roll it into a square about 10-12 inches. It should be ⅛th to ¼ inch thick.
- Place 3 of the rectangles on each of two parchment paper-lined rimmed baking sheets.
- Add 2 - 3 tablespoons of the cooled cherry pie filling to each of the 6 bottom rectangles.
- Place the remaining 6 pastry rectangles on top of the cherry filling, matching the edges. Use the tines of a fork to crimp the edges, sealing the pies.
- Use a pastry brush to brush egg wash over the top layer of pastry.
- Important! Place the baking sheets in the freezer for 10 - 15 minutes or in the fridge for about 30 minutes to thoroughly chill the dough. Puff pastry must be chilled before baking to create flaky pastry. See the post for an explanation.
- Preheat the oven to 375°F.
- Bake for 30 - 32 minutes. Cool slightly before serving as the filling will be piping hot. Best served warm, but delicious at room temperature, too!

Britt
These are so good! I made them with regular puff pastry (Pepperidge Farm) and made them a little smaller. Great way to use up my frozen cherries!
Elaine
Happy to hear that! Thanks for commenting.
Cathy. Pengelly
This recipe looks so delicious, but where can you purchase Gluten .Free puff pastry?? I live in Dundas ( suburb of Hamilton) ON and can’t find it anywhere. I’ve googled it and no responses from anywhere in Ont. So disappointing.
Elaine
Hi Cathy,
There are a few companies that make it, including Gee-Free, Scharr, and JusRoll. There are also smaller, more localized outlets, such as the one I use. Like you, I wish it was easier to find everywhere in Canada, but I'm sure as more companies come on board, it will become more available.