This Blooming Quesadilla Ring makes a fun party quesadilla platter. Tortilla cones filled with chicken, cheese, peppers, and salsa form a ring that's sprinkled with cheese and then baked until crispy. Serve these quesadilla rolls with guacamole, fresh salsa, or sour cream!

❤️ Why you'll love this gluten-free quesadilla recipe
- Quesadillas are usually cooked flat in a skillet. This blooming quesadilla ring is made of tortillas filled with chicken, cheese, peppers, and salsa, formed into cones. The cones are then layered in a circle to create a "blooming flower."
- Baked in the oven, this recipe is a great way to create a large number of quesadillas all at once!
- I tested this recipe with flour tortillas, corn tortillas, and gluten-free rice tortillas. All types of tortillas will work well to make this fun quesadilla platter.
- Serve this as a party appetizer or as a family meal. Make a change from Taco night and try this recipe instead!
- Leftover turkey after a holiday dinner? Substitute turkey for the chicken and keep the party going with a turkey quesadilla appetizer platter!
Looking for more recipes with tortillas and cheese? Try this Salsa Verde Chicken Tortilla Casserole. You might also like this Baked Fajita Chicken Casserole for an easy weeknight meal.
🛒 Ingredients for Blooming Quesadilla Ring
You'll find a complete list of ingredients with amounts in the recipe card below. But before we get to the full recipe, here are a few notes about the ingredients you'll need to make these quesadilla rolls.
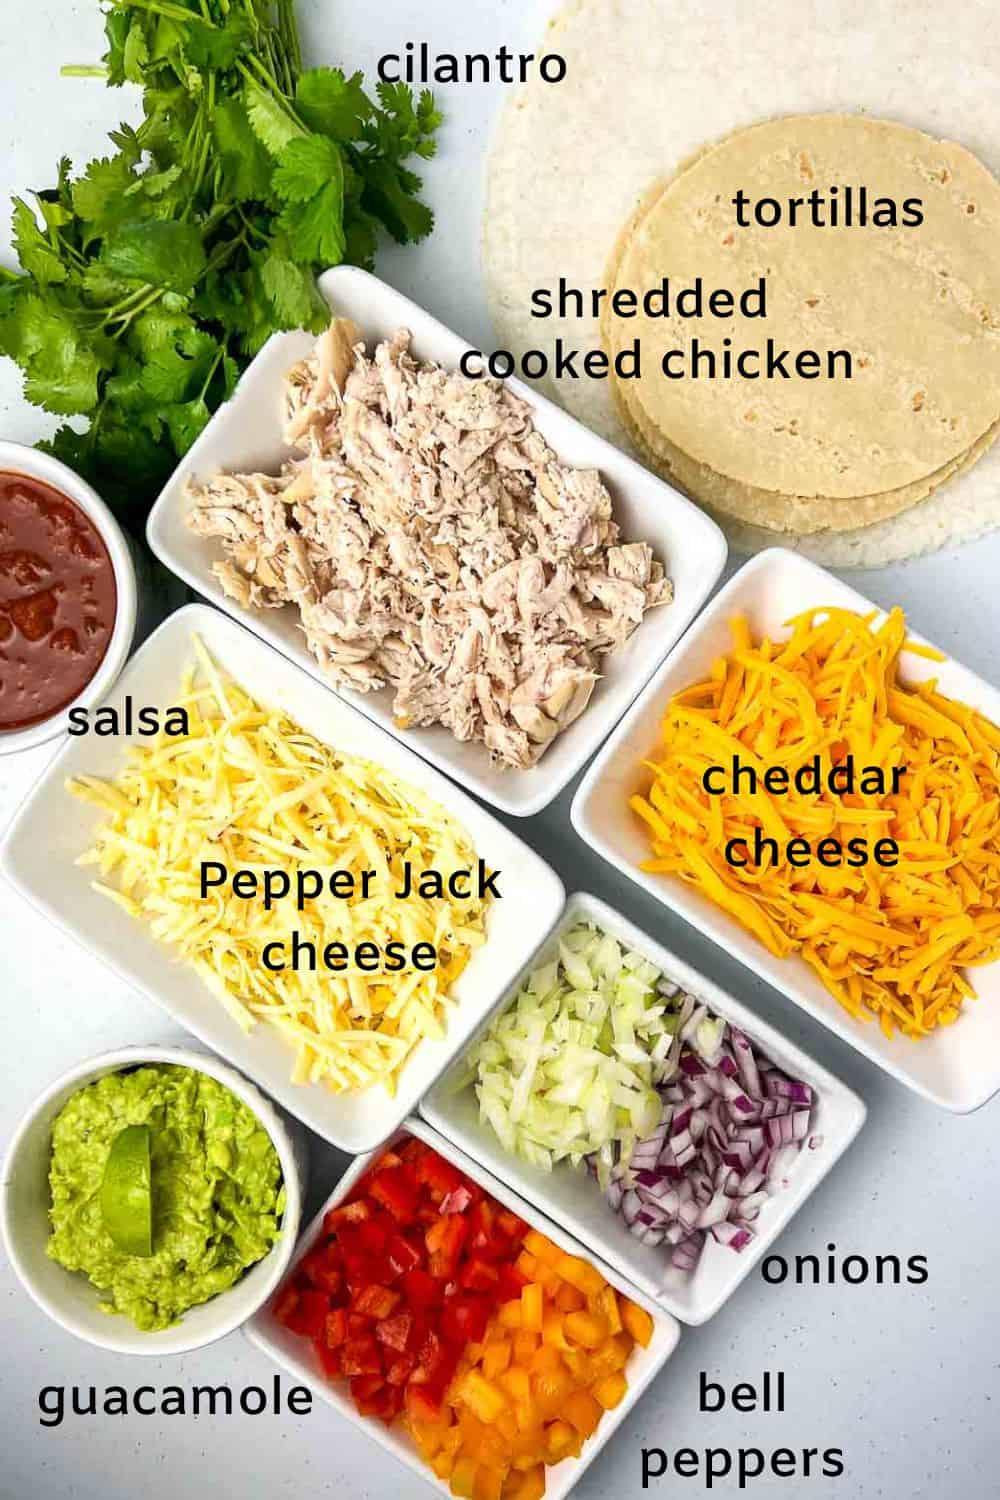
- tortillas: If gluten is not a problem, you can use any type of flour tortilla. To keep this blooming quesadilla ring gluten-free, use tortillas made from rice or corn. Make sure that the tortillas you use are pliable. Some corn tortillas are quite thick and may split when you roll them. I use rice tortillas and small white corn tortillas.
- cheese: Use finely shredded sharp cheddar and Monterey jack cheese with jalapeños, or make your own Mexican blend cheese with cheddar, Pepper Jack and Colby cheese.
- chicken: cooked skinless, boneless chicken breast, shredded. Feel free to use rotisserie chicken to save time.
- red bell pepper: For extra colour you can use a combination of both red and orange bell peppers.
- onion: Use both white onion and red onion.
- salsa: Choose your favourite brand of salsa, or use your own homemade salsa.
- fresh cilantro (optional), or you could use parsley, instead.
- lime wedges, for garnish
- avocados, garlic, and lime juice to make homemade guacamole (optional)
🔪 Instructions
Here's an overview of what you'll do to make this recipe perfectly. You'll find complete instructions in the recipe card at the end of this post.
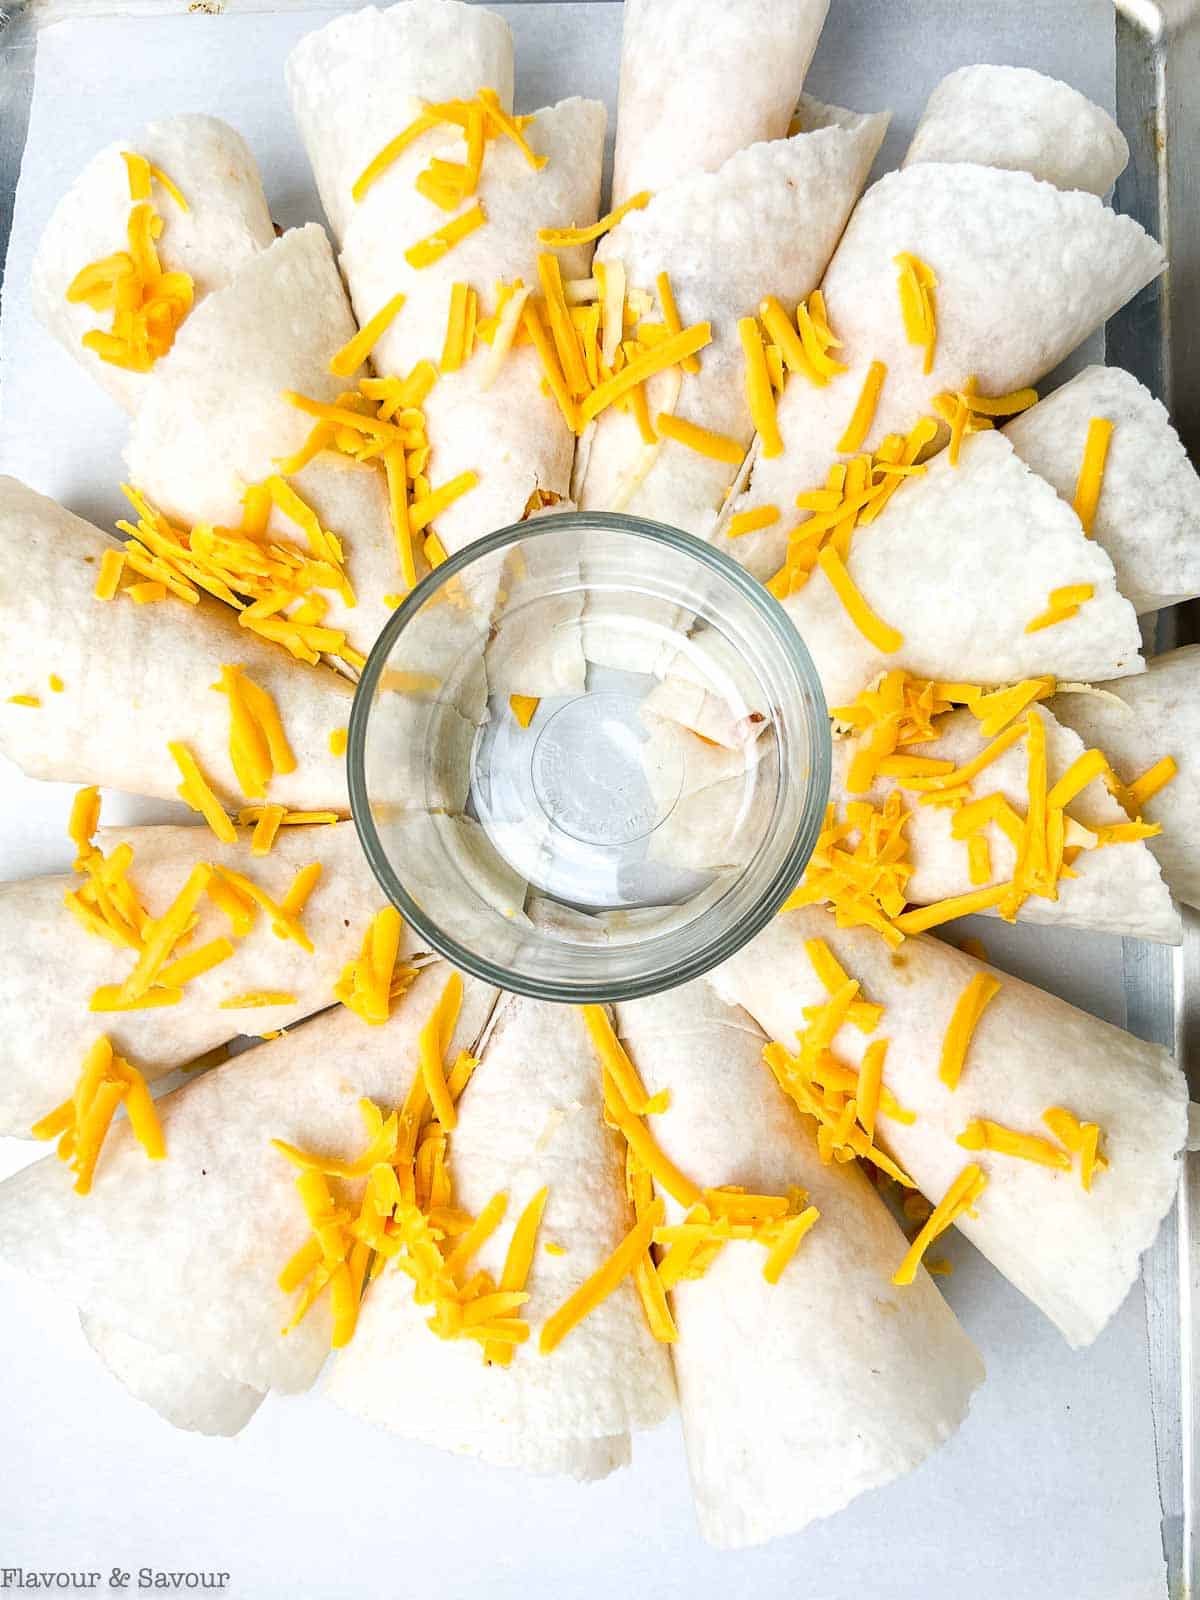
- Preheat oven to 375°F. Line a large baking sheet with parchment paper. Put a small glass prep bowl or a wide-mouth (2 inches) jar in the center of the baking sheet.
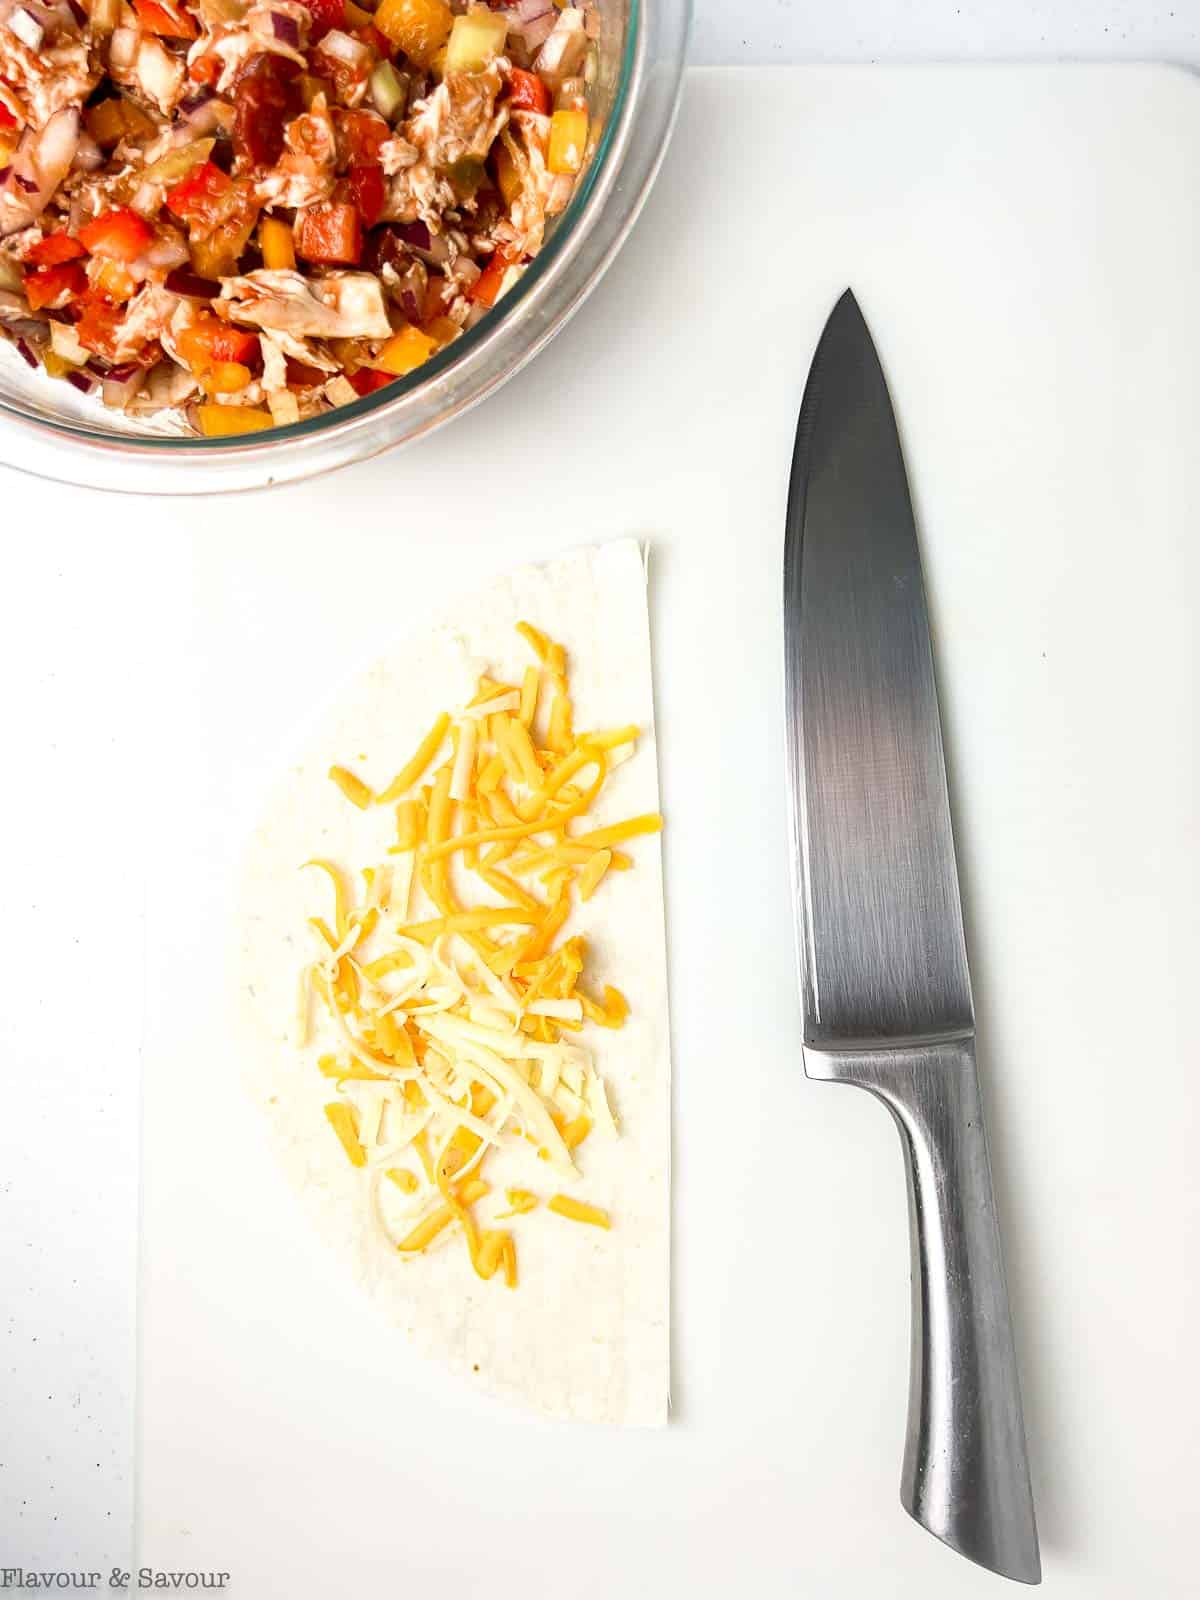
- Using a sharp knife, slice the tortillas in half.
- In a large mixing bowl, combine the cooked, shredded chicken (or turkey), diced red pepper, finely diced yellow and red onion and the salsa.
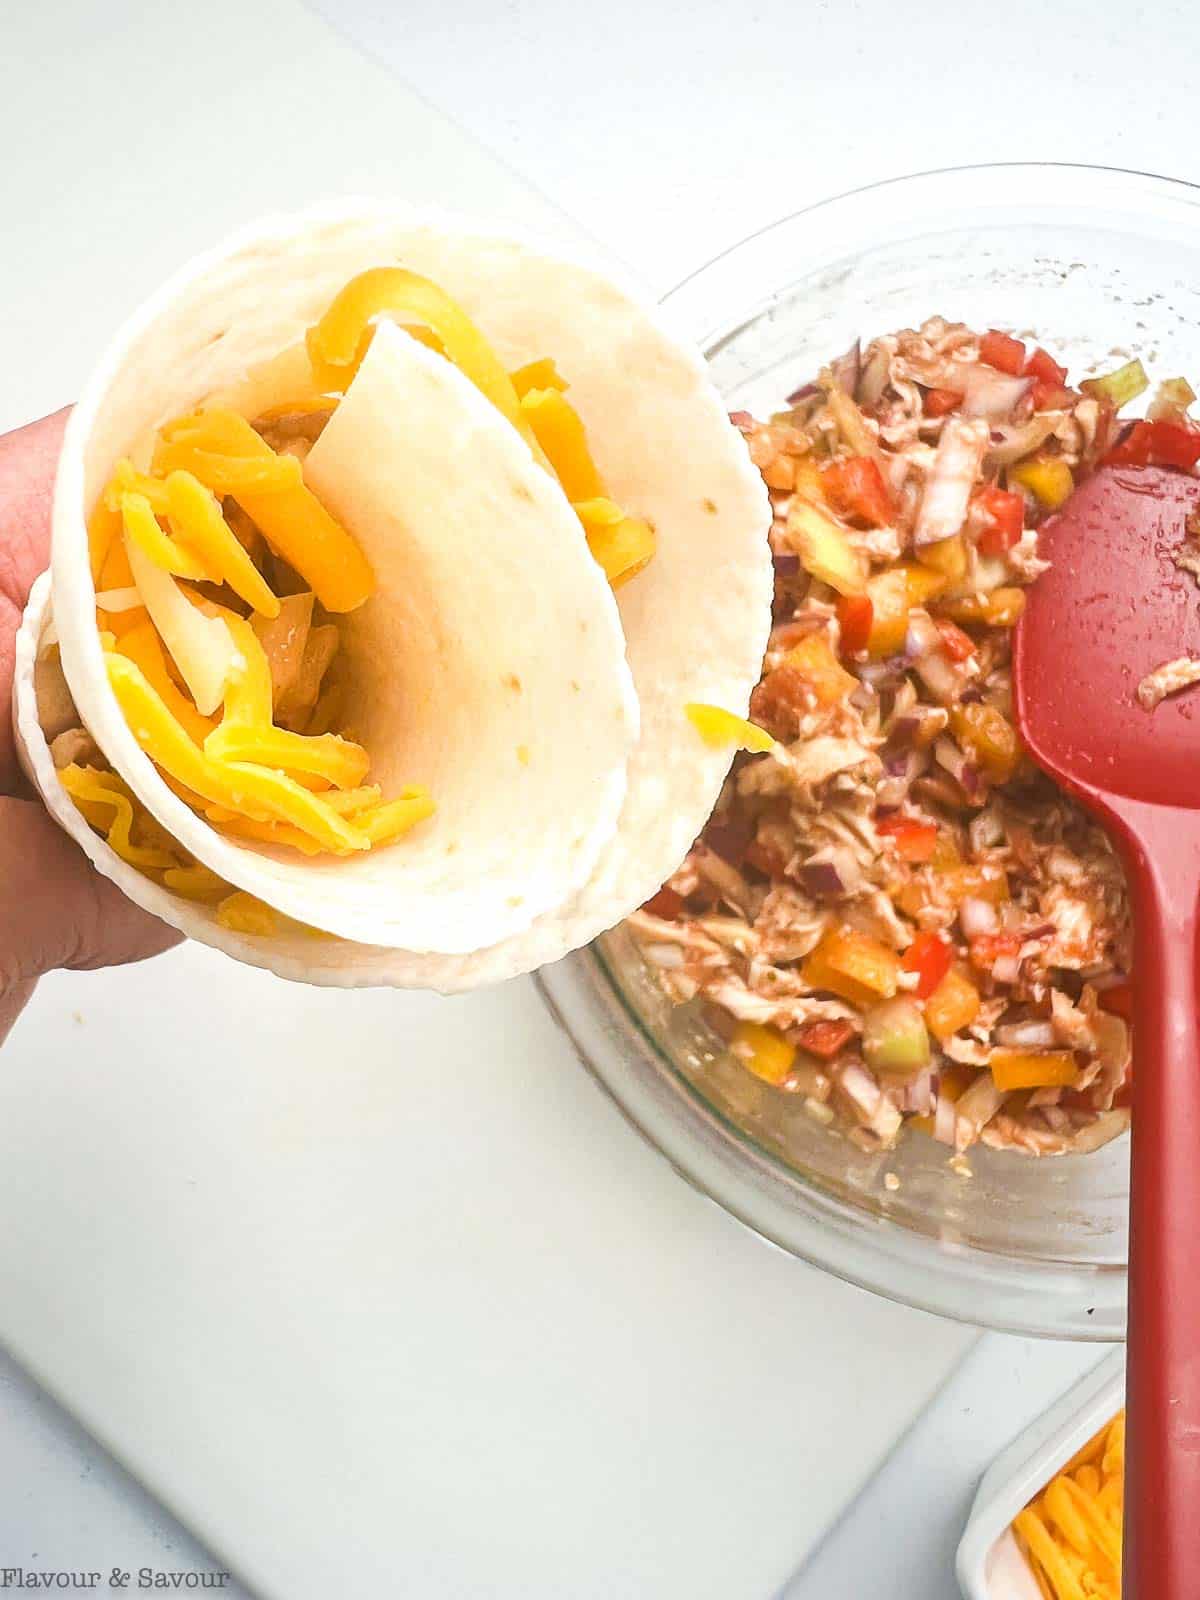
- Add 2 tablespoons of cheese and 2 tablespoons of the chicken mixture to one half of a tortilla. The cheese acts as the "glue" to bind these together.

- Starting at the cut end, roll the tortilla into a cone shape. It's important not to overfill, or the filling will spill out. It may look like it's not enough filling, but once the cheese melts, this will be the perfect amount. Place the filled cone seam side down on the baking sheet. Tuck the pointed end of the cone under the edge of the glass bowl.

- Repeat with the remaining tortillas. The bottom layer will take about 12 cones. Sprinkle the layer with grated cheese.

- For the second layer, you can either make another layer of the same size tortillas, or use small 6-inch tortillas, sliced in half. Once you have completed the second later, sprinkle with more cheese. If you like, you can make a third layer if you have enough tortillas and filling. Remove the glass bowl from the center. Using an oil mister, lightly spray the edges of the tortillas with olive oil.
- Transfer the baking sheet to the oven and bake for 15 - 18 minutes or until the edges of the tortilla cones are lightly browned and crispy and the cheese has melted.
- Very carefully lift the edges of the parchment paper and slide the quesadilla ring onto a round serving plate or board. If you like, you can trim the parchment paper.
- Place the bowl back in the center of the ring and fill it with guacamole or more salsa.
- Sprinkle with finely chopped cilantro (optional) and serve with lime wedges.

🔁 Possible Variations
- Make this a vegetarian blooming quesadilla ring by substituting black beans or refried beans for the chicken.
- Spice it up! Toss the shredded chicken with a tablespoon of homemade taco seasoning mix.
- Add either fresh or quick pickled jalapeños and/or pickled red onions to the filling.
- Use turkey instead of chicken. If you have leftover turkey from a holiday dinner, this quesadilla ring makes a delicious way to serve leftovers. While I haven't tried this, you could even fill the tortillas with leftover turkey, cranberry sauce, stuffing, and Brie cheese!
👍🏼 Helpful Tips to make the best quesadilla platter
Make sure the tortillas you are using are soft and pliable. If not, they will split when you try to roll them. As mentioned above, any wheat tortillas or the gluten-free rice and tapioca tortillas I use work beautifully. Some varieties of corn tortillas work well, but thicker ones may split.
To shred chicken, use two forks to pull the meat apart. The easiest way, however, is to use an electric mixer!
❓Reader's Questions
Yes, you can prepare this a day in advance. Cover it tightly with plastic wrap and keep it refrigerated. When you're ready to bake, take it out of the fridge and let it sit for 15 minutes to come to room temperature, then bake as directed.
Don't overfill the tortillas to prevent them from becoming soggy.

🍽 Serving Suggestions
Serve this quesadilla platter as a party appetizer, for a game day get-together, a holiday celebration, or a summer deck party. Quesadillas are popular at any time of the year!
It also makes a fun family dinner instead of taco night!
Remember to offer toppings like guacamole, fresh salsa or pico de gallo, and/or sour cream!
To round out your meal, add a refreshing salad like Kiwi Cucumber Salad or Kiwi Mandarin Spinach Salad.
⏰ Storage Instructions
To store: Refrigerate leftover quesadilla cones once they have cooled.
To reheat: Lay the cones on a parchment paper lined baking sheet and reheat at 350°F. until heated through, 5 to 8 minutes. Reheating in the microwave is not recommended as the tortillas may become soggy.
🗒 More appetizer recipes
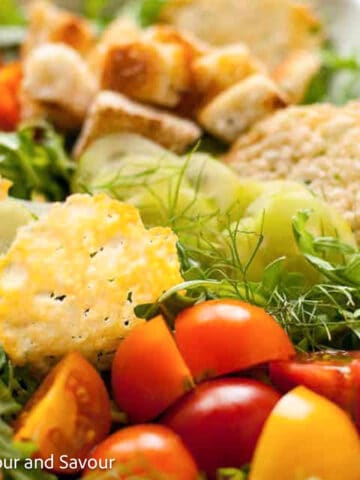
- Easiest Ever Parmesan Crisps
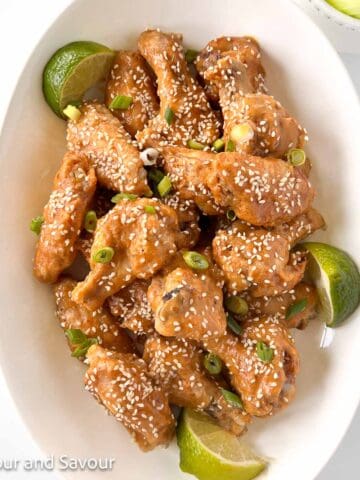
- Air Fryer Thai Peanut Chicken Wings
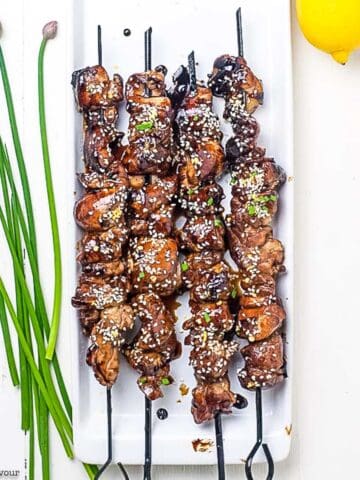
- Easy Japanese Chicken Yakitori Skewers
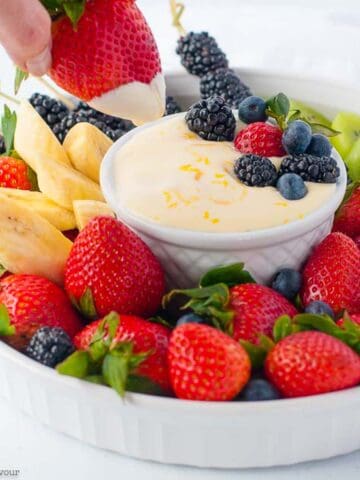
- Easy Lemon Curd Fruit Dip
When you make this blooming quesadilla ring recipe, please leave a comment and a star rating below. I love hearing from you! Thanks in advance! Subscribe to my newsletter and have new recipes delivered straight to your inbox.
This recipe was adapted from Tasty's Blooming Quesadilla Ring.
📖 Recipe

Blooming Quesadilla Ring - Gluten-Free
Equipment
Ingredients
- 20 8-inch or 6-inch tortillas see note #1
- 5 cups cheese, a combination of sharp cheddar and Pepper Jack or Monterey Jack
- 3 cups chicken breasts, cooked and shredded. See note #2.
- 1 large red bell pepper, or a combination of red, orange or yellow peppers.
- ½ cup white onion, finely diced
- ½ cup red onion, finely diced
- 1 ¼ cups salsa, your favourite brand
- 2 tablespoons cilantro, for garnish
- 1 medium lime, cut into wedges for garnish
- 1 cup guacamole, optional, for serving
- 1 cup fresh salsa, optional, for serving
- 1 cup sour cream, optional, for serving
Instructions
- Preheat oven to 375°F. Line a large baking sheet with parchment paper. Put a small glass prep bowl or wide mouth jar in the center of the baking sheet.
- Using a sharp knife, slice the tortillas in half.
- In a large mixing bowl, combine the cooked, shredded chicken (or turkey), diced red pepper, finely diced yellow and red onion and the salsa.
- Add 2 tablespoons of cheese and 2 tablespoons of the chicken mixture to one half of a tortilla.
- Starting at the cut end, roll the tortilla into a cone shape. It's important not to overfill, or the filling will spill out. It may look like it's not enough filling, but once the cheese melts, this will be the perfect amount. Place seam side down on the baking sheet. Tuck the pointed end of the cone under the edge of the glass bowl or jar.
- Repeat with the remaining tortillas. The bottom layer will take about 12 cones. Sprinkle the layer with grated cheese.
- For the second layer, you can either make another layer of the same size tortillas, or use small 6-inch tortillas, sliced in half. Once you have completed the second later, sprinkle with cheese. If you like, you can make a third layer (You'll need extra tortillas.)
- Remove the glass bowl from the center. Using an oil mister, lightly spray the edges of the tortillas with olive oil. The oil will help the tortillas become brown and crispy.
- Transfer the baking sheet to the oven and bake for 15 - 18 minutes or until the edges of the tortilla cones are lightly browned and crispy and the cheese has melted.
- Very carefully lift the edges of the parchment paper and slide the quesadilla ring onto a round serving plate or board. If you like, you can trim the parchment paper.
- Place the bowl back in the center of the ring and fill it with guacamole or more salsa, pico de gallo or sour cream. Sprinkle the ring of cones with finely chopped cilantro (optional) and serve with lime wedges.
Notes
- If gluten is not a problem, you can use any type of flour tortilla. To keep this blooming quesadilla ring gluten-free, use tortillas made from rice or corn. Make sure that the tortillas you use are pliable. Some corn tortillas are quite thick and may split when you roll them. I use rice tortillas and small white corn tortillas.
- Use rotisserie chicken as an alternative.


Coralee
When I first saw this recipe, I thought these might be fiddly to make, but no--they're very easy to put together. Fun to eat, too!
Elaine
That's great to hear! Thanks so much for commenting!